


One of the most rewarding custom aspects of building rods is making a custom grip. Whether you are building an offshore rod for billfish or a small fly rod for bluegill, every fishing rod needs a grip. So, why not make it cool?!
Whether you are starting with cork rings, EVA or any material of choice, there are many ways to go about making a custom grip. We have covered several different techniques while working with some of the most popular materials, but what do we need to do once it is time to fit that grip to your build.

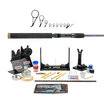
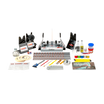
Follow along as we provide a roadmap to help you create custom grips for your next rod build. Using the CRB PRO Inletting tool we can create smooth transitions for fly grips as well as make custom hoods and fighting butts for spinning and conventional rods.
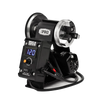
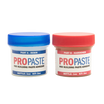
Although there are a number of ways to create an inlet in your grips material, CRB has a tool that is incredibly easy to use and cuts a perfect circle every time.
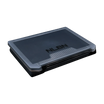
The CRB PRO inletting tool offers ease-of-use when paired with a high-speed drill or lathe. This versatile tool is equipped with interchangeable blades specifically designed for inletting grips with various up- locking seat diameters, including .760”, .810”, .850”, .900”, and .950”.

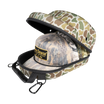
In addition, we have spare parts. The kit includes an extra pair of set screws but you can also buy replacements blades if you are cutting a lot of grips. This tool works with cork, EVA, and composite cork. We have used this tool on harder materials like carbon fiber or birch but be warned, this can flex or dull your blade very quickly.
Before we get the power tools out and starting drilling, I want to give a couple tips when putting your grips together.
Cork is a natural product, and it can have voids or small gaps that can cause the cork ring to chip rather than cut cleanly with an inletting tool. When planning your grips I always recommend putting the clearest cork ring or one with the least number of voids on the ends.

If you want to add some additional tone and other cork pieces to your grip, consider composite cork. It comes in several color shades and is a mixture of rubberize material along with cork that had been pressed into a cork ring. These come in various thicknesses, and you could also use a cork slicer. I prefer taking the 1/4’ composite cork rings and using the slicer to cut 1/8” slices as my cork grip end pieces. The composite cuts very clean and adds a bit of protection if you are hard on your gear.

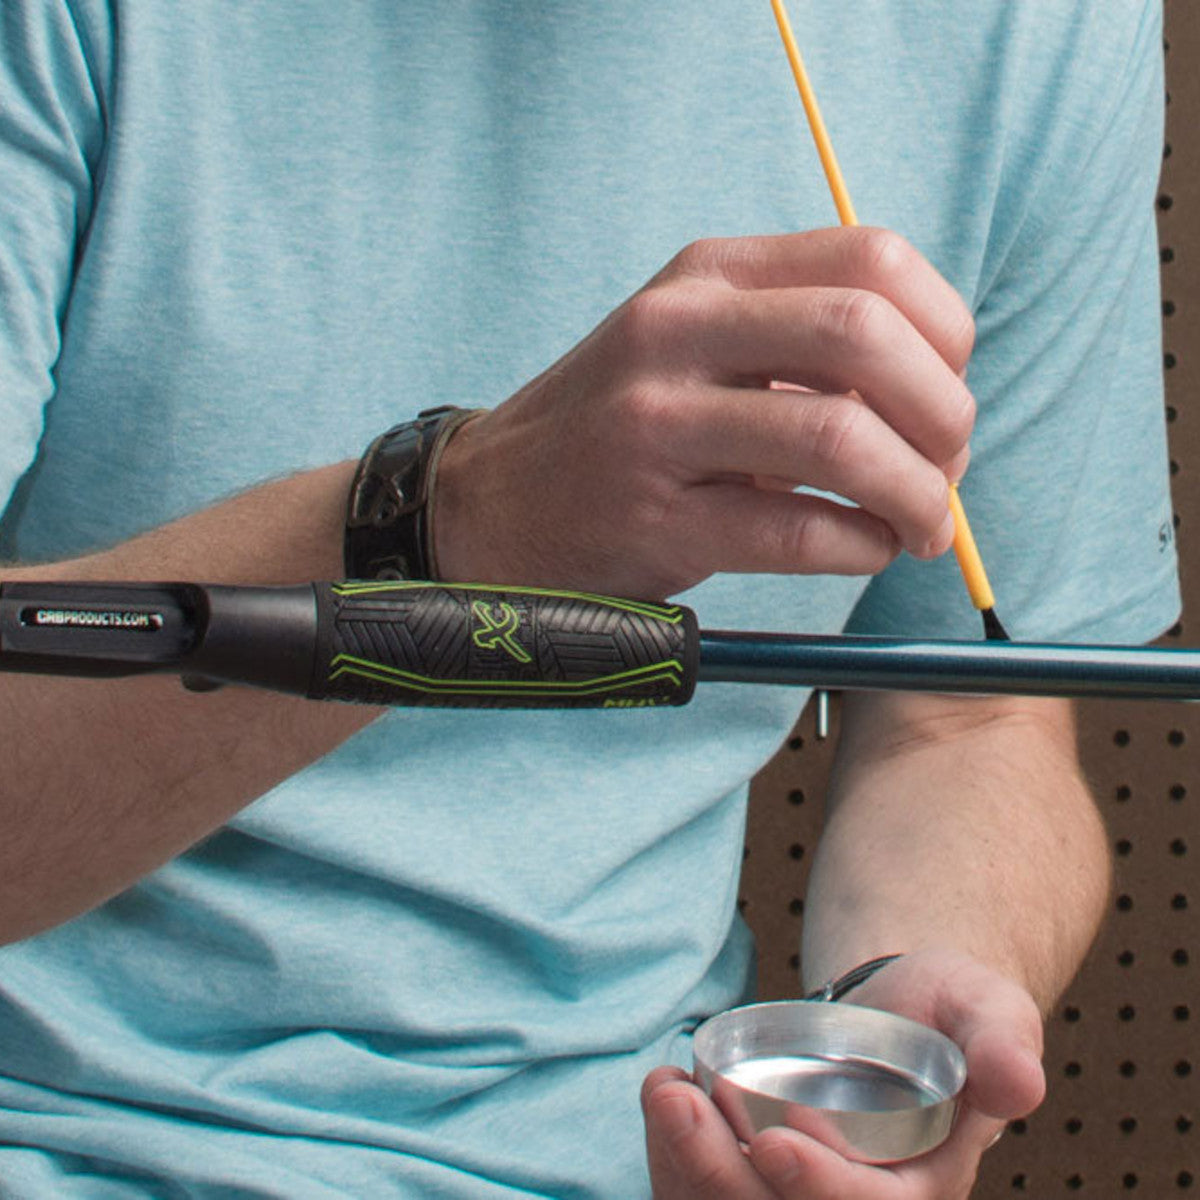
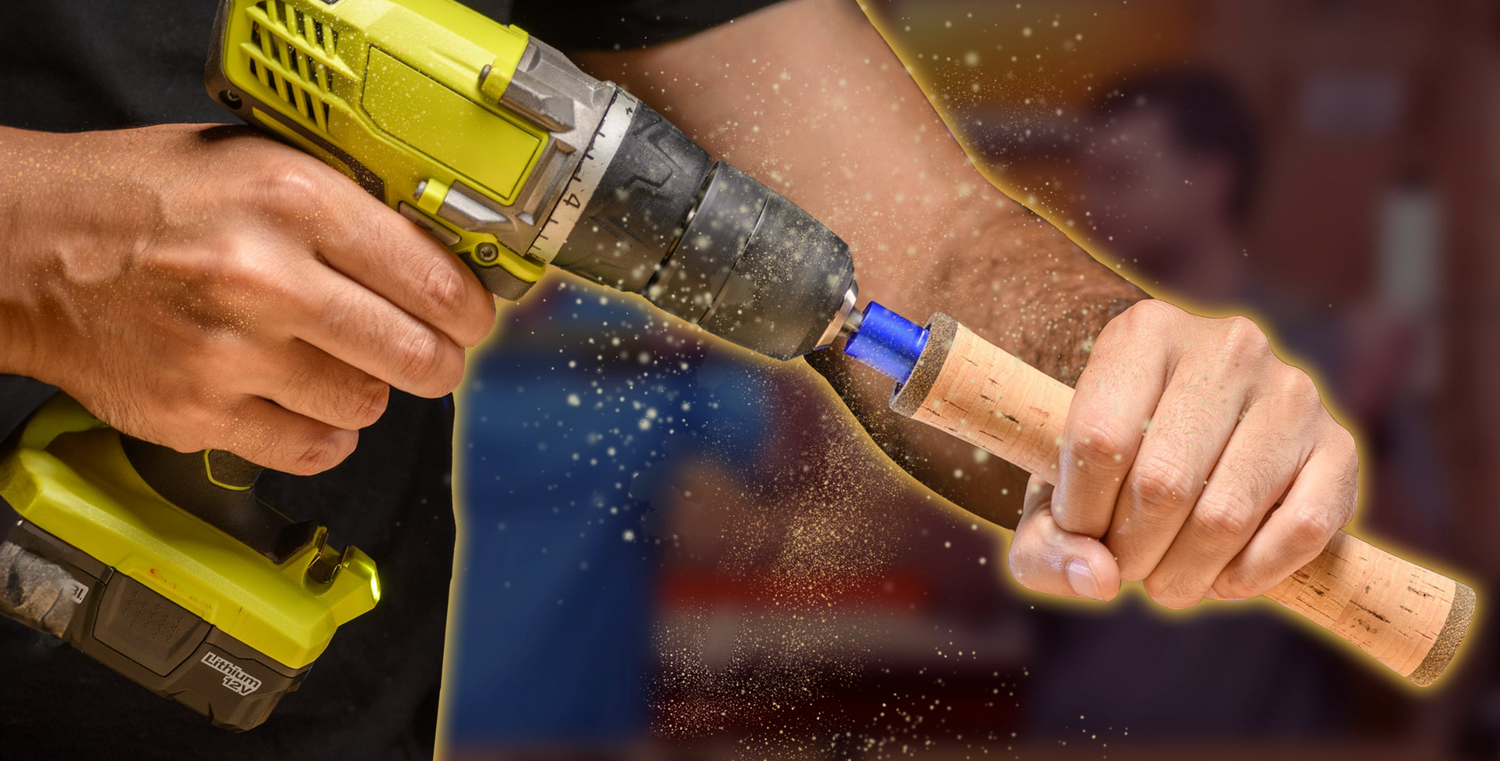
OK, it is power tool time.
Before we touch the blades to the cork or any material, you need to be sure you go slow and fast at the same time. What I mean by that is as the blades are cutting SLOWLY push the CRO PRO Inletting tool into the grip but be sure that drill is running as fast as it can. Also, do not touch the inletting tool to the grip until the drill is spinning at a high rate of speed. If those blades impact the grip material when the drill is barely spinning, it can cause the tool to jump and remove large chunks rather than precisely cut the material.
When choosing your blade sizes, you can use either a set of digital calipers or if you have the fly seat, coin or hood cover you are working with you can mount the blades in the inletting tool and compare the diameter.

Speaking of measuring, you will also want to measure the depth of the inlet you need to cut. I typically do this as I am cutting because I cut a little and then size check the grip to the seat or hood.
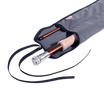
Once your fly seat inlet has been cut, I move to ream out the grip to fit the blank. I always cut the inlet first because the guide sleeve that comes with the inletting tool has an OD of .250" and is designed to fit most cork grips that are .250" ID.
When cutting for a fly seat you can afford to cut a little deeper as the fly seat hood has a stop on the OD that also acts like a winding check. It keeps the fly seat from sliding too far into the grip as well as keeping a clean edge around the inlet for a perfect transition.
If you are going to inlet a butt cap or fighting butt for a coin or a piece with a personal meaning, you need to pay attention to the depth of your cut. If I am cutting an inlet for an actual coin I prefer to have that coin sit flush and not add epoxy finish over the top of the coin. I like to be able to feel the contours and as the coin is exposed to the elements it develops a rich patina that adds to the character of the piece.
