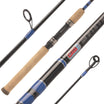
Everyone loves nice threadwork. Of all the rod building questions we get, a bulk of them revolve around thread.
One of the more unique options is a fade wrap. Most of you have seen what I would call a typical fade wrap. It involves two colors and alternating those colors with different number of wraps creates a fade pattern.
In this blog I am going to put a slightly different spin on your traditional fade wrap. Our resident social media guy and excellent rod builder, Jake Hutcheson, showed me this one. So, with most rod building techniques, they are openly shared and we enjoy sharing our knowledge as well as giving credit to those who may have taught us.
Let’s start out by discussing what you need to get this alternative fade wrap done.
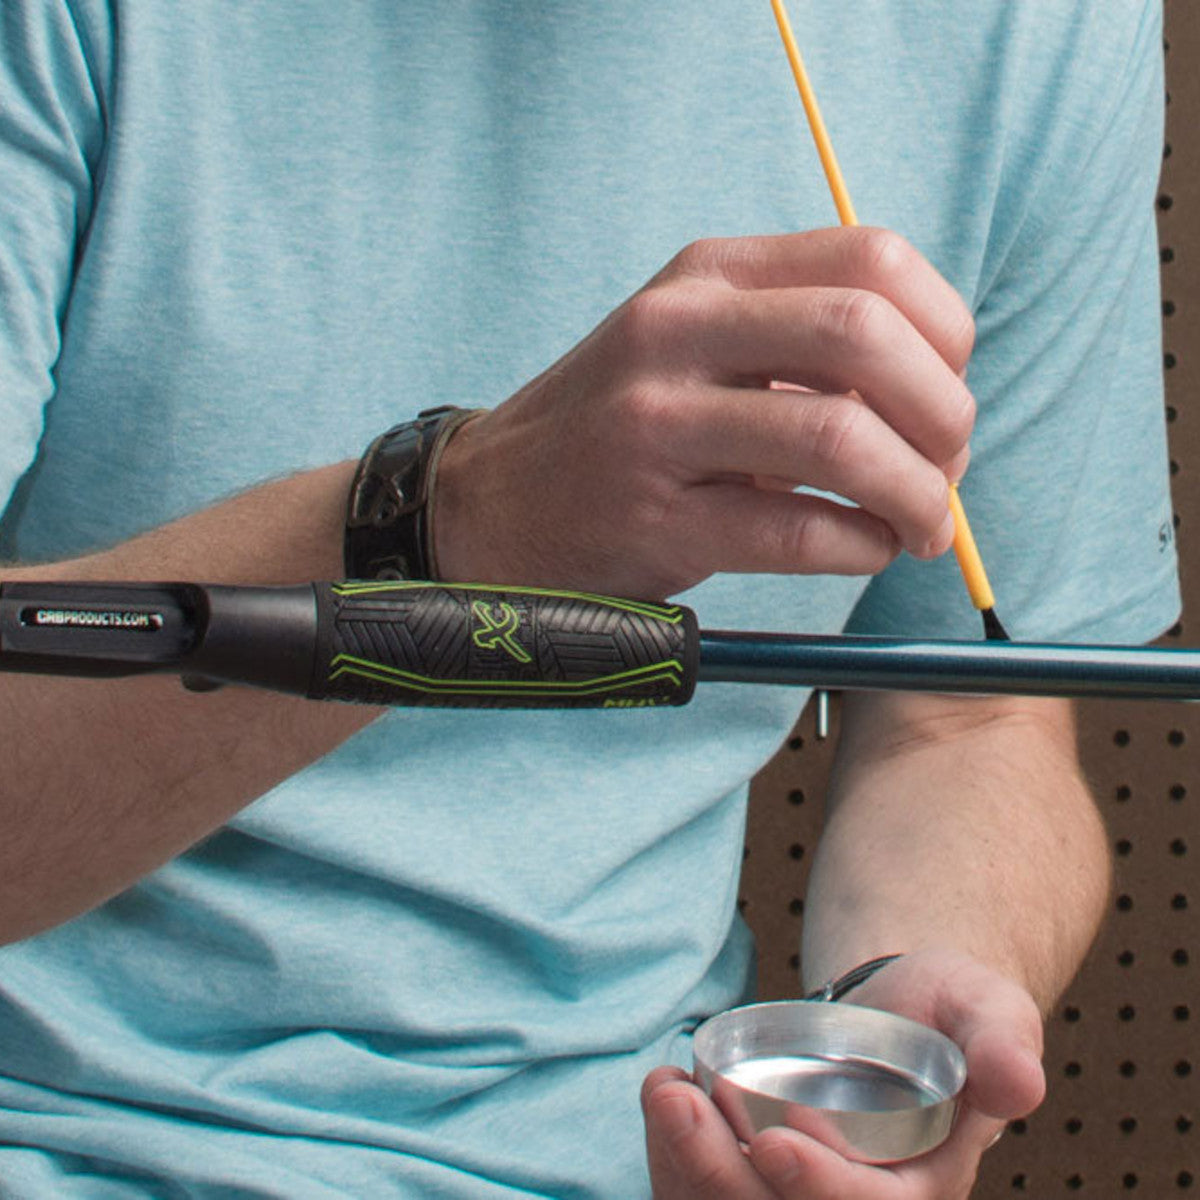
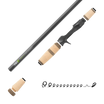
First, you will need a wrapping tool of some kind. Of course, we like the RBS G2 Power Wrapper for most of our rod wrapping but even a standard hand wrapper will get this done with ease. Anticipating the next question, “Do you need a 4-spool thread carriage?” Short answer is no. Is the 4-spool carriage easier to keep things organized? Yes, but even though we are going to be using three thread colors, we are only using two at a time.
As for the smaller hand tools, I like the burnishing tool set as well as the thread probe set. If you follow along these blogs or watch Mud Hole Live you will see me use the probe set quite often. From marbling to threadwork the sharp points and different angles on the probe heads are very helpful.
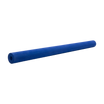
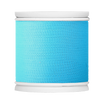
Now when choosing thread, you are somewhat on your own. There are many different cool color combinations and impossible for us to know all of them. With that being said, I do recommend using Pro Wrap color fast thread. As most of you know, regular nylon can change colors once finish is applied and it can throw a wrench into what would’ve been a great fade wrap.
OK now let’s get to wrapping.
Yes, you will need to keep track of the width of your wraps so you can replicate each of the solid color lengths. I prefer to measure with a digital caliper rather than count thread wraps. Now, for the inner passes with both colors, I do count the thread wraps. The inner wraps are typically only 3-7 wraps so it is easy to keep track.
Speaking of measuring, be sure you have enough room whether it be inside of split grip or in front of a fore grip for the three or more colors plus transitions. I know that might seem common sense, but I would hate to not mention it and then someone must cut off a great looking wrap.
Yes, I know this might get quite wordy, but we have included pictures to help walk you through the steps. Plus we have embedded the Mud Hole Live episode where we demonstrate this wrap live on camera.
Alright, start wrapping.
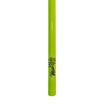
Lay down your first color in a width you prefer and have enough room to make the two other colors in the same width. Once you have the length of the solid color you like, it is time for the transition that makes this fade wrap work.
Leave the wrapping color connect. Do not cut and finish off like you would a guide wrap. Now introduce the second color. Pull the second thread color through the wrapper just as you have the first color because you will be wrapping them side by side.
To introduce the second color, start with the second color in your left hand and moving from left to right, cross the second color over the top of the first color. Once you have crossed over you then go back under (to the left) the first color to capture the second thread to the blank and under the first thread.
Now that your second color (orange) is captured, I do not pull it tight immediately. Leave a little bit of slack so you can situate both colors side by side and begin wrapping them simultaneously.
You will notice the orange thread will be to the inside of the yellow as you crossed and captured the orange thread. This does two things, it allows us to start the orange without stopping the yellow. Then when you are ready to terminate the yellow, you can cut and keep wrapping the orange to secure the yellow's end.
One additional thing as you are wrapping the two colors side by side, be sure to count your wraps. For this demonstration we wanted to be left with 5 wraps of the two colors. This means we will need to wrap a total of 6 times with the two colors as we will lose one wrap of the yellow when we terminate that color.
As I wrap I leave a longer tag line of the second color (orange) to help remind me that when the transition is complete, not to cut the orange.
In the photo above you can see the yellow is now cut and that it will unravel one thread wrap so you can capture it under the orange. In the photo below you can see where after the yellow has unwrapped one time, you can slide it to the left and under the orange standing thread to secure it.
Now with the yellow terminated, you can trim it short but I do leave a small tag end as it will be wrapped over by the orange. You can wrap one time before burnishing or wrap a few times and burnish the small gap created at the transition point. Below you will see how the transition point looks at the start and after completing some thread wraps of the orange.
After a number of thread wraps I burnished the small gap at the transition point. Keep in mind, I recommend not to make long burnishing strokes across the top of the fade wrap as it can cause the thread to shift and create waves in your fade wrap.
This would be a great time to have the probe set or a thread pick because you can be very precise when moving just a couple threads.
Now moving forward, or to your left, you will continue wrapping the orange color until it is time to transition to your third color. This is where I break out the digital calipers to be sure I am following the width of the yellow thread. Remember there is a set screw on the top of the calipers so you can measure the yellow and set that distance so you do not have to keep going back and forth.
Again, not that is it necessary to have a power wrapper like the RBS Pro G2 but when making long solid color wraps it is very nice. Plus, when you match your power wrapper to the CRB 4-spool thread carriage it can help keep you more organized and save time on all your rod builds.
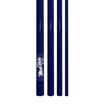
Once you have the steps down you can just continue on and transition to as many colors as you wish. For our next color we chose red and went over the top of the orange and then underneath so it is captured.
Once your red is started you can wrap both colors together for 6 wraps. Remember, we want to end with 5 total, so we wrap one more because when we cut the orange we will back off one wrap before capturing it and terminating that color.
Finally, as we did with the previous transition, we will now cut the orange color to be left with only the red to finish out this fade wrap. Grab your digital calipers and run that red thread out until it matches the length of the yellow and orange. When you have matched the length tie off the threadwrap just as you do with any other guide wrap and complete any final burnishing. Remember, try to resist burnishing across the top of the fade wrap with a back and forth motion so you do not create waves in the threadwork.
Follow all that? Hope so, but if not, I have included the Mud Hole Live episode. Watch as Hunter and I complete the alternative fade wrap, along with the standard fade wrap live on the show.


