



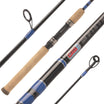
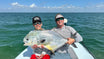







About Red Snapper & Gag Grouper Fishing
Red snapper and gag grouper are two of the most sought-after offshore species—both excellent table fare and commonly found around reefs, wrecks, ledges, and hard structure. Both are bottom-oriented, but red snapper will often feed up off the bottom into the water column, while gag grouper stay tighter to structure and strike closer to cover. Because they share the same habitat, it’s common to hook both on the same drop. Success comes down to keeping your bait or lure in the strike zone and having the control to handle powerful fish in structure-heavy conditions where hesitation costs fish.
That’s exactly where a custom-built rod comes into play. Instead of a one-size-fits-all setup, building your own lets you match rod power, action, and component layout to your specific red snapper application. A purpose-built rod gives you the ability to balance lifting power, sensitivity, and control depending on whether you’re fishing heavy bottom rigs, vertical jigs, or lighter presentations over structure. The result is better leverage on fish, more precise control in current, and a setup that performs exactly how you need it to when fish are buried in structure or coming up from depth.
Introduction
What is Build a Red Snapper & Gag Grouper Rod?
About Red Snapper & Gag Grouper Fishing
Red snapper and gag grouper are two of the most sought-after offshore species—both excellent table fare and commonly found around reefs, wrecks, ledges, and hard structure. Both are bottom-oriented, but red snapper will often feed up off the bottom into the water column, while gag grouper stay tighter to structure and strike closer to cover. Because they share the same habitat, it’s common to hook both on the same drop. Success comes down to keeping your bait or lure in the strike zone and having the control to handle powerful fish in structure-heavy conditions where hesitation costs fish.
That’s exactly where a custom-built rod comes into play. Instead of a one-size-fits-all setup, building your own lets you match rod power, action, and component layout to your specific red snapper application. A purpose-built rod gives you the ability to balance lifting power, sensitivity, and control depending on whether you’re fishing heavy bottom rigs, vertical jigs, or lighter presentations over structure. The result is better leverage on fish, more precise control in current, and a setup that performs exactly how you need it to when fish are buried in structure or coming up from depth.
Types of Red Snapper & Gag Grouper Fishing
Red snapper and gag grouper are primarily targeted around reefs, wrecks, and other hard bottom structure using a range of bait and jigging techniques designed to keep presentations in the strike zone. While snapper may feed both near the bottom and higher in the water column, gag grouper stay tightly tied to cover, making presentation, depth control, and immediate fish control especially important. Here are the most common and effective offshore approaches for targeting both species.
Natural Baits & Rigs
Targets: Red snapper and gag grouper holding around reefs, wrecks, ledges, oil platforms, and hard bottom structure. Snapper may be positioned tight to the bottom or suspended slightly above structure, while gag grouper are almost always tight to cover and oriented directly on structure.
Natural bait fishing is the foundation of snapper fishing and also a highly effective method for gag grouper when fish are feeding. It involves presenting cut or whole squid, sardines, threadfin herring, and other baitfish, or live baits such as pinfish, pigfish, croakers, or grunts on weighted rigs designed to reach and maintain contact with structure. Presentations are typically fished on or near the bottom, with snapper also responding well when baits are suspended slightly above the reef or higher up in the water column.
Success depends on matching presentation to fish position. Snapper may require adjustments in weight and leader length to stay in the strike zone whether on bottom or suspended, while gag grouper demand immediate bottom contact and tight control to prevent fish from burying into structure the moment they bite.
Vertical Jigging (Speed Jigging)
Targets: Red snapper suspended around structure or actively feeding off the bottom, and gag grouper positioned tight to structure edges or ambush points where reaction strikes are possible during brief vertical movement windows.
Vertical jigging uses metal jigs dropped straight down and worked through the water column with a fast, rhythmic retrieve. For snapper, this technique is especially effective when fish are suspended or actively feeding off the bottom, allowing anglers to cover multiple depths quickly. For gag grouper, it can be effective around structure edges or drop-offs where fish are willing to react, but success typically requires more precise drops directly into heavy cover zones.
Speed jigging is most productive when fish are aggressive or current conditions reduce the effectiveness of static bottom presentations. The active nature of the technique allows anglers to trigger reaction strikes in both species, though snapper are generally more likely to respond higher in the water column than grouper. That said, gag grouper fished tight to structure are known to break off the bottom and chase a bait a short distance into the water column, especially when the jig passes directly through their strike zone near cover.
Slow Pitch Jigging
Targets: Red snapper and gag grouper holding near structure, especially in deeper water where fish are tight to cover and less responsive to fast-moving presentations. Red snapper are also commonly found higher in the water column.
Slow pitch jigging uses specialized rods and jigs designed to create a slow fluttering fall on slack line. Instead of aggressive retrieves, anglers rely on controlled rod movements to keep the jig suspended and in the strike zone longer. This method is effective for both species when fish are less aggressive or tightly holding to structure.
Snapper may respond throughout the water column during the fall and pause phases, while gag grouper are more likely to commit when the jig stays tight to structure and drops directly into their holding zone on the bottom or along vertical cover. Because grouper remain deeper in and around structure, precise vertical control and accurate drops are especially important when targeting them with this technique, ensuring the jig gets into the strike zone without drifting off target.
Jigheads & Baits
Targets: Primarily red snapper suspended above structure, following chum lines, or holding mid-water where lighter presentations are more effective than heavy bottom rigs.
This approach uses lighter tackle with jigheads rigged with soft plastics or small natural baits like cut squid or baitfish pieces. Presentations can be worked vertically or cast and allowed to sink naturally through the water column and strike zone.
It is most effective when snapper are suspended off the bottom or feeding higher in the water column. Compared to heavy bottom rigs, it offers a more subtle, natural presentation and can be especially productive in clear water or high-pressure conditions.
This method is primarily a red snapper application and is not commonly used for gag grouper, which remain tightly oriented to structure and are better targeted with heavier bottom-focused rigs designed to keep baits pinned in place. In some shallow-water situations, however, lighter jighead presentations may still occasionally pick up grouper when fishing tight to structure, but it is far less consistent compared to snapper applications.
Key Takeaways
- Natural bait rigs are the most versatile and consistent method for targeting both red snapper and gag grouper around structure
- Vertical jigging is effective for covering the water column quickly and triggering aggressive reaction strikes
- Slow pitch jigging keeps the lure in the strike zone longer, helping trigger bites from less active fish holding near structure
- Jigheads and lighter bait presentations excel for suspended red snapper feeding higher in the water column
Types of Red Snapper & Gag Grouper Fishing
Red snapper and gag grouper are primarily targeted around reefs, wrecks, and other hard bottom structure using a range of bait and jigging techniques designed to keep presentations in the strike zone. While snapper may feed both near the bottom and higher in the water column, gag grouper stay tightly tied to cover, making presentation, depth control, and immediate fish control especially important. Here are the most common and effective offshore approaches for targeting both species.
Natural Baits & Rigs
Targets: Red snapper and gag grouper holding around reefs, wrecks, ledges, oil platforms, and hard bottom structure. Snapper may be positioned tight to the bottom or suspended slightly above structure, while gag grouper are almost always tight to cover and oriented directly on structure.
Natural bait fishing is the foundation of snapper fishing and also a highly effective method for gag grouper when fish are feeding. It involves presenting cut or whole squid, sardines, threadfin herring, and other baitfish, or live baits such as pinfish, pigfish, croakers, or grunts on weighted rigs designed to reach and maintain contact with structure. Presentations are typically fished on or near the bottom, with snapper also responding well when baits are suspended slightly above the reef or higher up in the water column.
Success depends on matching presentation to fish position. Snapper may require adjustments in weight and leader length to stay in the strike zone whether on bottom or suspended, while gag grouper demand immediate bottom contact and tight control to prevent fish from burying into structure the moment they bite.
Vertical Jigging (Speed Jigging)
Targets: Red snapper suspended around structure or actively feeding off the bottom, and gag grouper positioned tight to structure edges or ambush points where reaction strikes are possible during brief vertical movement windows.
Vertical jigging uses metal jigs dropped straight down and worked through the water column with a fast, rhythmic retrieve. For snapper, this technique is especially effective when fish are suspended or actively feeding off the bottom, allowing anglers to cover multiple depths quickly. For gag grouper, it can be effective around structure edges or drop-offs where fish are willing to react, but success typically requires more precise drops directly into heavy cover zones.
Speed jigging is most productive when fish are aggressive or current conditions reduce the effectiveness of static bottom presentations. The active nature of the technique allows anglers to trigger reaction strikes in both species, though snapper are generally more likely to respond higher in the water column than grouper. That said, gag grouper fished tight to structure are known to break off the bottom and chase a bait a short distance into the water column, especially when the jig passes directly through their strike zone near cover.
Slow Pitch Jigging
Targets: Red snapper and gag grouper holding near structure, especially in deeper water where fish are tight to cover and less responsive to fast-moving presentations. Red snapper are also commonly found higher in the water column.
Slow pitch jigging uses specialized rods and jigs designed to create a slow fluttering fall on slack line. Instead of aggressive retrieves, anglers rely on controlled rod movements to keep the jig suspended and in the strike zone longer. This method is effective for both species when fish are less aggressive or tightly holding to structure.
Snapper may respond throughout the water column during the fall and pause phases, while gag grouper are more likely to commit when the jig stays tight to structure and drops directly into their holding zone on the bottom or along vertical cover. Because grouper remain deeper in and around structure, precise vertical control and accurate drops are especially important when targeting them with this technique, ensuring the jig gets into the strike zone without drifting off target.
Jigheads & Baits
Targets: Primarily red snapper suspended above structure, following chum lines, or holding mid-water where lighter presentations are more effective than heavy bottom rigs.
This approach uses lighter tackle with jigheads rigged with soft plastics or small natural baits like cut squid or baitfish pieces. Presentations can be worked vertically or cast and allowed to sink naturally through the water column and strike zone.
It is most effective when snapper are suspended off the bottom or feeding higher in the water column. Compared to heavy bottom rigs, it offers a more subtle, natural presentation and can be especially productive in clear water or high-pressure conditions.
This method is primarily a red snapper application and is not commonly used for gag grouper, which remain tightly oriented to structure and are better targeted with heavier bottom-focused rigs designed to keep baits pinned in place. In some shallow-water situations, however, lighter jighead presentations may still occasionally pick up grouper when fishing tight to structure, but it is far less consistent compared to snapper applications.
Key Takeaways
- Natural bait rigs are the most versatile and consistent method for targeting both red snapper and gag grouper around structure
- Vertical jigging is effective for covering the water column quickly and triggering aggressive reaction strikes
- Slow pitch jigging keeps the lure in the strike zone longer, helping trigger bites from less active fish holding near structure
- Jigheads and lighter bait presentations excel for suspended red snapper feeding higher in the water column
Choosing a Snapper & Grouper Rod Blank
Most red snapper and gag grouper rods are built for bottom contact, lifting power, and maintaining control around reefs, wrecks, ledges, and other hard structure. These rods are designed to handle heavy sinkers, vertical jigs, and bait rigs in current while still providing enough sensitivity to detect bites and read bottom changes. Because gag grouper stay tightly locked to cover, strong lifting power and immediate fish control are especially important once hooked.
Spinning
Spinning rods are used across a wide range of red snapper applications, particularly when casting jigheads, working soft plastics, or presenting lighter natural baits. They are commonly used when anglers are making controlled casts, working suspended fish in the water column, or fishing around chum lines where presentations are moving through different depths.
Gag grouper are also occasionally targeted with spinning gear in more situational scenarios, typically when fish are positioned slightly off structure or along reef edges in shallower water, where lighter presentations can be placed accurately near cover.
They are also used for vertical presentations in lighter current or shallower depth ranges where bait or lure control through the water column is the primary focus rather than heavy bottom contact.
Casting (Conventional)
Conventional rods are widely used for both red snapper and gag grouper bottom fishing and vertical jigging applications, particularly when fishing reefs, wrecks, ledges, oil platforms, and other hard structure.
These setups are commonly paired with heavier sinkers, vertical jigs, and bait rigs in current, where maintaining consistent bottom contact and working directly over structure is required. They are used across both species when fishing tight to structure or when presentations need to stay positioned in deeper zones of the water column.
Conventional gear is also used in a wide range of depth and current conditions where anglers are fishing vertically or directly over structure with controlled line angle and sustained load.
Keep in mind that the same rod blank can be used to build either a spinning or conventional rod.
Power
Rod blank power determines how much lifting force you can apply when a fish is hooked in or around structure. In red snapper fishing, medium-heavy is the most common all-around choice for general bottom fishing and moderate depths, offering a strong balance of lifting power, control, and versatility. Heavy and extra-heavy blanks are used in deeper water, strong current, or when fishing heavier sinkers where maintaining bottom contact and turning fish away from structure becomes more demanding. Medium power blanks are typically used for lighter jigging or finesse-style presentations where sensitivity and lure control are prioritized over maximum lifting strength.
In saltwater fishing, line class ratings (lb test) are often shown alongside blank power as a general reference, but they represent a recommended line range and application window rather than the actual stiffness or flex characteristics of the blank.
As a general guide for offshore red snapper setups:
- 15–30 lb is considered light
- 20–40 lb is considered medium-light
- 20–50 lb is considered medium
- 40–60 lb is considered medium-heavy
- 50–80+ lb is considered heavy
Power selection is ultimately driven by depth, current, sinker weight, and how tightly fish are holding to structure.
Action
Action affects how the rod loads during the fight and how quickly it responds on hooksets. Fast action rods are commonly used in vertical and bottom-contact applications where sensitivity and immediate response are important, especially when working jigheads, vertical speed jigs, or fishing tight to structure where detecting bites and setting the hook quickly matters.
Moderate-fast actions are used in situations where a bit more rod load is beneficial during the fight, helping absorb sudden surges and reduce pulled hooks in close-quarters structure fishing, while still maintaining solid responsiveness for working baits or jigs through the water column.
Moderate action rods are typically used in slow pitch jigging, where a deeper, more parabolic bend is needed to keep the lure moving naturally on the fall and maintain tension through longer presentations. These actions are selected based on technique, depth, current, and structure.
Length
Most rods fall between 6’ and 7’6”. Shorter rods (6’–6’6”) are typically used for vertical fishing directly over structure, where tighter line control and direct vertical contact are important when working fish from depth. Medium lengths (6’6”–7’) are the most versatile and are commonly used across both bottom fishing and jigging applications in a wide range of depths and current conditions. Longer rods (7’–7’6”) are used when additional line control is needed, such as drifting, fishing multiple lines, or working presentations where managing line angle and separation through the water column is more important than maximum vertical leverage.
Rod length selection is based on fishing style, depth, and how directly the presentation needs to be controlled over structure. Sometimes even the vessel being fished can be an additional determining factor.
Line Rating
Line selection typically uses braided mainline in the 30–65 lb range, with 40–50 lb being a common all-around choice. Braid is preferred due to its thin diameter, high sensitivity, and ability to maintain direct contact with structure in deeper water while allowing lighter sinkers and more efficient bottom contact. Heavier braid in the 50–80 lb range is used around deep wrecks, heavy structure, or strong current where additional abrasion resistance and control are required to manage fish in tight cover.
Leaders are typically 30–80 lb fluorocarbon or monofilament, with 5–10 feet being standard depending on conditions and presentation. Fluorocarbon is most commonly used for abrasion resistance around reefs, wrecks, and rocky bottom, while monofilament is still used in some setups for added stretch to absorb sudden strikes and reduce pulled hooks. Line strength should always match structure pressure, water depth, and the angler’s ability to maintain control while keeping a natural presentation.
Weight / Lure Rating
Rods are rated differently depending on whether they are designed for vertical drop fishing or casting applications.
Conventional rods used for bottom fishing are built to handle heavy sinkers, jigs, and bait rigs that are dropped straight down into the water column and fished under load in current to maintain contact with structure. The rating reflects how much sustained vertical weight the rod can manage while staying in control through the drop and retrieve.
Casting-style rods (often used for jigheads and soft plastics or bait) are rated by lure weight, since they are designed for casting presentations outward, allowing the lure to sink through the water column, and then retrieving it back rather than working it straight beneath the boat under continuous vertical load.
Rod Specs by Application
The following are general rod specifications commonly used by red snapper and gag grouper anglers. While exact setups vary by depth, current, and structure, these ranges reflect typical gear choices across most offshore reef and structure fisheries and provide a practical baseline for matching rods to techniques.
Natural Baits & Rigs
A rod with strong lifting power and a responsive tip is important for maintaining bottom contact while keeping enough sensitivity to detect bites in current. It needs to handle sustained load from weighted rigs while controlling fish around structure once hooked.
Targets: Red snapper and gag grouper holding around reefs, wrecks, ledges, oil platforms, and hard bottom structure. Snapper may be positioned tight to the bottom or suspended slightly above structure, while gag grouper are almost always tight to cover and oriented directly on structure.
Rod Type: Casting (Conventional) primarily, some spinning in lighter applications
Rod length: 6’6” – 7’6”
Power: Medium-Heavy to Heavy
Action: Moderate-Fast to Fast
Line: 30–65 lb braid (often paired with 40–80 lb leader)
Weight Range: 2–6 oz sinkers (most common), up to ~6–12+ oz in deep water or strong current
MHX Part Numbers: SW70H, BA3K8/20-40 XFM700H, SPSWB7XXH
Vertical Jigging (Speed Jigging)
A fast-action rod with a balanced power-to-sensitivity ratio is preferred, allowing sharp response for working jigs while still maintaining control under load. It should recover quickly under pressure and handle repeated vertical stress without losing responsiveness.
Targets: Red snapper suspended around structure or actively feeding off the bottom, and gag grouper positioned tight to structure edges or ambush points where reaction strikes are possible during brief vertical movement windows.
Rod Type: Casting (Conventional) or spinning, depending on angler preference and jig style
Rod length: 6’0” – 7’
Power: Medium to Medium-Heavy
Action: Moderate-Fast
Line: 30–50 lb braid
Weight Range: 80–200 g (3–7 oz) most common, up to 250+ g (8–9 oz) in deep water or strong current. A good rule of thumb is ~1 g per foot of depth, increasing as current or drift requires.
MHX Part Numbers: AXVJ6040-165, AXVJ7040-165
Slow Pitch Jigging
A rod with a moderate, load-responsive blank (with a parabolic bend) is needed to maintain consistent tension and allow controlled flex through the lift-and-fall cycle. It should stay engaged under minimal input while still recovering smoothly under load.
Targets: Red snapper and gag grouper holding near structure, especially in deeper water where fish are tight to cover and less responsive to fast-moving presentations. Red snapper are also commonly found higher in the water column.
Rod Type: Casting (Conventional) primarily, spinning in lighter applications or personal preference
Rod length: 6’3” – 7’0”+ (most common: 6’3” – 6’6”)
Power: Medium-Light to Medium
Action: Moderate to Moderate-Fast (slow pitch specific load)
Line: 20–50 lb braid
Weight Range: 20–200 g jigs (approx. 1–7 oz). A good rule of thumb is ~1 g per foot of depth, increasing as current or drift requires.
MHX Part Numbers: XJSP631M, XJSP701M
Jigheads & Baits
A lighter, sensitive rod with a fast response tip is preferred to detect subtle pressure changes and maintain direct connection to lighter presentations. It should allow precise control of small weights while still maintaining enough backbone for structure contact.
Targets: Primarily red snapper suspended above structure, following chum lines, or holding mid-water where lighter presentations are more effective than heavy bottom rigs.
Rod Type: Spinning primarily (light casting setups also used)
Rod length: 6’6” – 7’6”
Power: Medium to Medium-Heavy (spinning or casting setups)
Action: Fast
Line: 20–40 lb braid (often with 20–50 lb fluorocarbon leader)
Weight Range: 1/2–2 oz jigheads (most common), up to 2–3 oz in stronger current or deeper water where extra weight is needed
MHX Part Numbers: SW70M, LS76/20-40
Key Takeaways
- Match rod type to technique: casting (conventional) and spinning can both be used across most fishing applications, but spinning is commonly used for jigheads and lighter presentations.
- Prioritize power for control in structure and current, with medium-heavy to heavy covering most scenarios. Extra-heavy when you need it.
- Choose action based on response and forgiveness, with fast for sensitivity and moderate-fast for added load absorption near structure.
- Keep length in the 6’0”–7’6” range to balance leverage, control, and maneuverability.
- Scale strength to conditions like depth, current, and structure pressure rather than overbuilding by default.
Choosing a Snapper & Grouper Rod Blank
Most red snapper and gag grouper rods are built for bottom contact, lifting power, and maintaining control around reefs, wrecks, ledges, and other hard structure. These rods are designed to handle heavy sinkers, vertical jigs, and bait rigs in current while still providing enough sensitivity to detect bites and read bottom changes. Because gag grouper stay tightly locked to cover, strong lifting power and immediate fish control are especially important once hooked.
Spinning
Spinning rods are used across a wide range of red snapper applications, particularly when casting jigheads, working soft plastics, or presenting lighter natural baits. They are commonly used when anglers are making controlled casts, working suspended fish in the water column, or fishing around chum lines where presentations are moving through different depths.
Gag grouper are also occasionally targeted with spinning gear in more situational scenarios, typically when fish are positioned slightly off structure or along reef edges in shallower water, where lighter presentations can be placed accurately near cover.
They are also used for vertical presentations in lighter current or shallower depth ranges where bait or lure control through the water column is the primary focus rather than heavy bottom contact.
Casting (Conventional)
Conventional rods are widely used for both red snapper and gag grouper bottom fishing and vertical jigging applications, particularly when fishing reefs, wrecks, ledges, oil platforms, and other hard structure.
These setups are commonly paired with heavier sinkers, vertical jigs, and bait rigs in current, where maintaining consistent bottom contact and working directly over structure is required. They are used across both species when fishing tight to structure or when presentations need to stay positioned in deeper zones of the water column.
Conventional gear is also used in a wide range of depth and current conditions where anglers are fishing vertically or directly over structure with controlled line angle and sustained load.
Keep in mind that the same rod blank can be used to build either a spinning or conventional rod.
Power
Rod blank power determines how much lifting force you can apply when a fish is hooked in or around structure. In red snapper fishing, medium-heavy is the most common all-around choice for general bottom fishing and moderate depths, offering a strong balance of lifting power, control, and versatility. Heavy and extra-heavy blanks are used in deeper water, strong current, or when fishing heavier sinkers where maintaining bottom contact and turning fish away from structure becomes more demanding. Medium power blanks are typically used for lighter jigging or finesse-style presentations where sensitivity and lure control are prioritized over maximum lifting strength.
In saltwater fishing, line class ratings (lb test) are often shown alongside blank power as a general reference, but they represent a recommended line range and application window rather than the actual stiffness or flex characteristics of the blank.
As a general guide for offshore red snapper setups:
- 15–30 lb is considered light
- 20–40 lb is considered medium-light
- 20–50 lb is considered medium
- 40–60 lb is considered medium-heavy
- 50–80+ lb is considered heavy
Power selection is ultimately driven by depth, current, sinker weight, and how tightly fish are holding to structure.
Action
Action affects how the rod loads during the fight and how quickly it responds on hooksets. Fast action rods are commonly used in vertical and bottom-contact applications where sensitivity and immediate response are important, especially when working jigheads, vertical speed jigs, or fishing tight to structure where detecting bites and setting the hook quickly matters.
Moderate-fast actions are used in situations where a bit more rod load is beneficial during the fight, helping absorb sudden surges and reduce pulled hooks in close-quarters structure fishing, while still maintaining solid responsiveness for working baits or jigs through the water column.
Moderate action rods are typically used in slow pitch jigging, where a deeper, more parabolic bend is needed to keep the lure moving naturally on the fall and maintain tension through longer presentations. These actions are selected based on technique, depth, current, and structure.
Length
Most rods fall between 6’ and 7’6”. Shorter rods (6’–6’6”) are typically used for vertical fishing directly over structure, where tighter line control and direct vertical contact are important when working fish from depth. Medium lengths (6’6”–7’) are the most versatile and are commonly used across both bottom fishing and jigging applications in a wide range of depths and current conditions. Longer rods (7’–7’6”) are used when additional line control is needed, such as drifting, fishing multiple lines, or working presentations where managing line angle and separation through the water column is more important than maximum vertical leverage.
Rod length selection is based on fishing style, depth, and how directly the presentation needs to be controlled over structure. Sometimes even the vessel being fished can be an additional determining factor.
Line Rating
Line selection typically uses braided mainline in the 30–65 lb range, with 40–50 lb being a common all-around choice. Braid is preferred due to its thin diameter, high sensitivity, and ability to maintain direct contact with structure in deeper water while allowing lighter sinkers and more efficient bottom contact. Heavier braid in the 50–80 lb range is used around deep wrecks, heavy structure, or strong current where additional abrasion resistance and control are required to manage fish in tight cover.
Leaders are typically 30–80 lb fluorocarbon or monofilament, with 5–10 feet being standard depending on conditions and presentation. Fluorocarbon is most commonly used for abrasion resistance around reefs, wrecks, and rocky bottom, while monofilament is still used in some setups for added stretch to absorb sudden strikes and reduce pulled hooks. Line strength should always match structure pressure, water depth, and the angler’s ability to maintain control while keeping a natural presentation.
Weight / Lure Rating
Rods are rated differently depending on whether they are designed for vertical drop fishing or casting applications.
Conventional rods used for bottom fishing are built to handle heavy sinkers, jigs, and bait rigs that are dropped straight down into the water column and fished under load in current to maintain contact with structure. The rating reflects how much sustained vertical weight the rod can manage while staying in control through the drop and retrieve.
Casting-style rods (often used for jigheads and soft plastics or bait) are rated by lure weight, since they are designed for casting presentations outward, allowing the lure to sink through the water column, and then retrieving it back rather than working it straight beneath the boat under continuous vertical load.
Rod Specs by Application
The following are general rod specifications commonly used by red snapper and gag grouper anglers. While exact setups vary by depth, current, and structure, these ranges reflect typical gear choices across most offshore reef and structure fisheries and provide a practical baseline for matching rods to techniques.
Natural Baits & Rigs
A rod with strong lifting power and a responsive tip is important for maintaining bottom contact while keeping enough sensitivity to detect bites in current. It needs to handle sustained load from weighted rigs while controlling fish around structure once hooked.
Targets: Red snapper and gag grouper holding around reefs, wrecks, ledges, oil platforms, and hard bottom structure. Snapper may be positioned tight to the bottom or suspended slightly above structure, while gag grouper are almost always tight to cover and oriented directly on structure.
Rod Type: Casting (Conventional) primarily, some spinning in lighter applications
Rod length: 6’6” – 7’6”
Power: Medium-Heavy to Heavy
Action: Moderate-Fast to Fast
Line: 30–65 lb braid (often paired with 40–80 lb leader)
Weight Range: 2–6 oz sinkers (most common), up to ~6–12+ oz in deep water or strong current
MHX Part Numbers: SW70H, BA3K8/20-40 XFM700H, SPSWB7XXH
Vertical Jigging (Speed Jigging)
A fast-action rod with a balanced power-to-sensitivity ratio is preferred, allowing sharp response for working jigs while still maintaining control under load. It should recover quickly under pressure and handle repeated vertical stress without losing responsiveness.
Targets: Red snapper suspended around structure or actively feeding off the bottom, and gag grouper positioned tight to structure edges or ambush points where reaction strikes are possible during brief vertical movement windows.
Rod Type: Casting (Conventional) or spinning, depending on angler preference and jig style
Rod length: 6’0” – 7’
Power: Medium to Medium-Heavy
Action: Moderate-Fast
Line: 30–50 lb braid
Weight Range: 80–200 g (3–7 oz) most common, up to 250+ g (8–9 oz) in deep water or strong current. A good rule of thumb is ~1 g per foot of depth, increasing as current or drift requires.
MHX Part Numbers: AXVJ6040-165, AXVJ7040-165
Slow Pitch Jigging
A rod with a moderate, load-responsive blank (with a parabolic bend) is needed to maintain consistent tension and allow controlled flex through the lift-and-fall cycle. It should stay engaged under minimal input while still recovering smoothly under load.
Targets: Red snapper and gag grouper holding near structure, especially in deeper water where fish are tight to cover and less responsive to fast-moving presentations. Red snapper are also commonly found higher in the water column.
Rod Type: Casting (Conventional) primarily, spinning in lighter applications or personal preference
Rod length: 6’3” – 7’0”+ (most common: 6’3” – 6’6”)
Power: Medium-Light to Medium
Action: Moderate to Moderate-Fast (slow pitch specific load)
Line: 20–50 lb braid
Weight Range: 20–200 g jigs (approx. 1–7 oz). A good rule of thumb is ~1 g per foot of depth, increasing as current or drift requires.
MHX Part Numbers: XJSP631M, XJSP701M
Jigheads & Baits
A lighter, sensitive rod with a fast response tip is preferred to detect subtle pressure changes and maintain direct connection to lighter presentations. It should allow precise control of small weights while still maintaining enough backbone for structure contact.
Targets: Primarily red snapper suspended above structure, following chum lines, or holding mid-water where lighter presentations are more effective than heavy bottom rigs.
Rod Type: Spinning primarily (light casting setups also used)
Rod length: 6’6” – 7’6”
Power: Medium to Medium-Heavy (spinning or casting setups)
Action: Fast
Line: 20–40 lb braid (often with 20–50 lb fluorocarbon leader)
Weight Range: 1/2–2 oz jigheads (most common), up to 2–3 oz in stronger current or deeper water where extra weight is needed
MHX Part Numbers: SW70M, LS76/20-40
Key Takeaways
- Match rod type to technique: casting (conventional) and spinning can both be used across most fishing applications, but spinning is commonly used for jigheads and lighter presentations.
- Prioritize power for control in structure and current, with medium-heavy to heavy covering most scenarios. Extra-heavy when you need it.
- Choose action based on response and forgiveness, with fast for sensitivity and moderate-fast for added load absorption near structure.
- Keep length in the 6’0”–7’6” range to balance leverage, control, and maneuverability.
- Scale strength to conditions like depth, current, and structure pressure rather than overbuilding by default.
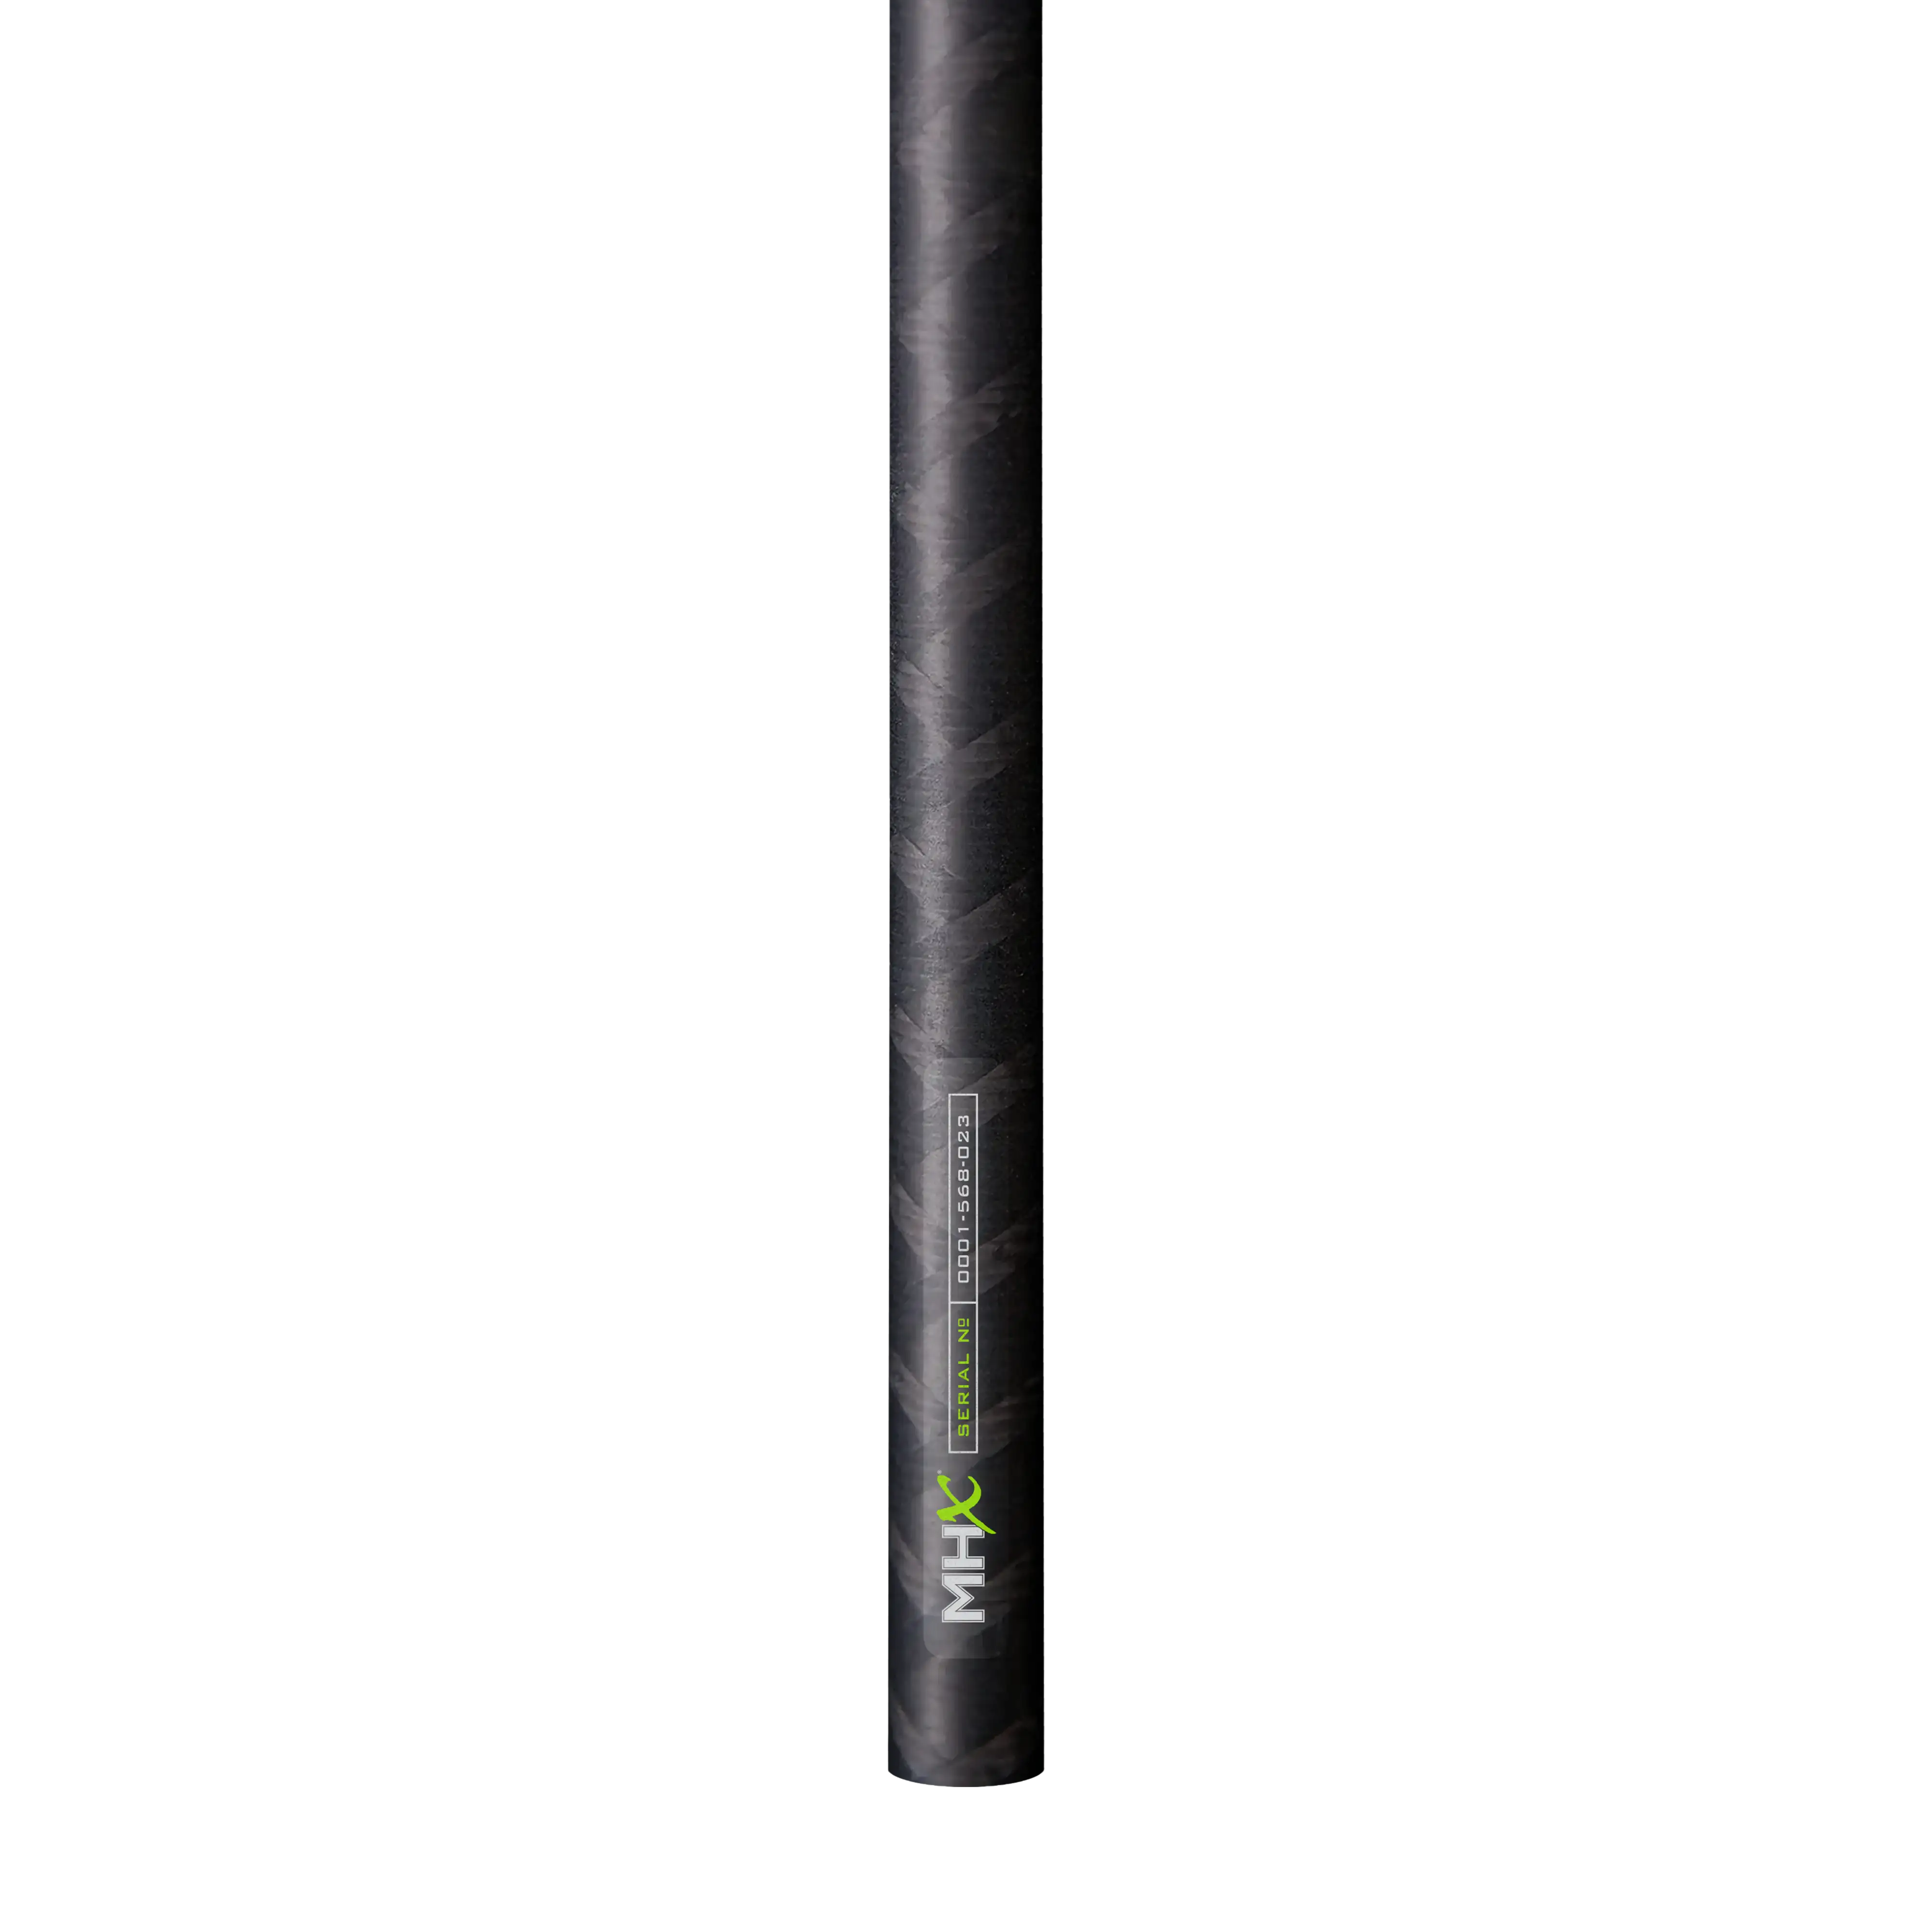
Rod Blanks for Red Snapper & Gag Grouper

Guide Kits for Snapper & Grouper Rods
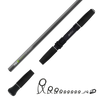
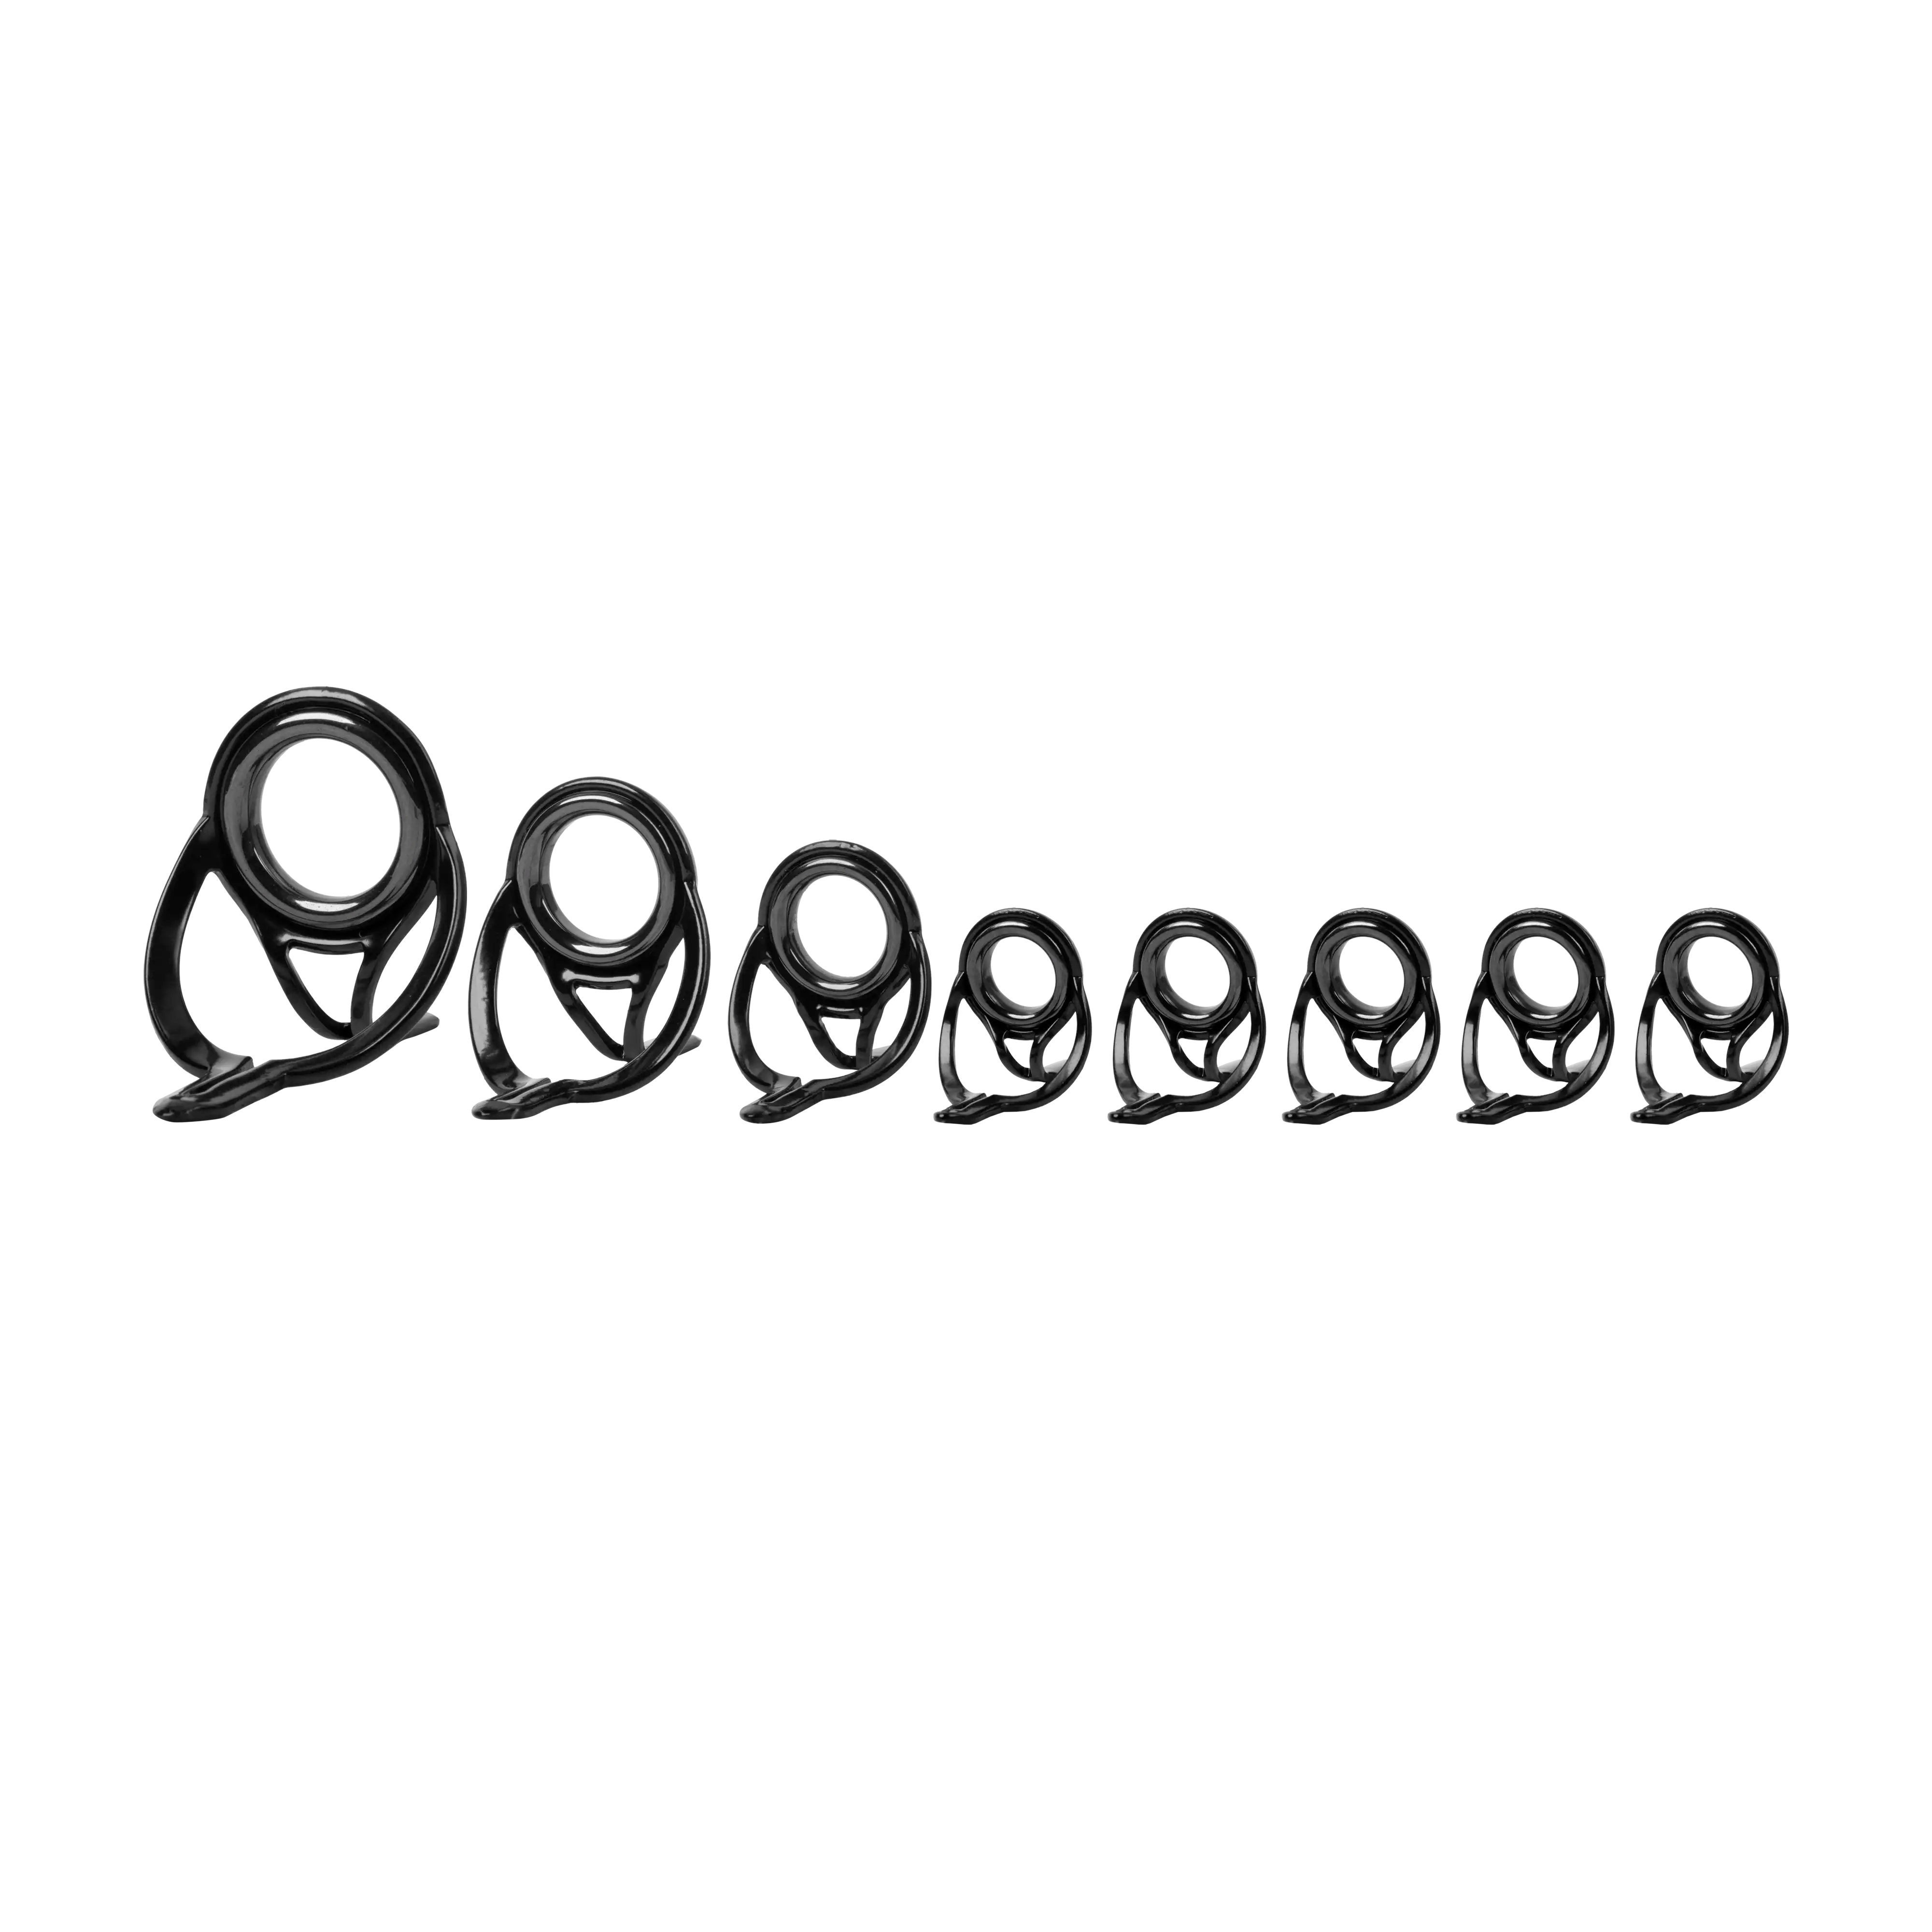
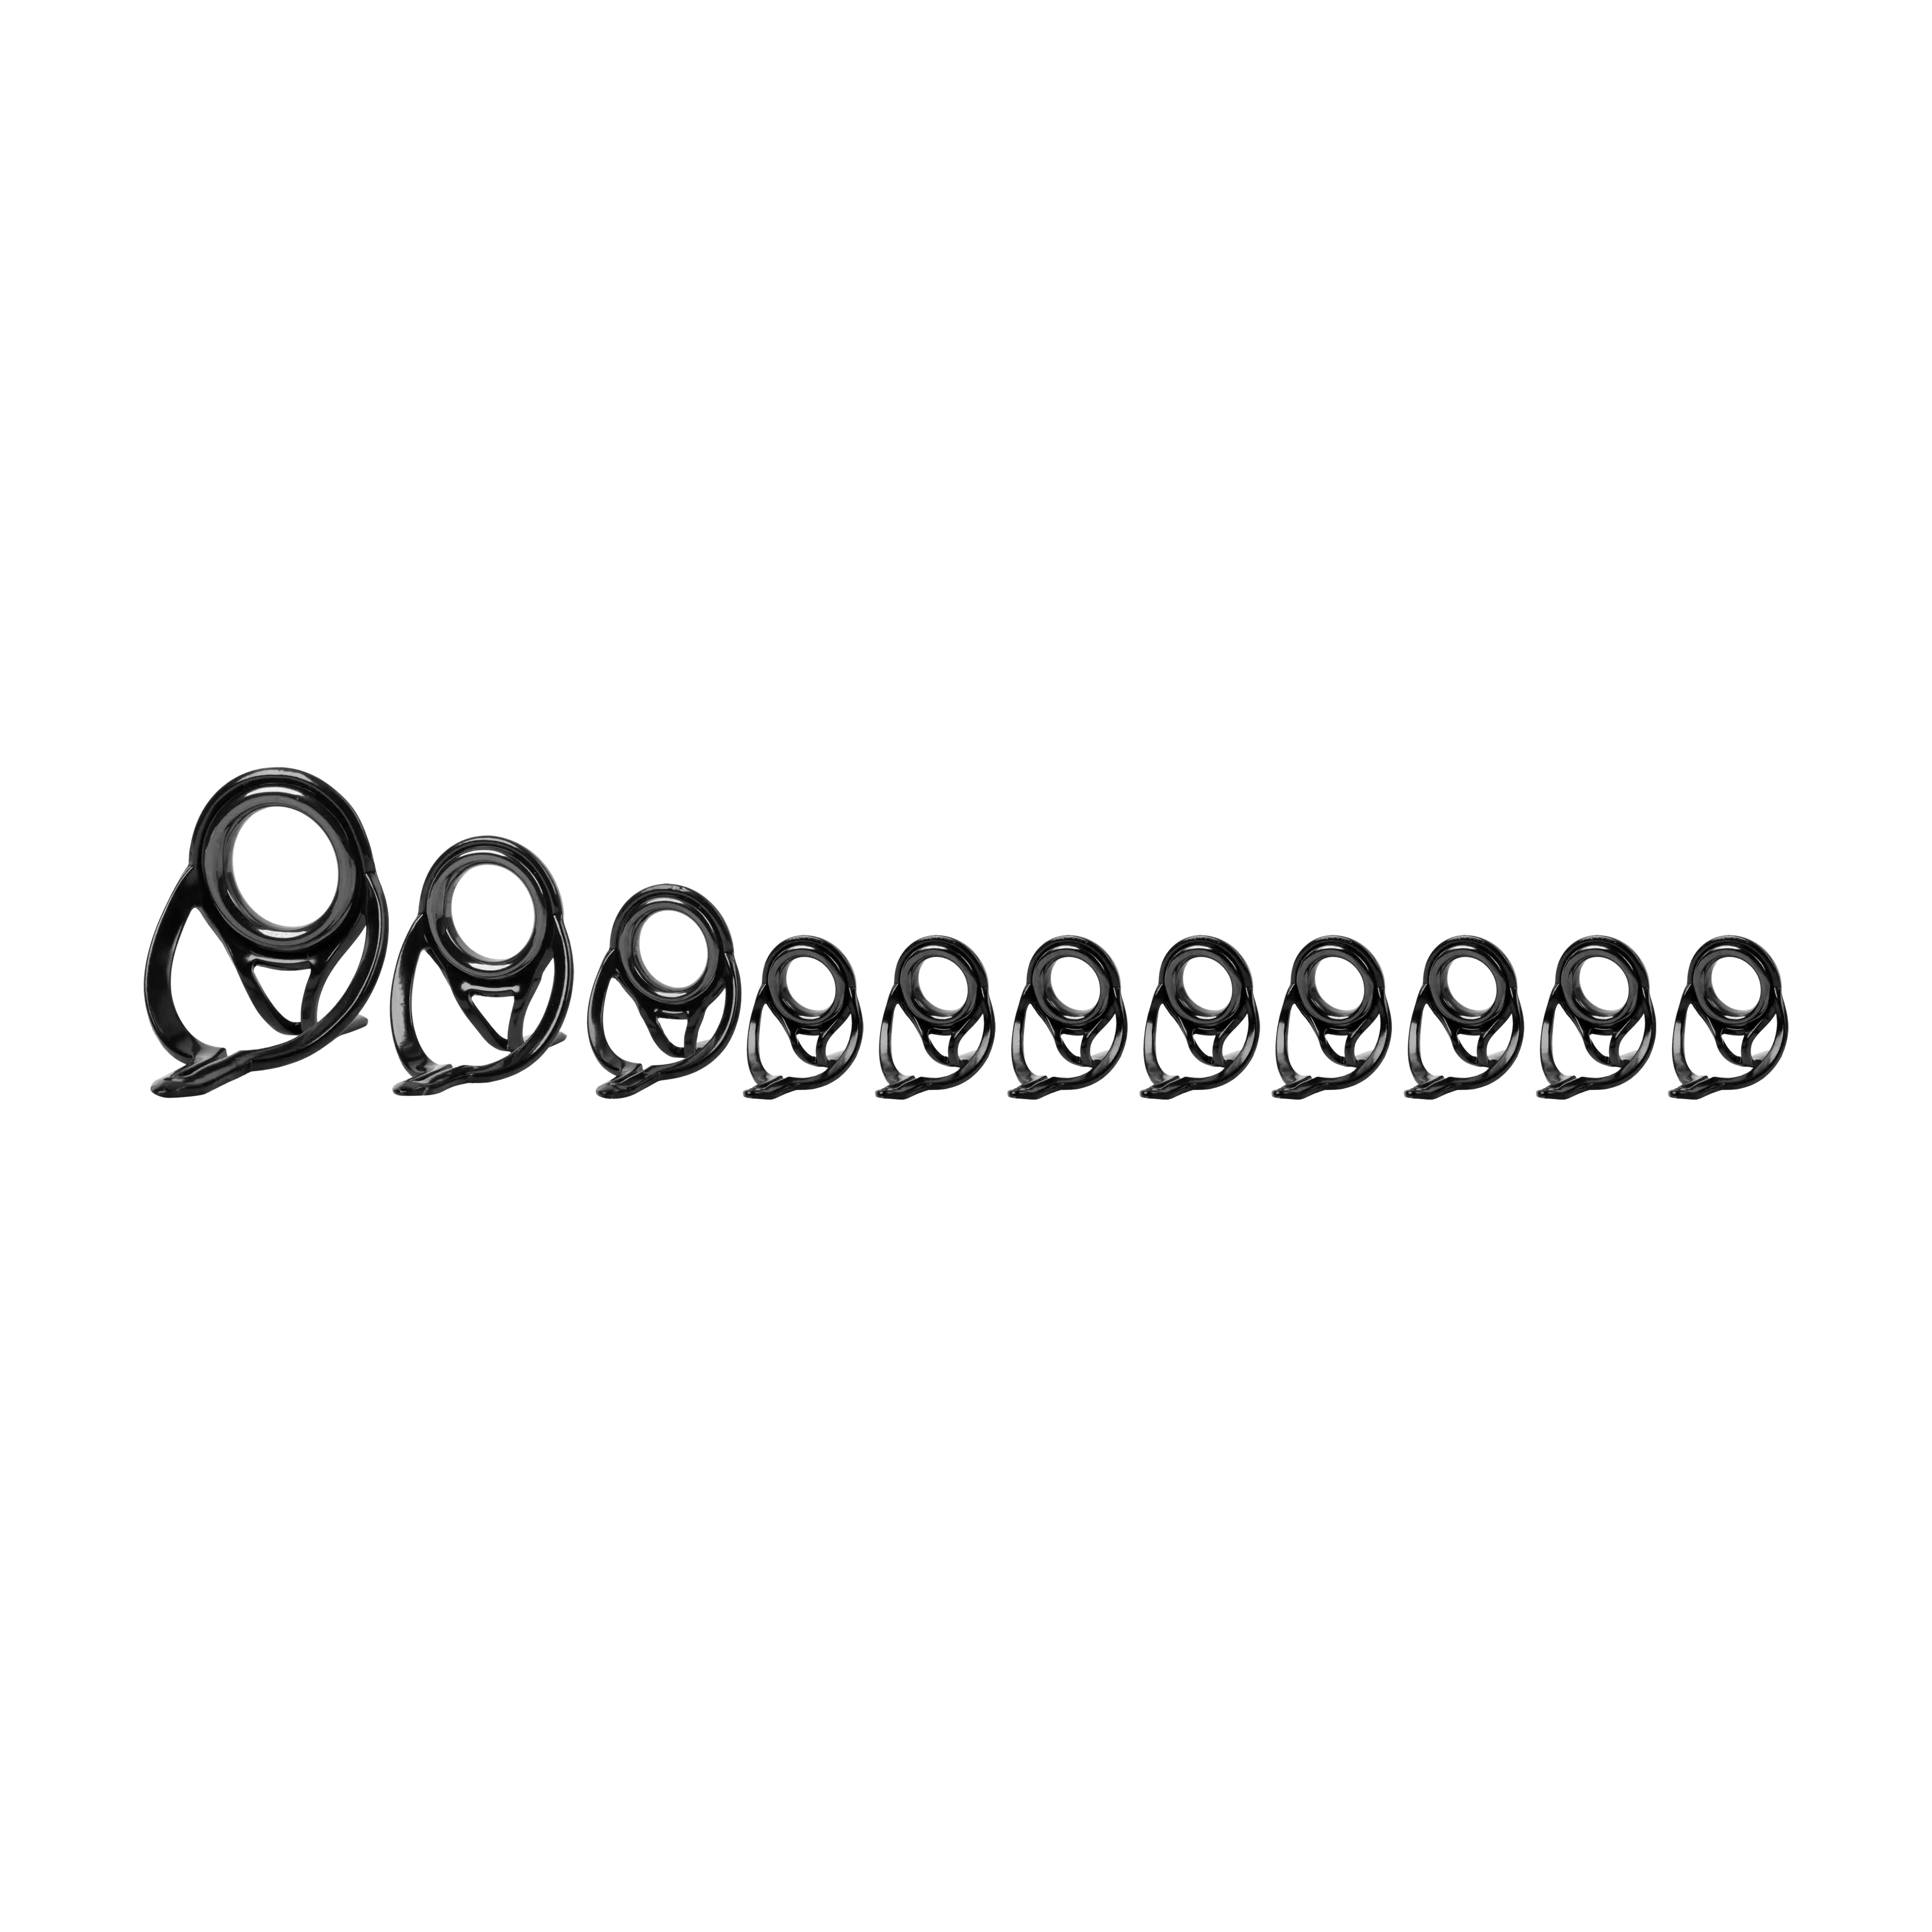
When building rods for red snapper and gag grouper, the guide kit plays a major role in how efficiently the rod performs under vertical load. These offshore applications place constant pressure on the guide train through heavy sinkers and hard-running fish that immediately turn toward structure, especially gag grouper, which are known for diving straight into cover once hooked. The guide system must manage high braid loads, maintain smooth line flow under tension, and support controlled lifting without creating weak points in the blank.
Guide kits simplify the build by pairing correctly sized guides and spacing layouts to specific blank lengths and applications, removing guesswork and ensuring clean line tracking from reel to tip. A properly designed guide train improves load distribution, maintains consistent pressure during the fight, and helps the blank perform smoothly when lifting fish from deep water or structure-heavy environments.
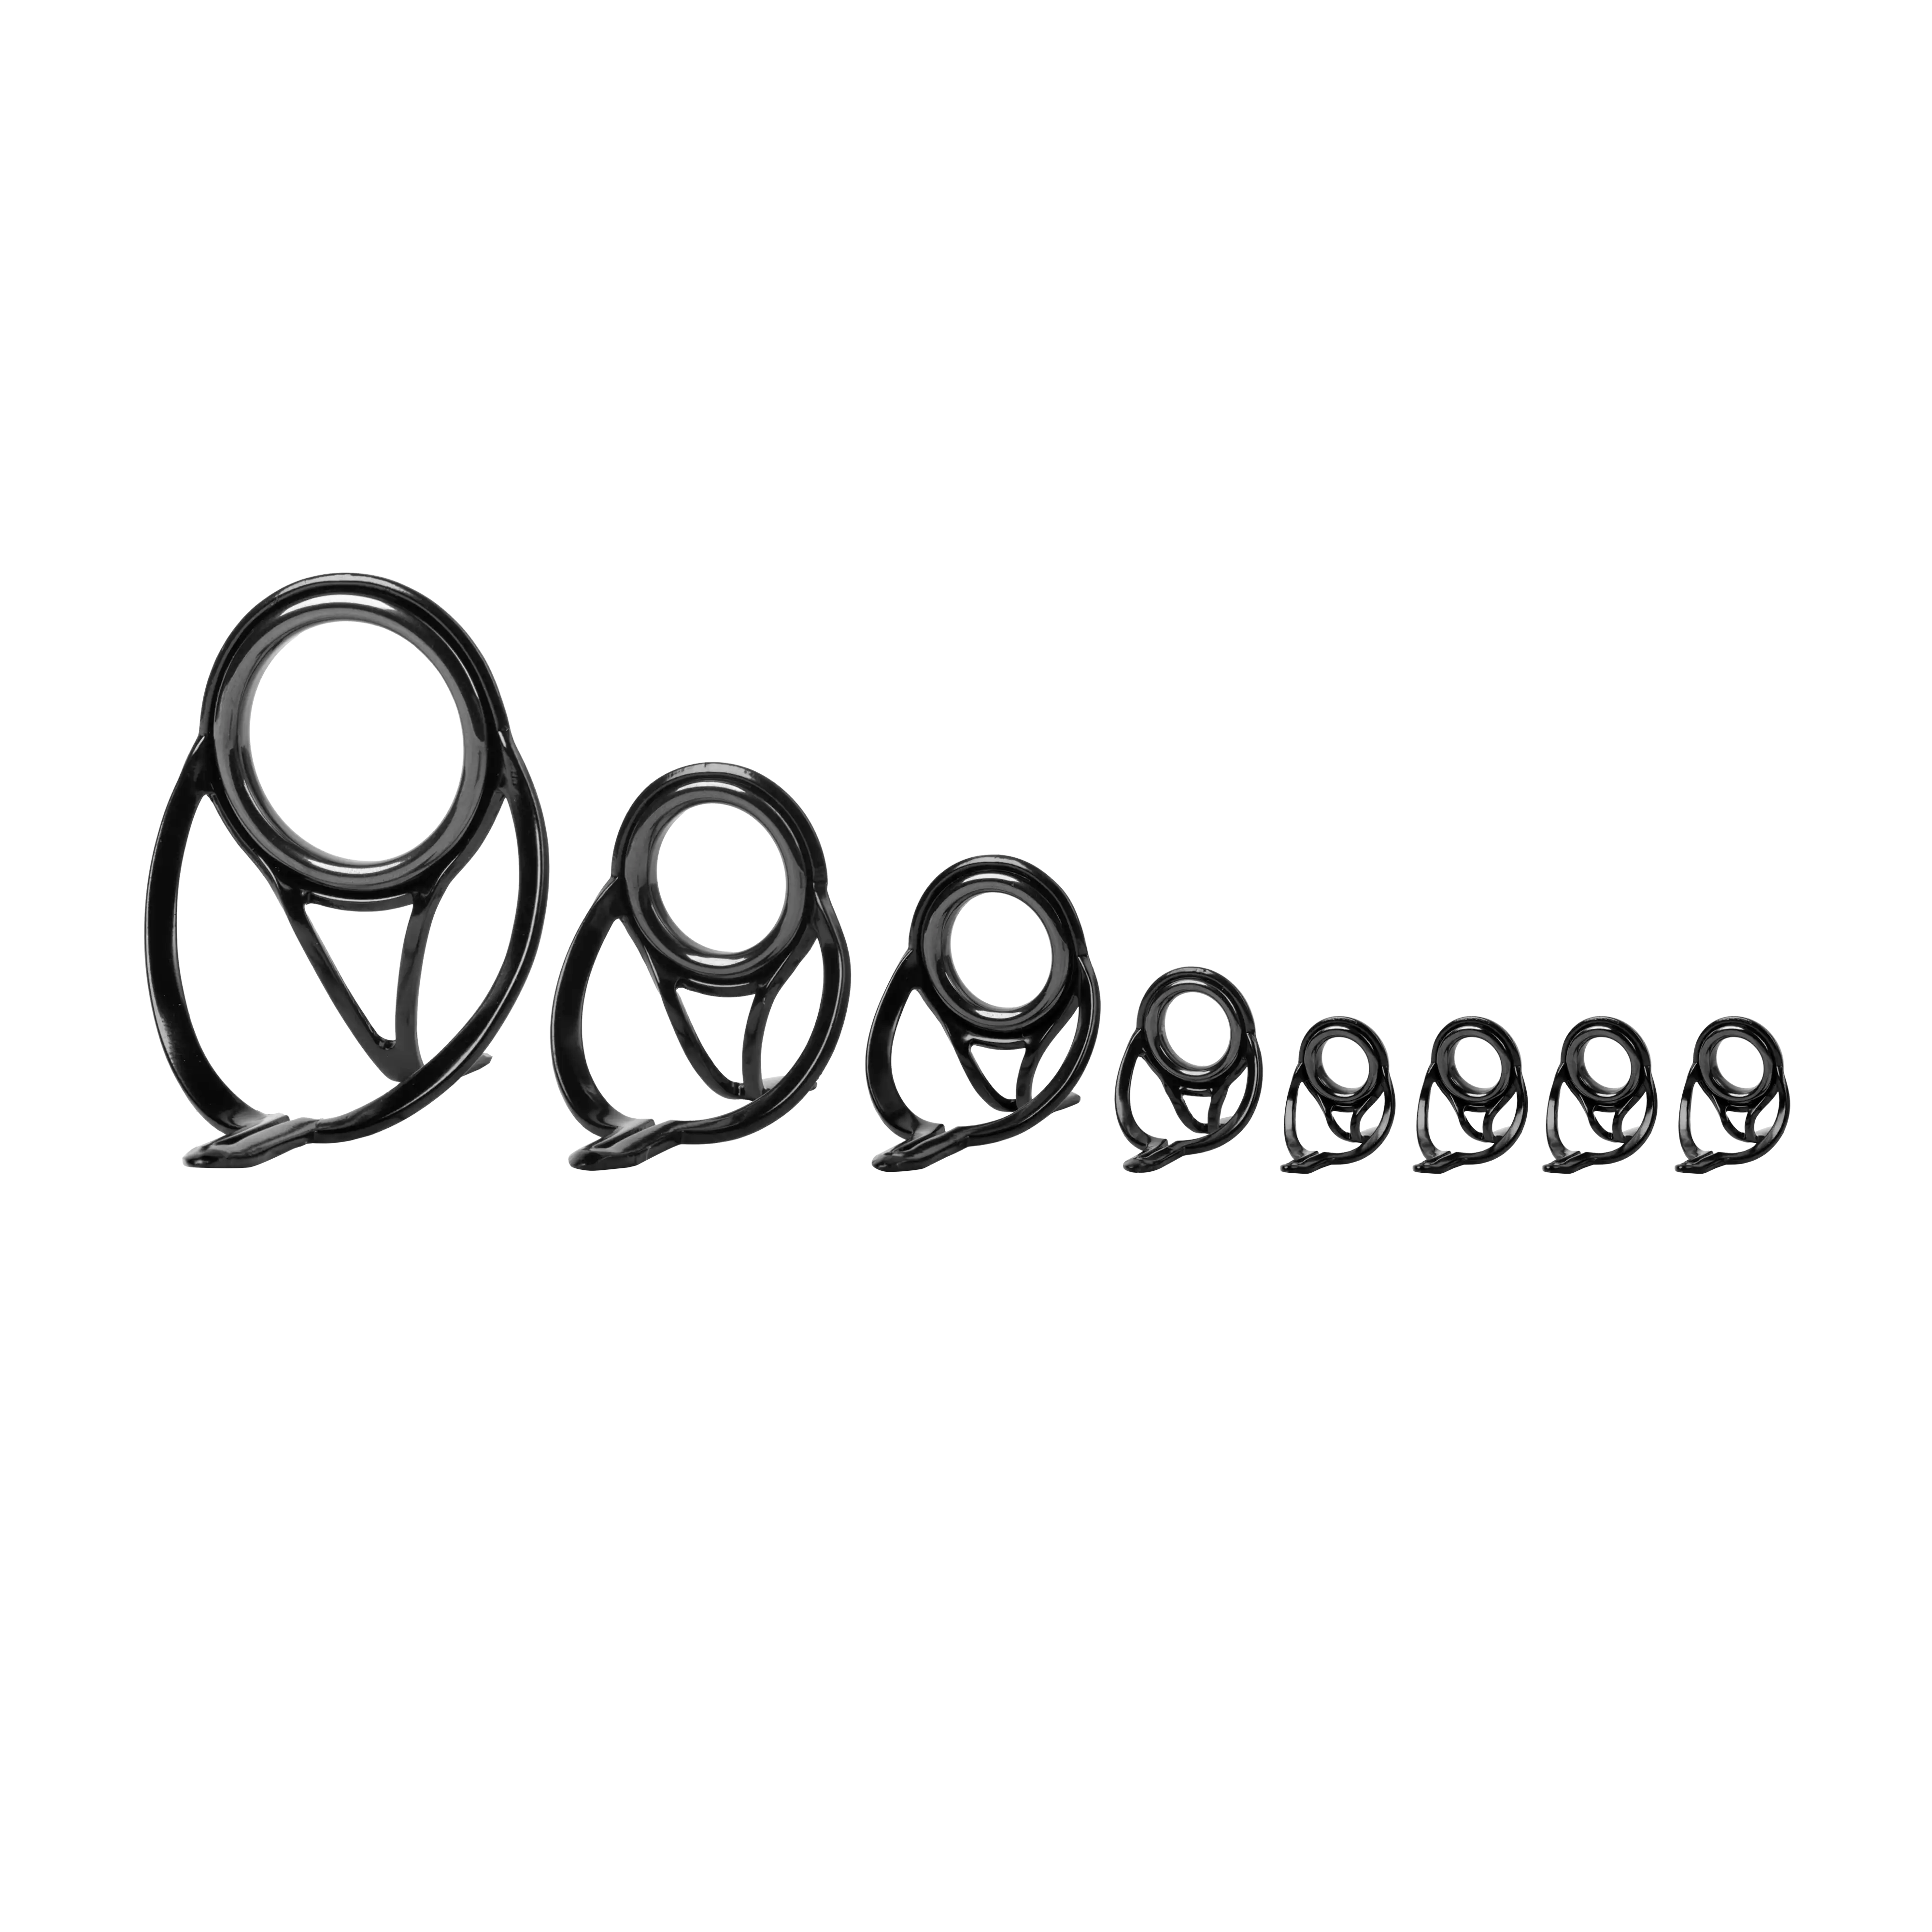
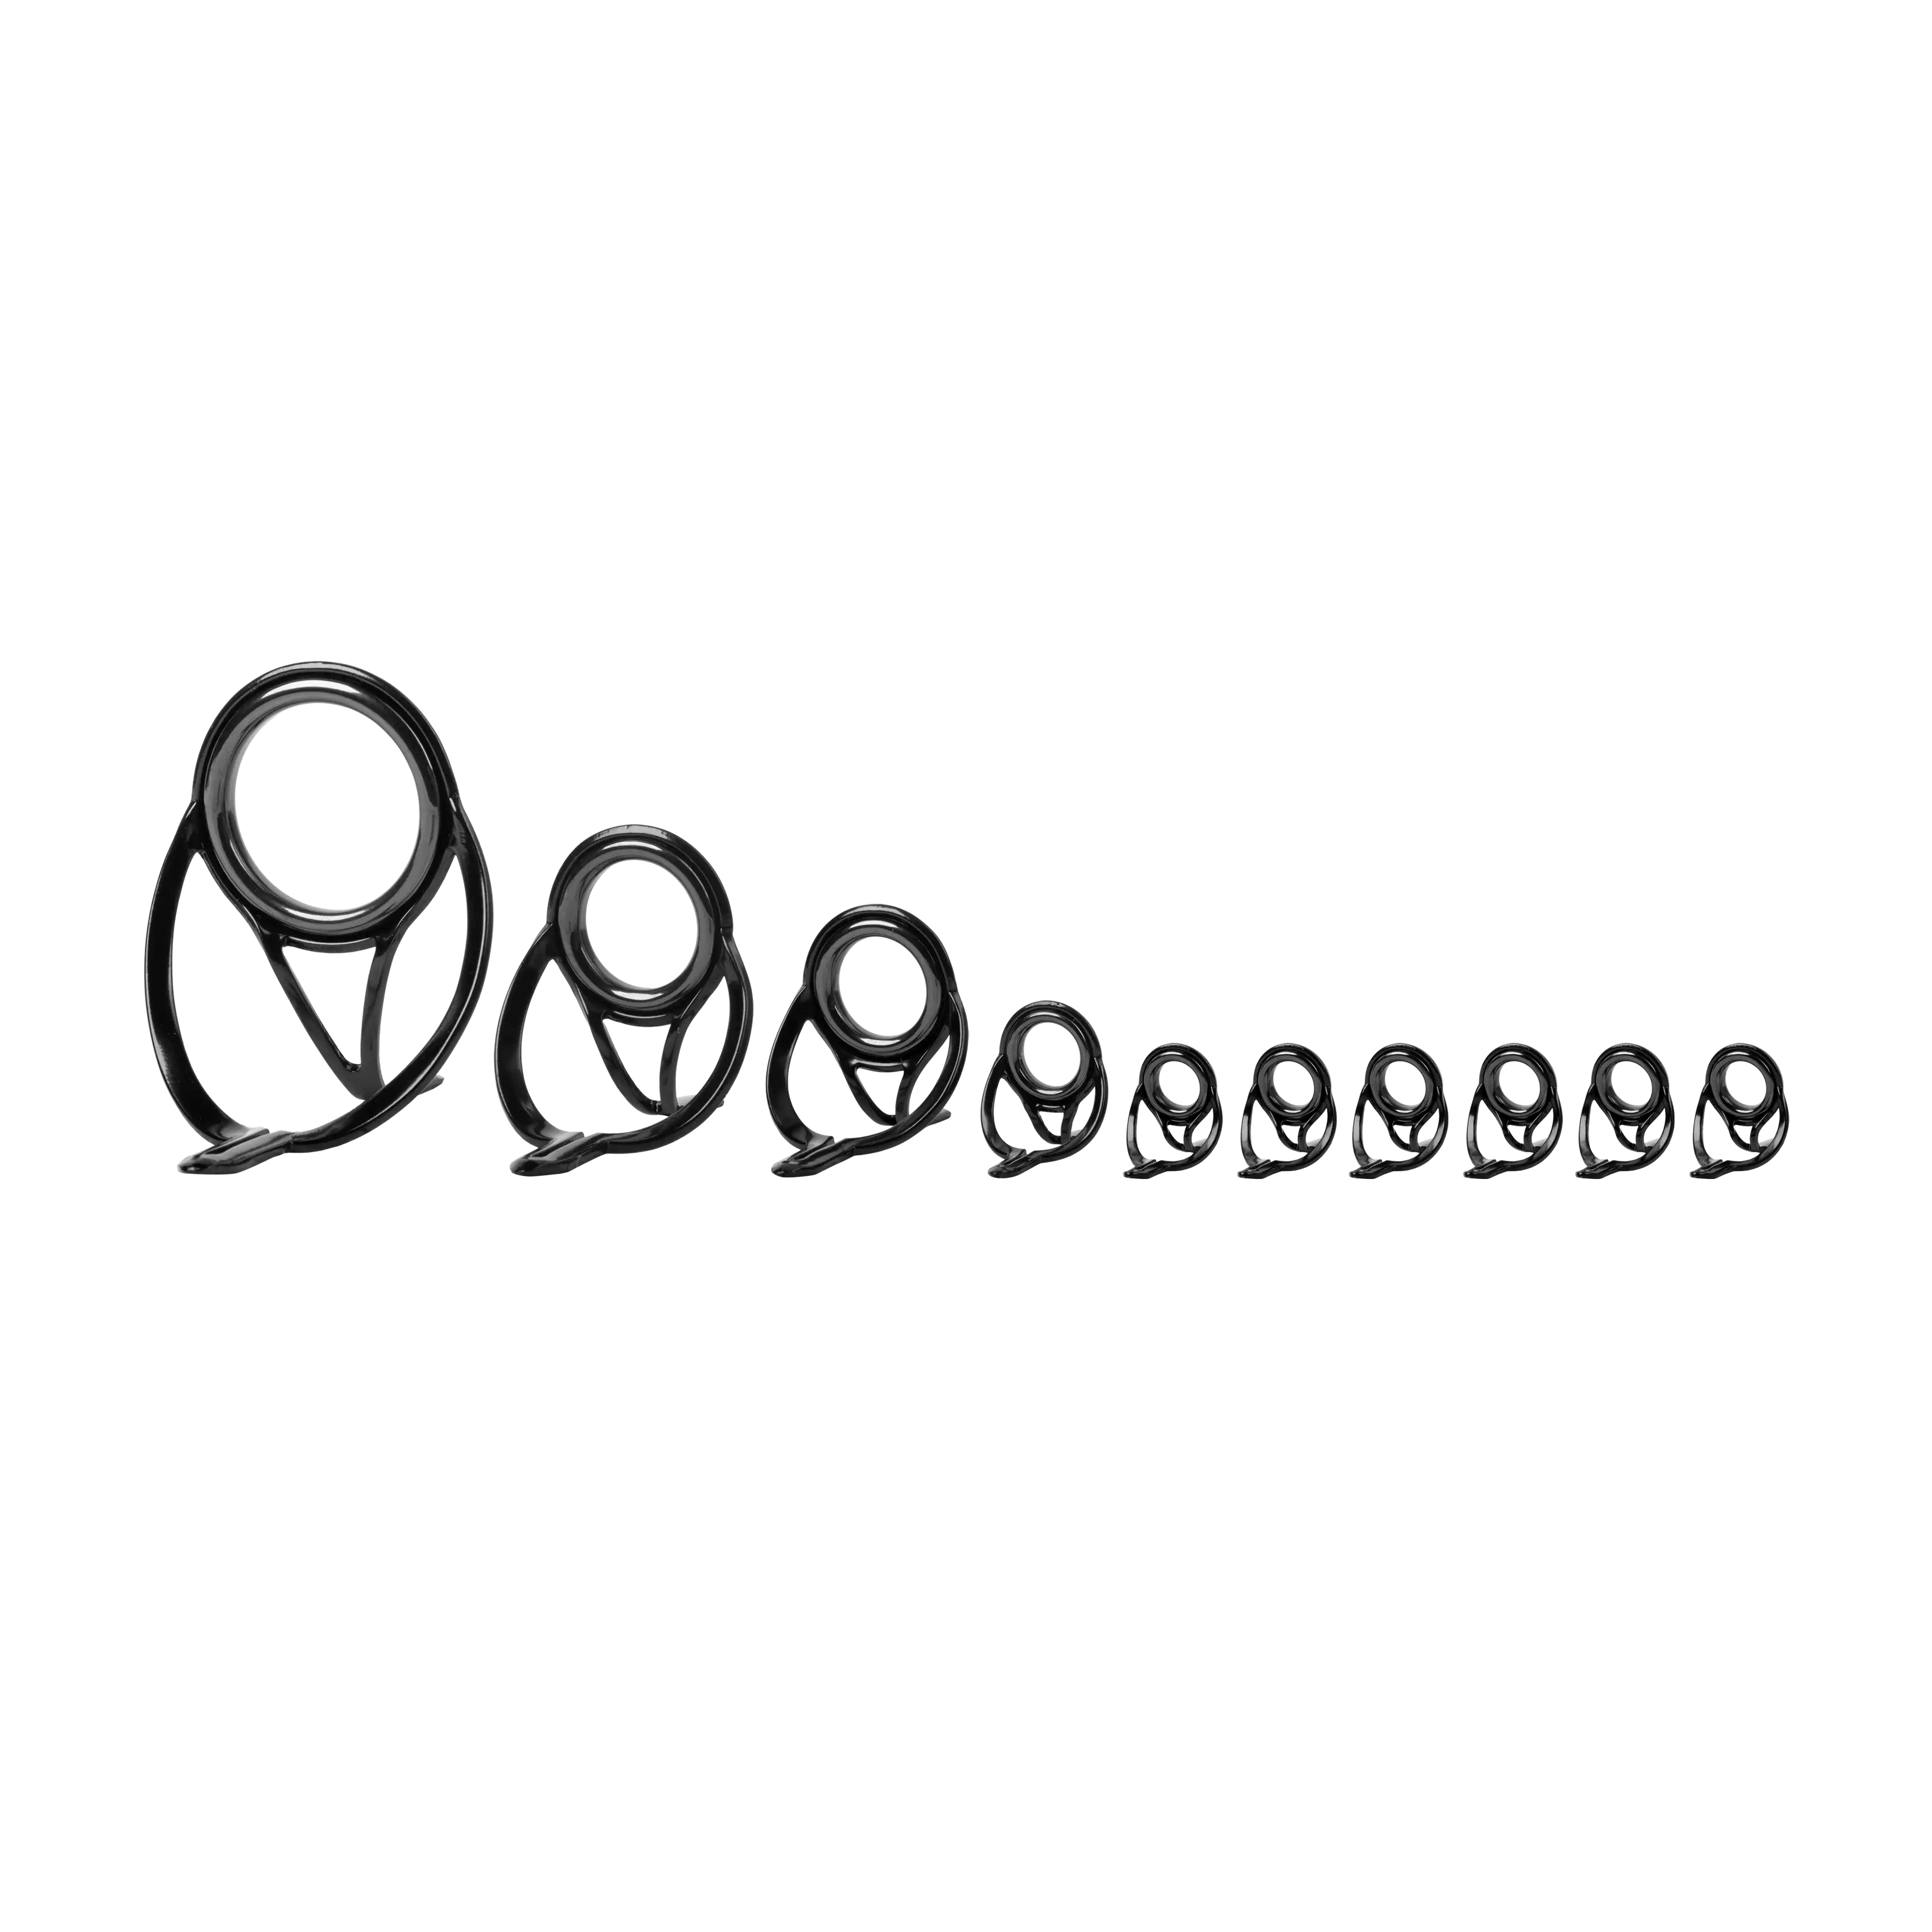
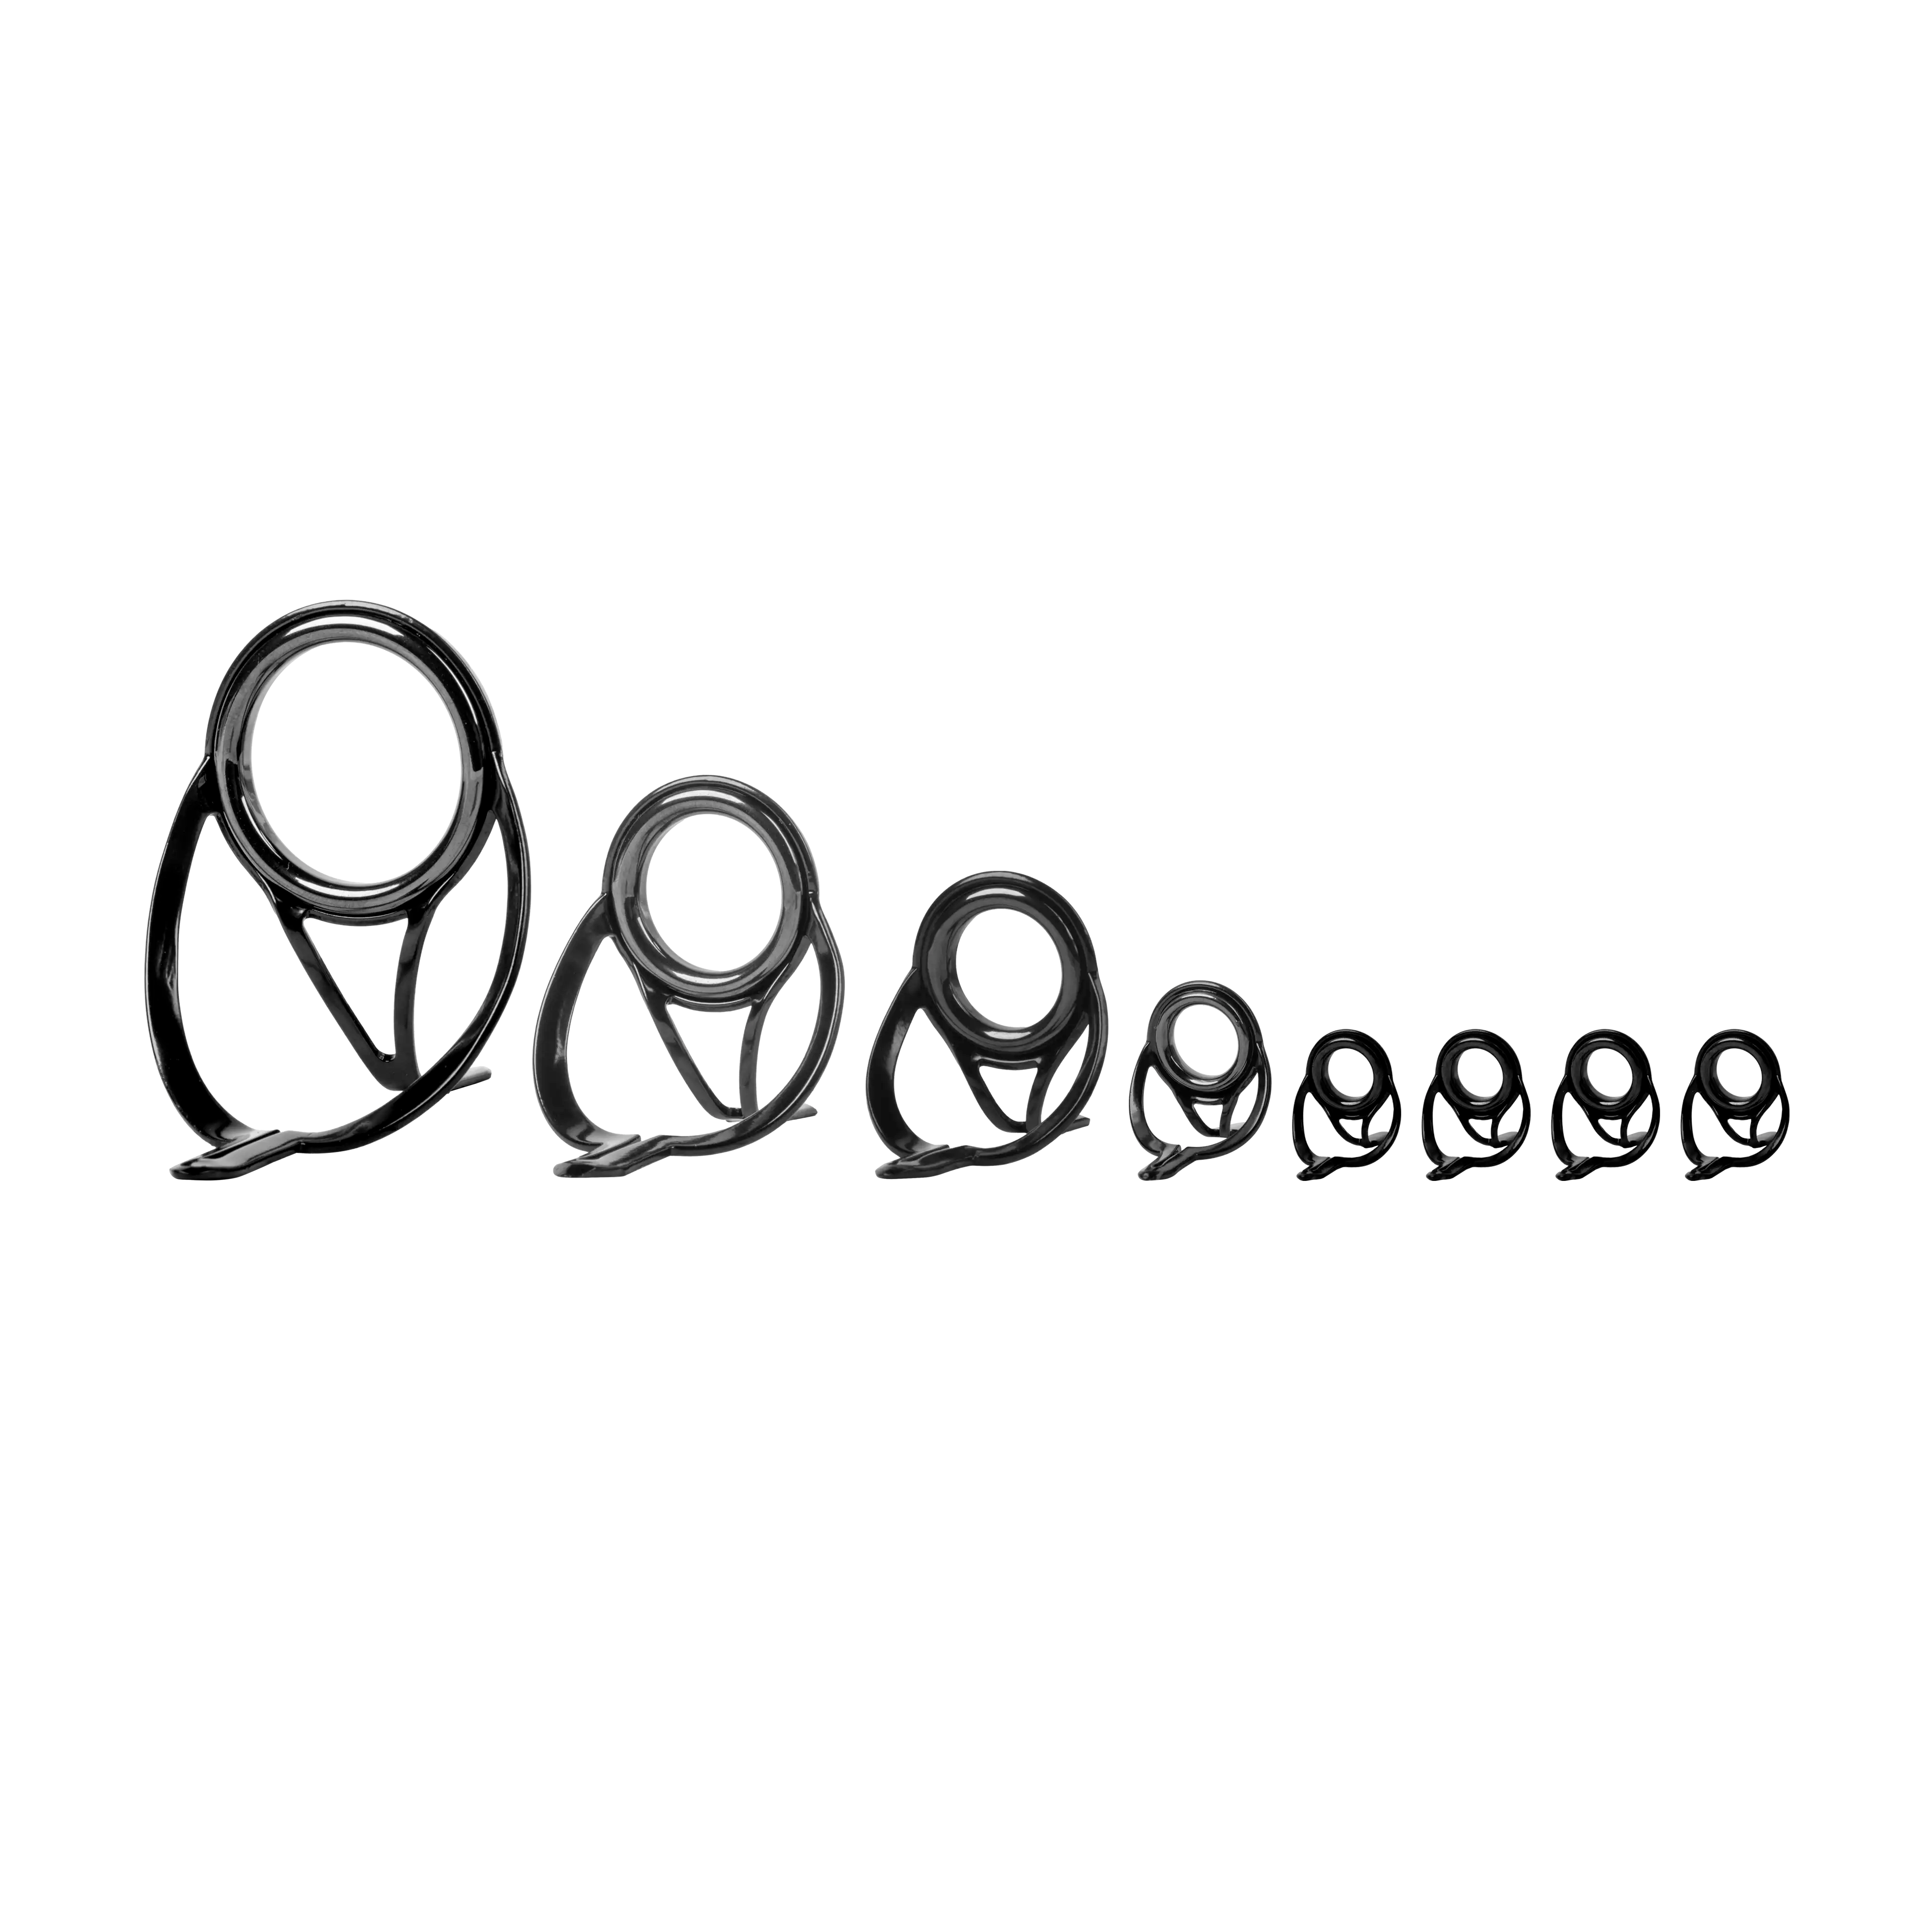
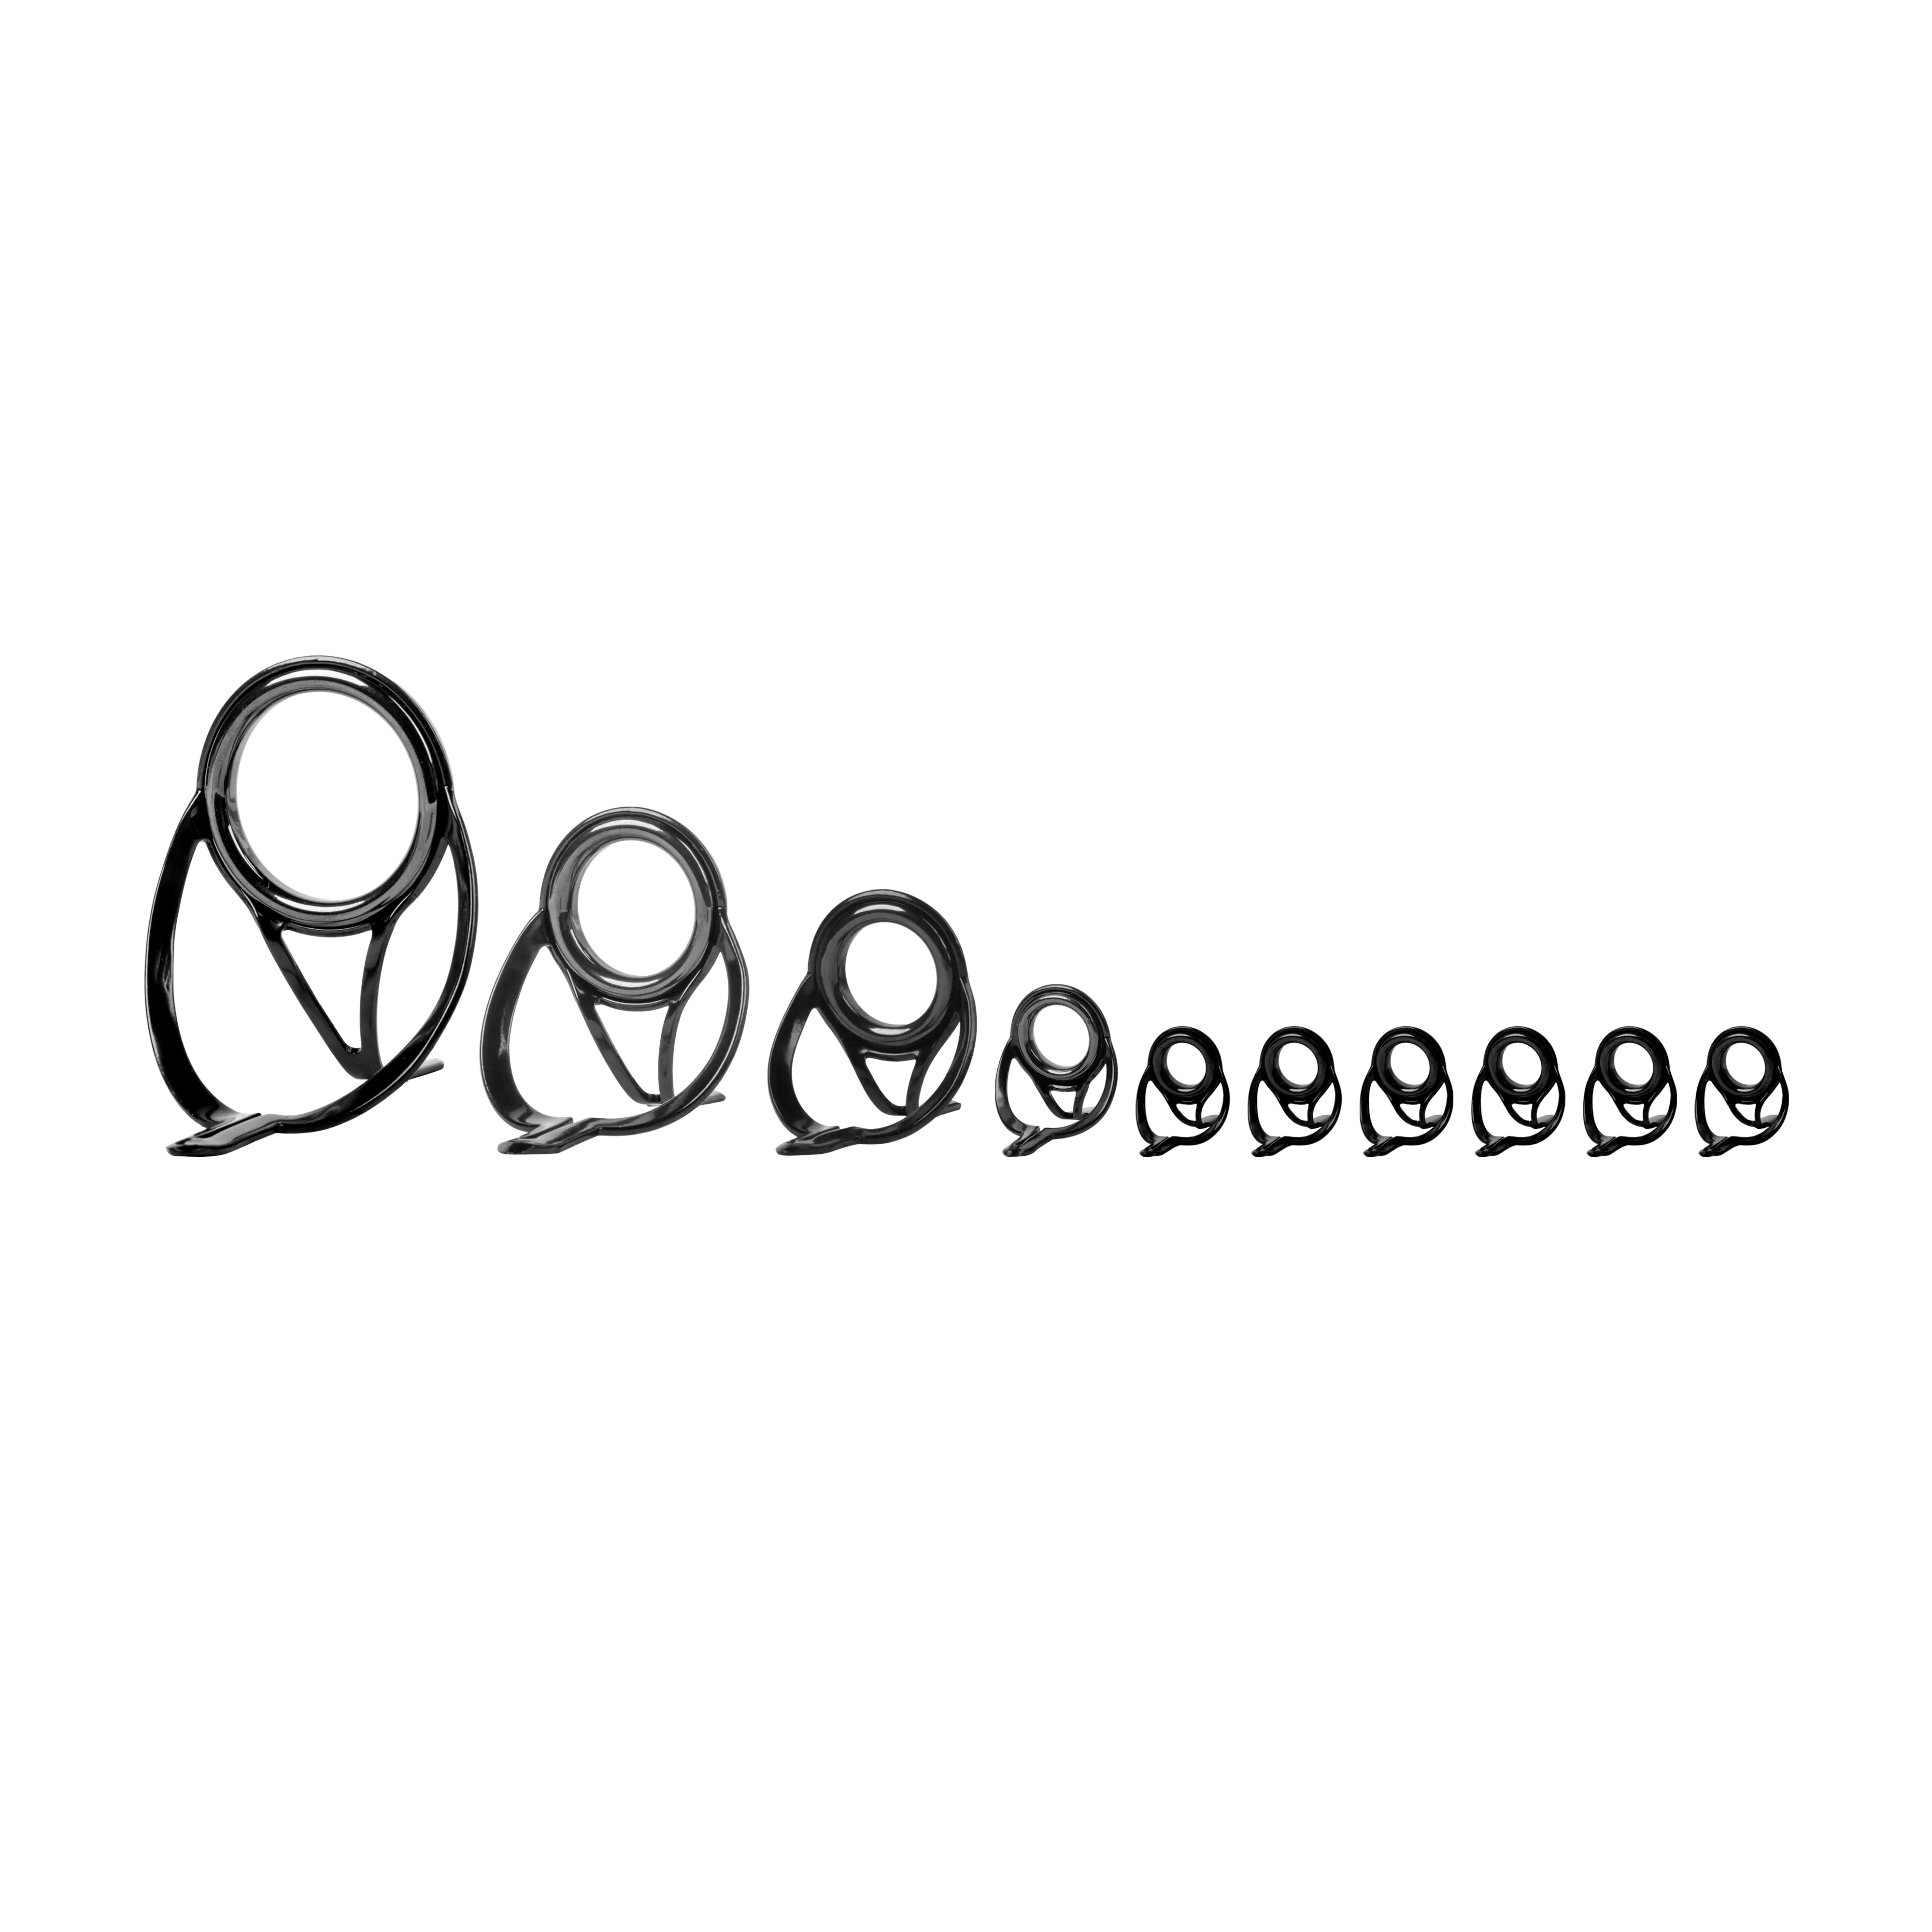
For snapper and grouper builds, guide systems are designed around braid-heavy vertical setups where strength, stability, and controlled line flow are just as important as sensitivity. Layouts typically start with stripper guides that control line flow off the reel, followed by transition guides that stabilize load, and running guides that maintain a consistent path to the tip while allowing the blank to work under pressure.
Casting vs Spinning Guide Layouts
Conventional and spinning guide layouts both work for these rod blanks, but they are optimized differently depending on how the rod will be used.
Spinning layouts require a reduction system of several stripper guides to manage braid coming off the spool, keeping line flow controlled during drops, jigging, and lighter presentations where line is moving through multiple depths in the water column.
Conventional layouts use a more direct guide path designed to handle sustained load efficiently while maintaining straight-line alignment under pressure. This is especially important for bottom fishing and vertical jigging applications where heavy sinkers, tight structure, and immediate control are required to keep fish from reaching cover.
In both setups, the goal is the same—clean line management, efficient load transfer through the blank, and reliable control when fish are working vertically or staying tight to structure.
Stripper & Running Guides
Stripper Guides
Stripper guides are the first and most critical entry point in the guide train, positioned closest to the reel and responsible for controlling initial line flow as it comes under load. In spinning setups, this section typically includes larger reduction guides that transition braided line from wide spool coils into a controlled, linear path down the blank, helping smooth out line flow during drops, jigging, and depth changes. In conventional (casting) builds, the stripper guide is designed to manage direct line flow under heavy tension, stabilizing pressure during bottom contact, vertical lifts, and sustained load situations. Across offshore applications, proper stripper sizing is essential for smooth load transfer through the blank, reducing line slap, and maintaining consistent performance when working heavy sinkers, vertical jigs, and bait rigs in current.
Running Guides
Running guides are the smaller guides that carry the line from the transition section through to the tip of the blank. Their role is to maintain a controlled, efficient line path while allowing the blank to flex, load, and recover properly under pressure. In offshore bottom and vertical applications, running guides play a key role in distributing load evenly during the fight, especially when fish surge toward structure or are lifted from depth under steady pressure. Proper spacing supports progressive blank loading, improves overall control, and ensures smooth line flow whether fishing bottom rigs, vertical jigs, or bait presentations in strong current and structure-heavy environments.
Guide Frame vs Ring
Selecting the right guide frame and ring size comes down to balancing durability, weight, and smooth line flow in offshore rod blank builds. These snapper and grouper rods are consistently under load and exposed to sudden strikes, so every guide component must support clean line movement while maintaining strength and stability in harsh saltwater environments.
Guide Frame
Guide frames in offshore builds must prioritize strength, rigidity, and corrosion resistance under constant saltwater exposure and sustained load conditions. Since these rod blanks are routinely used with braid, heavy sinkers, and vertical pressure, frame stiffness is critical to prevent flex, twist, or distortion under stress. Most high-performance builds rely on stainless or corrosion-resistant frames designed to withstand demanding offshore environments while maintaining proper alignment during heavy lifts. Frame height also influences line flow from reel to blank, particularly when managing heavy leader knots and steep vertical angles in deep water.
Guide Ring
Guide ring selection directly impacts both durability and line efficiency under load. Larger ring sizes are commonly used in offshore builds to accommodate leader knots, improve braid passage, and maintain smooth performance during deep drops and vertical retrieves. Smaller, lighter rings can help reduce overall weight, but must be carefully matched to line class and leader systems to avoid restriction or friction under pressure. The objective is to balance durability, smooth line flow, and consistent knot clearance while maintaining reliable performance in demanding offshore conditions.
Key Takeaways
- Guide systems must handle heavy vertical load, braid pressure, and structure abrasion
- Frame rigidity and corrosion resistance are critical for offshore durability
- Ring size affects braid flow, leader clearance, and overall system efficiency
- Proper balance between weight and strength improves long-term blank performance
- All components must support smooth line movement under sustained load conditions
Guide Kits for Snapper & Grouper Rods
When building rods for red snapper and gag grouper, the guide kit plays a major role in how efficiently the rod performs under vertical load. These offshore applications place constant pressure on the guide train through heavy sinkers and hard-running fish that immediately turn toward structure, especially gag grouper, which are known for diving straight into cover once hooked. The guide system must manage high braid loads, maintain smooth line flow under tension, and support controlled lifting without creating weak points in the blank.
Guide kits simplify the build by pairing correctly sized guides and spacing layouts to specific blank lengths and applications, removing guesswork and ensuring clean line tracking from reel to tip. A properly designed guide train improves load distribution, maintains consistent pressure during the fight, and helps the blank perform smoothly when lifting fish from deep water or structure-heavy environments.
For snapper and grouper builds, guide systems are designed around braid-heavy vertical setups where strength, stability, and controlled line flow are just as important as sensitivity. Layouts typically start with stripper guides that control line flow off the reel, followed by transition guides that stabilize load, and running guides that maintain a consistent path to the tip while allowing the blank to work under pressure.
Casting vs Spinning Guide Layouts
Conventional and spinning guide layouts both work for these rod blanks, but they are optimized differently depending on how the rod will be used.
Spinning layouts require a reduction system of several stripper guides to manage braid coming off the spool, keeping line flow controlled during drops, jigging, and lighter presentations where line is moving through multiple depths in the water column.
Conventional layouts use a more direct guide path designed to handle sustained load efficiently while maintaining straight-line alignment under pressure. This is especially important for bottom fishing and vertical jigging applications where heavy sinkers, tight structure, and immediate control are required to keep fish from reaching cover.
In both setups, the goal is the same—clean line management, efficient load transfer through the blank, and reliable control when fish are working vertically or staying tight to structure.
Stripper & Running Guides
Stripper Guides
Stripper guides are the first and most critical entry point in the guide train, positioned closest to the reel and responsible for controlling initial line flow as it comes under load. In spinning setups, this section typically includes larger reduction guides that transition braided line from wide spool coils into a controlled, linear path down the blank, helping smooth out line flow during drops, jigging, and depth changes. In conventional (casting) builds, the stripper guide is designed to manage direct line flow under heavy tension, stabilizing pressure during bottom contact, vertical lifts, and sustained load situations. Across offshore applications, proper stripper sizing is essential for smooth load transfer through the blank, reducing line slap, and maintaining consistent performance when working heavy sinkers, vertical jigs, and bait rigs in current.
Running Guides
Running guides are the smaller guides that carry the line from the transition section through to the tip of the blank. Their role is to maintain a controlled, efficient line path while allowing the blank to flex, load, and recover properly under pressure. In offshore bottom and vertical applications, running guides play a key role in distributing load evenly during the fight, especially when fish surge toward structure or are lifted from depth under steady pressure. Proper spacing supports progressive blank loading, improves overall control, and ensures smooth line flow whether fishing bottom rigs, vertical jigs, or bait presentations in strong current and structure-heavy environments.
Guide Frame vs Ring
Selecting the right guide frame and ring size comes down to balancing durability, weight, and smooth line flow in offshore rod blank builds. These snapper and grouper rods are consistently under load and exposed to sudden strikes, so every guide component must support clean line movement while maintaining strength and stability in harsh saltwater environments.
Guide Frame
Guide frames in offshore builds must prioritize strength, rigidity, and corrosion resistance under constant saltwater exposure and sustained load conditions. Since these rod blanks are routinely used with braid, heavy sinkers, and vertical pressure, frame stiffness is critical to prevent flex, twist, or distortion under stress. Most high-performance builds rely on stainless or corrosion-resistant frames designed to withstand demanding offshore environments while maintaining proper alignment during heavy lifts. Frame height also influences line flow from reel to blank, particularly when managing heavy leader knots and steep vertical angles in deep water.
Guide Ring
Guide ring selection directly impacts both durability and line efficiency under load. Larger ring sizes are commonly used in offshore builds to accommodate leader knots, improve braid passage, and maintain smooth performance during deep drops and vertical retrieves. Smaller, lighter rings can help reduce overall weight, but must be carefully matched to line class and leader systems to avoid restriction or friction under pressure. The objective is to balance durability, smooth line flow, and consistent knot clearance while maintaining reliable performance in demanding offshore conditions.
Key Takeaways
- Guide systems must handle heavy vertical load, braid pressure, and structure abrasion
- Frame rigidity and corrosion resistance are critical for offshore durability
- Ring size affects braid flow, leader clearance, and overall system efficiency
- Proper balance between weight and strength improves long-term blank performance
- All components must support smooth line movement under sustained load conditions
Guide Kits for Red Snapper & Gag Grouper Rods


Tip Tops for Snapper & Grouper Rods
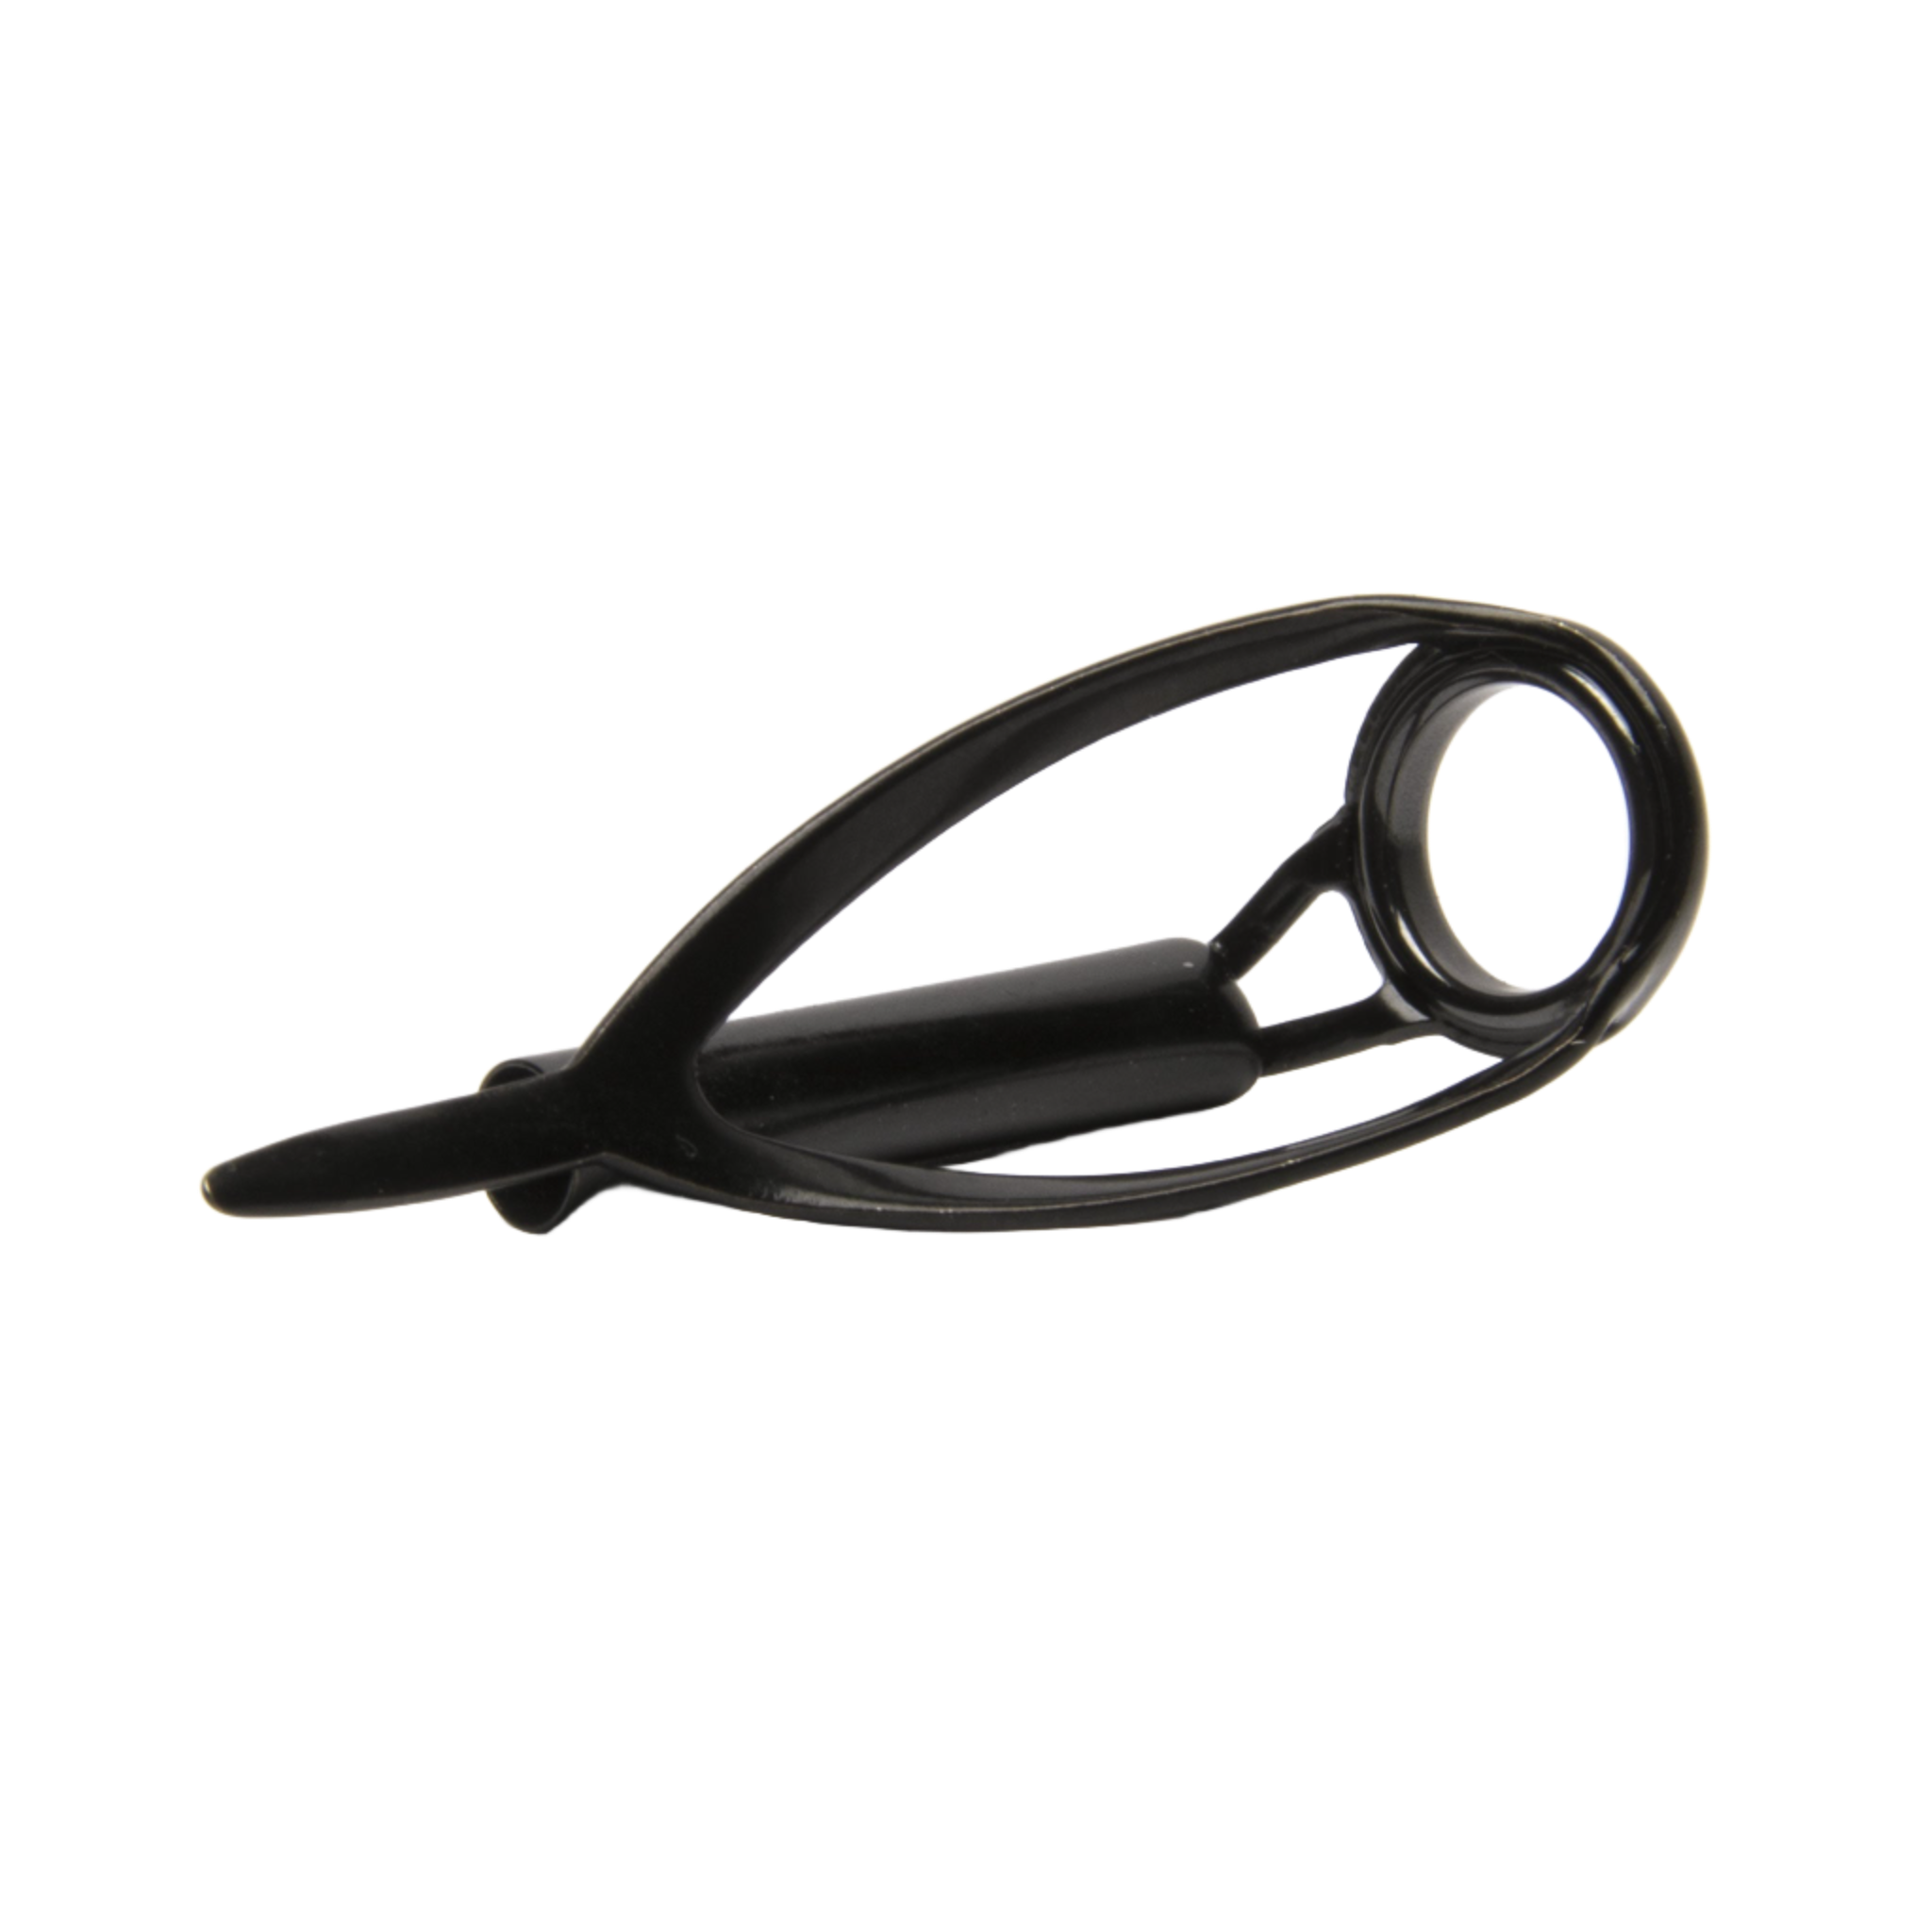
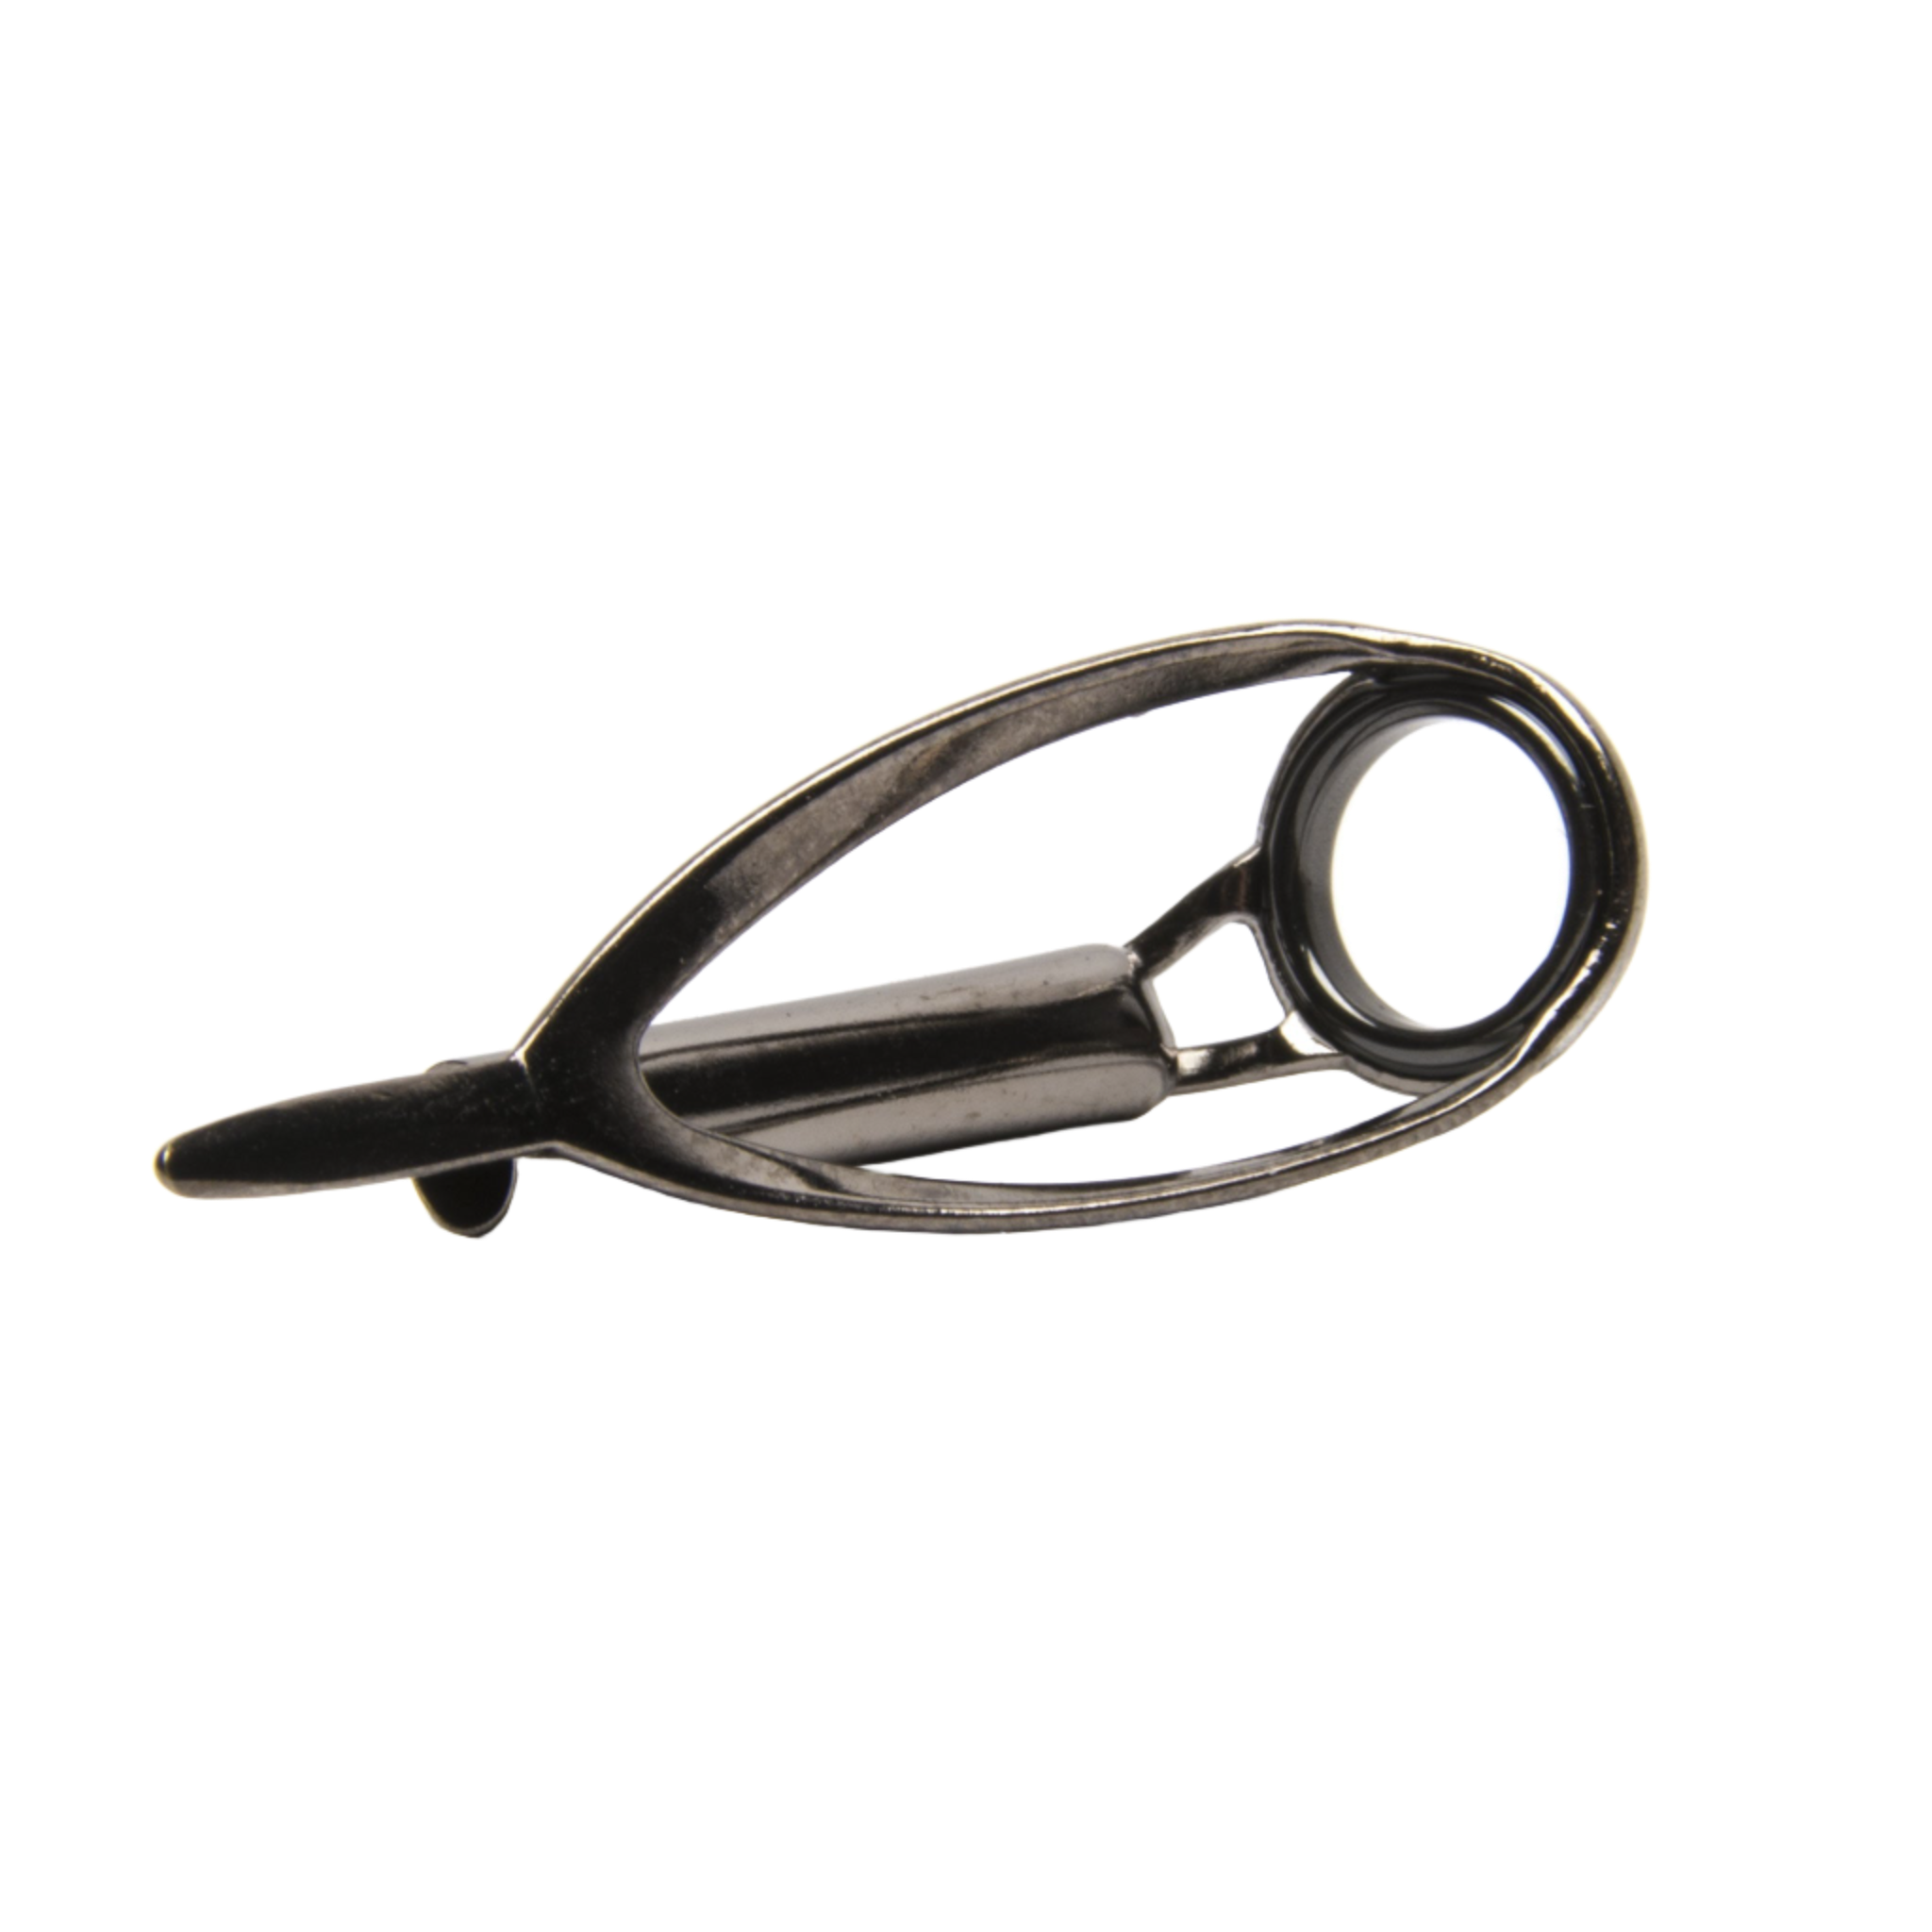
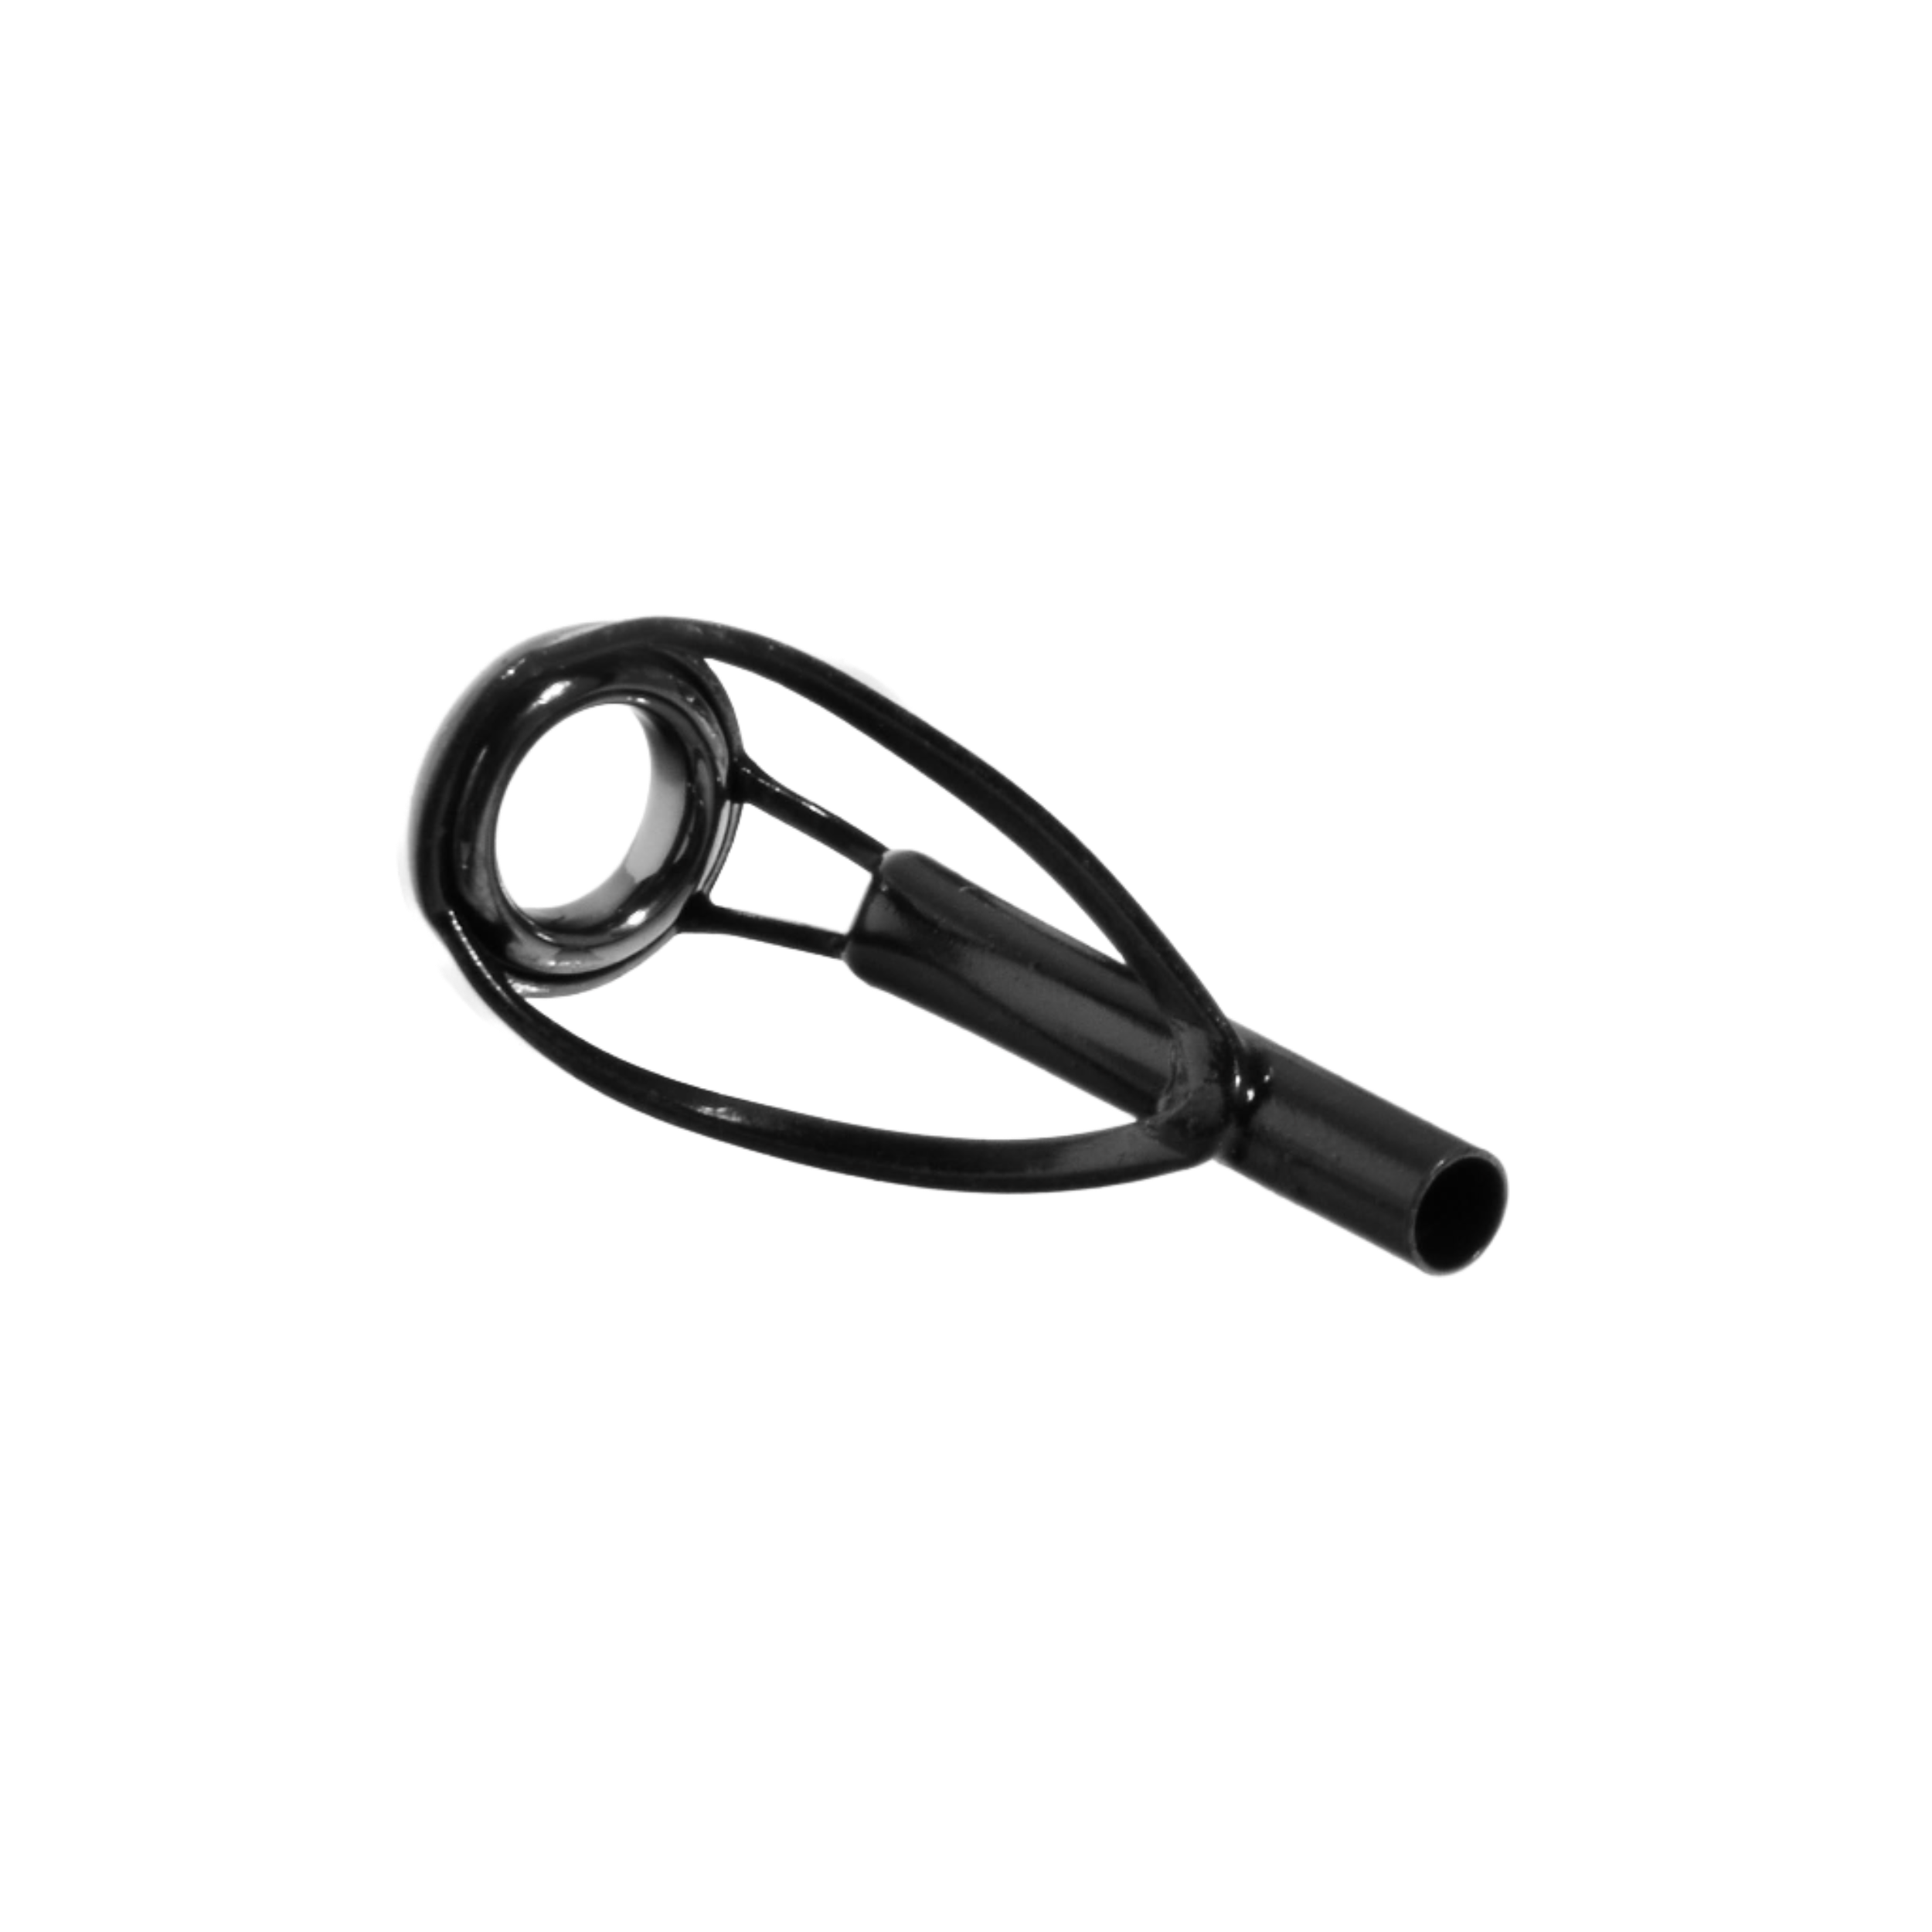
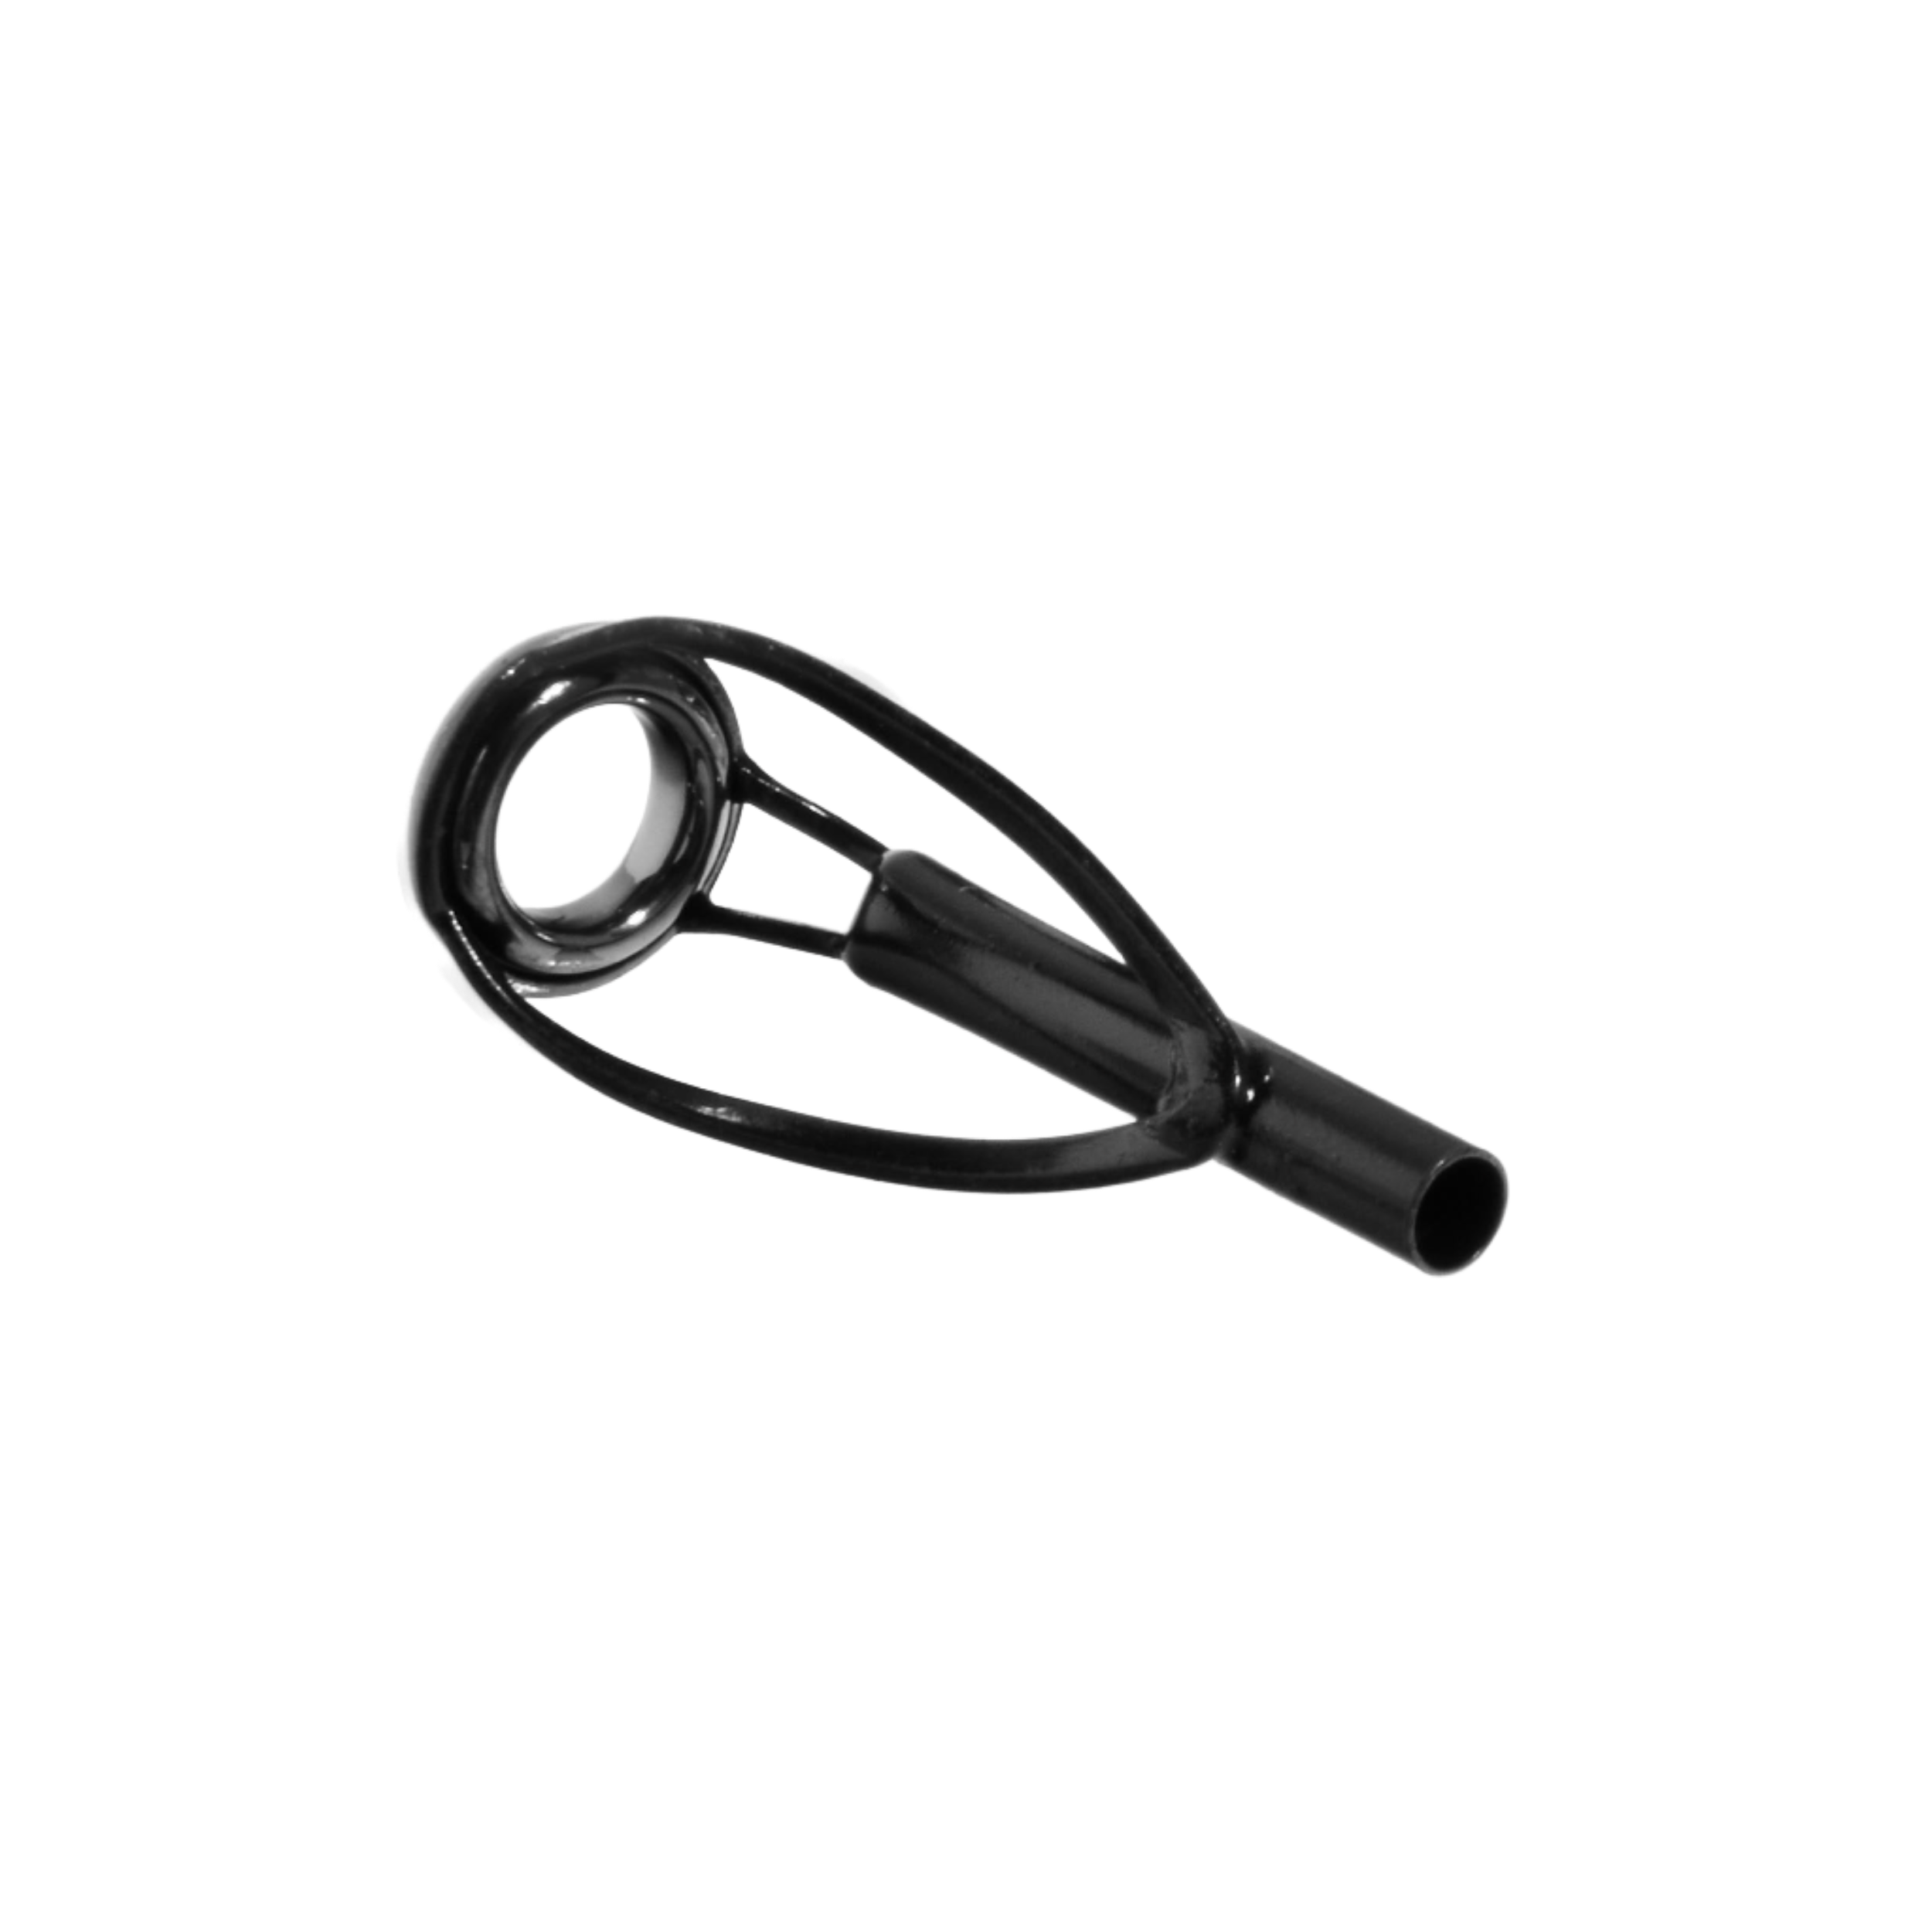
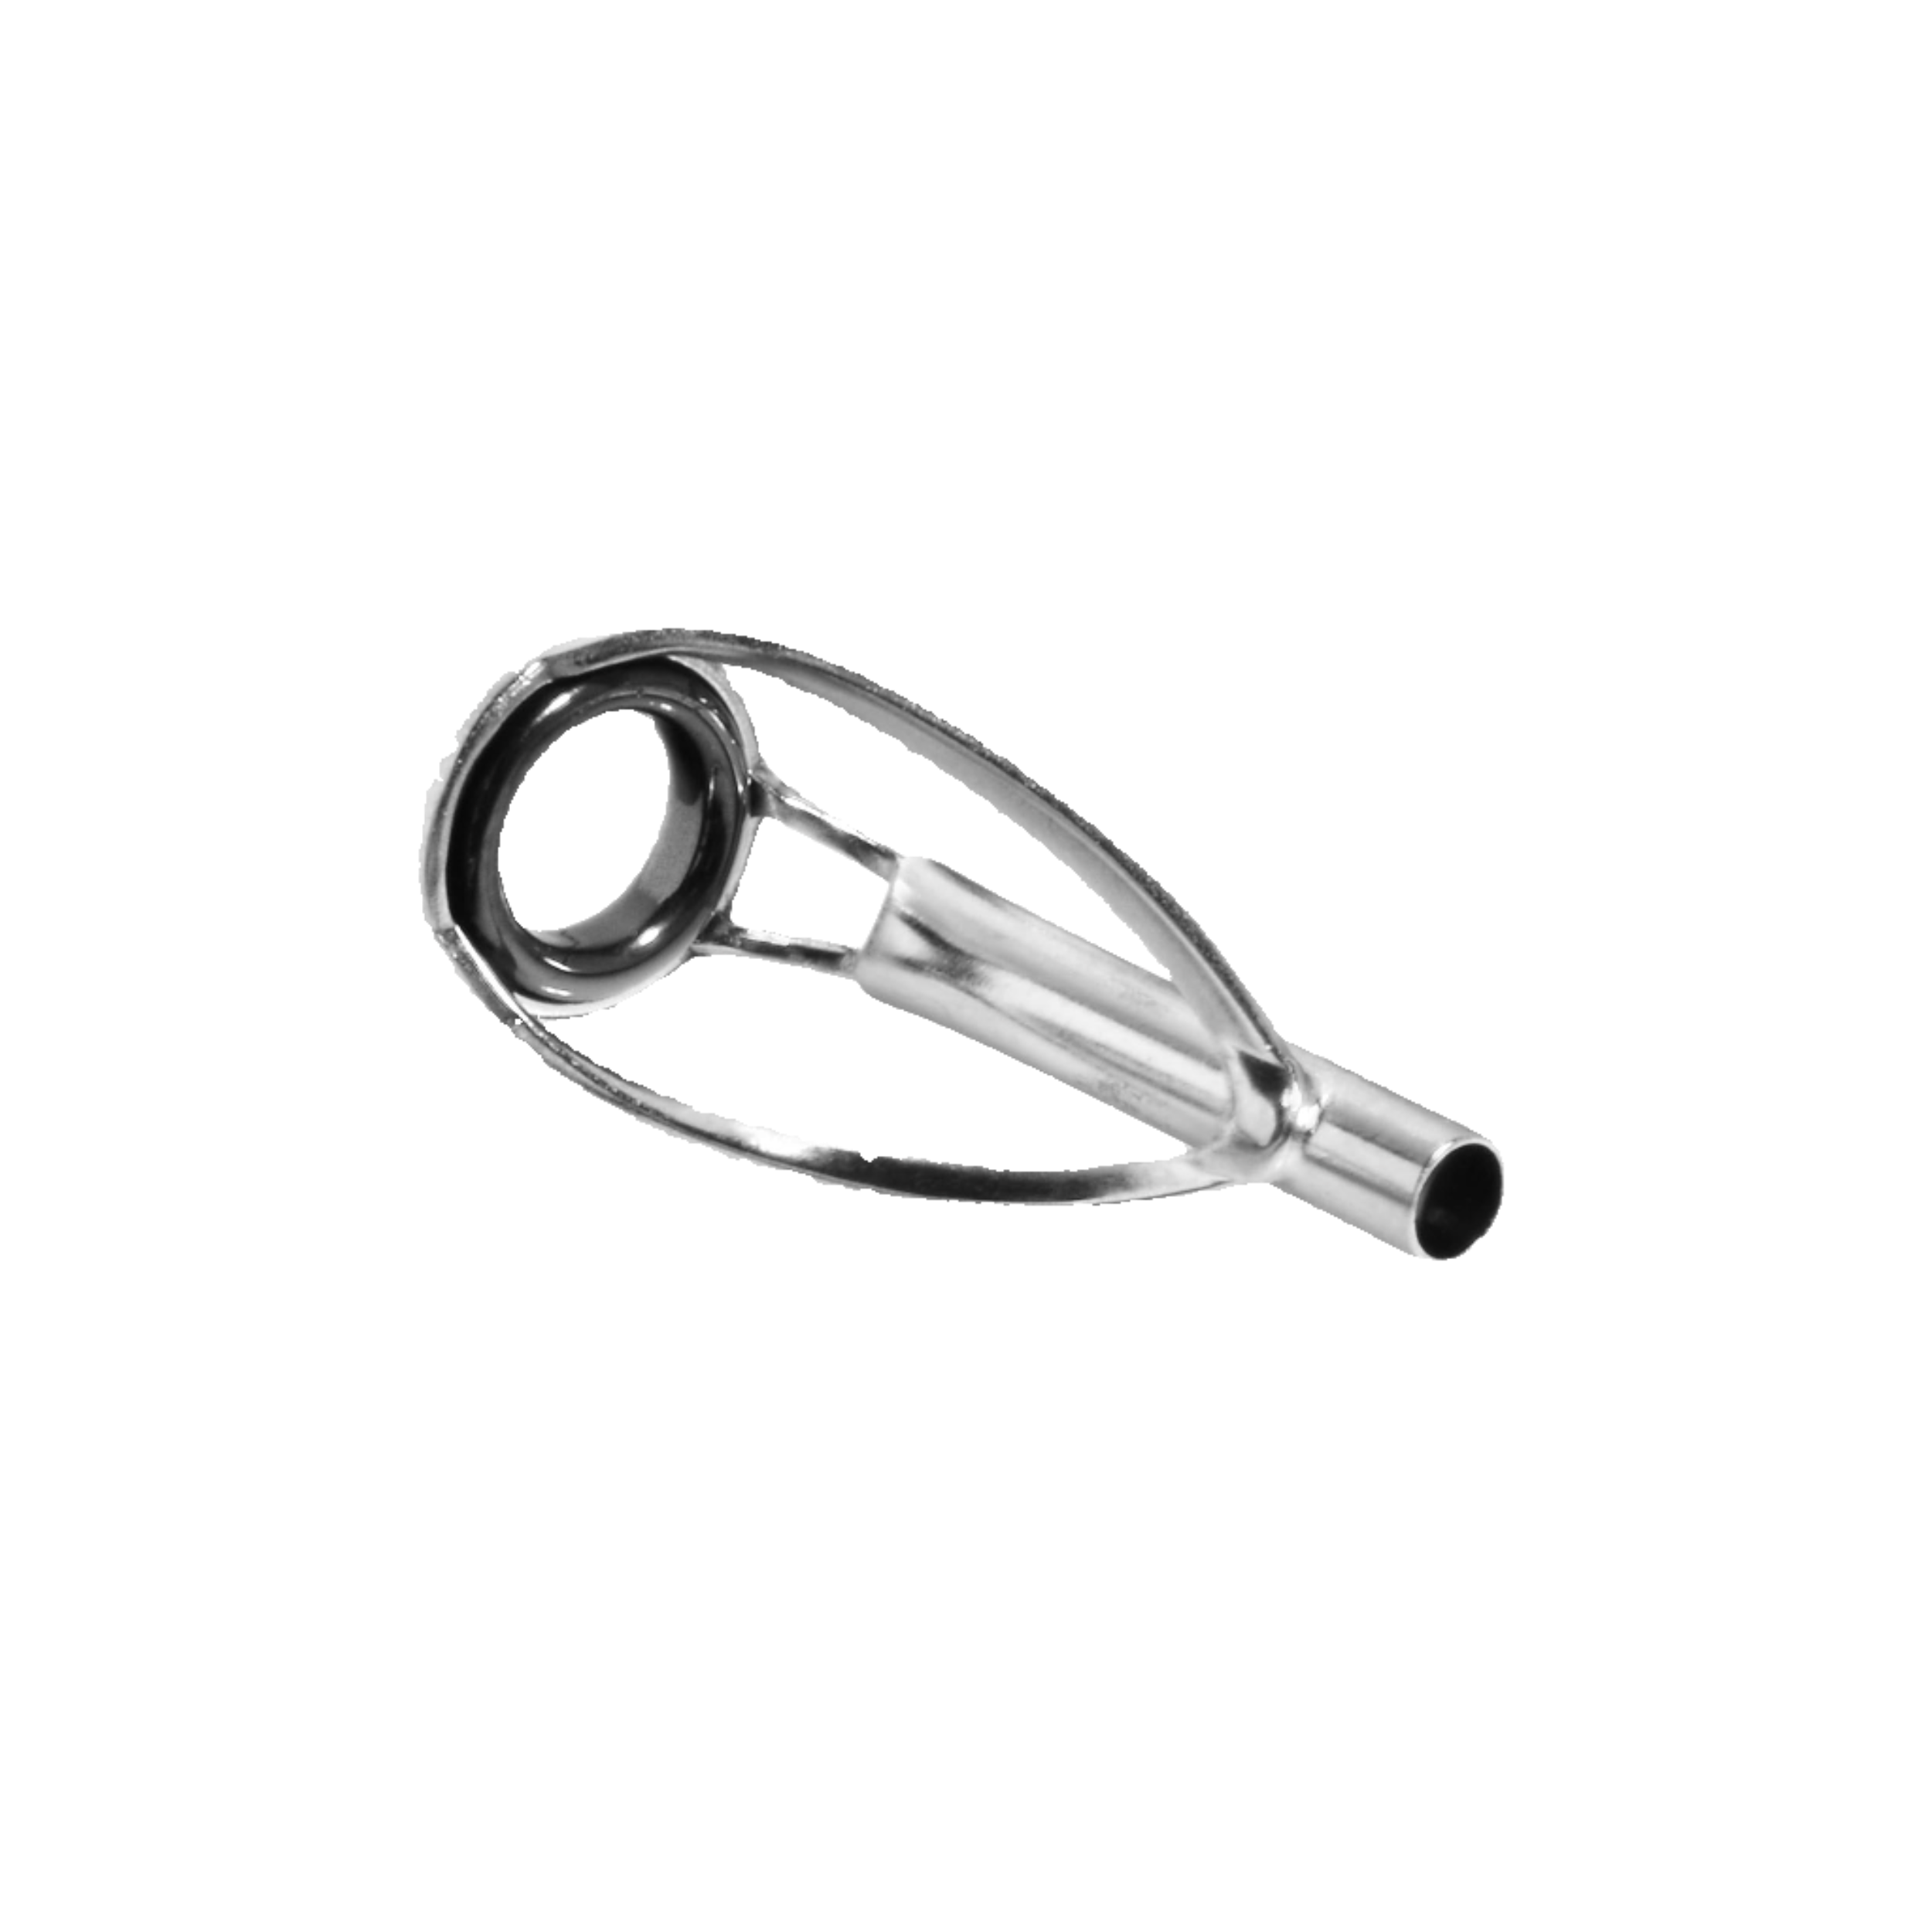
The tip-top is the final transition point in the guide system and plays a key role in how effectively a rod blank transfers load, pressure, and line control into the upper section of the build. In offshore applications like red snapper and gag grouper fishing, the tip section is under constant vertical stress from heavy sinkers, braid tension, and sudden load shifts when fish surge—especially gag grouper, which often drive directly back into structure after the hookset. The tip-top also protects the most sensitive part of the blank, which is critical when lifting fish from depth or maintaining control in tight structure.
A properly selected tip-top ensures smooth line flow under pressure, reduces friction at the terminal point of the rod, and supports consistent performance through repeated drops, hooksets, and vertical lifts. Even small errors in sizing or alignment at the tip can affect load distribution, sensitivity, and overall control when fighting fish in deep water or heavy structure.
When selecting a tip-top, focus on these two key factors:
Tube Size
The tube must precisely match the diameter of the blank’s tip section to ensure a secure, aligned fit. A correct fit is essential for maintaining proper load transfer, allowing the blank to flex naturally while staying stable under vertical pressure and sudden load spikes—particularly important when turning gag grouper away from cover. In this type of offshore application, a tip top with a foot/tang can be especially beneficial, adding extra mechanical security and reinforcement where the highest stress is concentrated.
Ring Size
The ring controls how smoothly braid, leader knots, and terminal connections pass through the tip. Most offshore builds match the tip-top ring size to the final running guide to maintain a consistent line path. In heavier structure applications, slightly larger rings may be used to improve clearance for leader knots and reduce restriction during deep drops and hard runs toward cover. The goal is smooth, unrestricted line flow with maximum durability under sustained load.
The right tip-top completes the system by protecting the blank, maintaining clean line flow under load, and ensuring consistent performance during vertical lifts, bottom contact, and hard surges from structure-oriented fish.
Matching Your Tip-Top
While performance is the priority, most rod builders also select a tip-top that visually matches the rest of the guide train. Keeping frame style, finish, and ring type consistent creates a unified system and gives the finished offshore rod blank build a clean, professional appearance.
Key Takeaways
- The tip-top is a critical load-transfer point that affects overall control and blank performance under vertical pressure
- Proper tube fit is essential for secure alignment and correct load transfer into the blank
- Ring size impacts line flow, knot clearance, and consistency through the guide train
- Offshore builds often benefit from slightly larger ring sizing for braid and leader systems under load
- Small errors in tip-top sizing or alignment can noticeably affect sensitivity and fish control in deep-water applications
Tip Tops for Snapper & Grouper Rods
The tip-top is the final transition point in the guide system and plays a key role in how effectively a rod blank transfers load, pressure, and line control into the upper section of the build. In offshore applications like red snapper and gag grouper fishing, the tip section is under constant vertical stress from heavy sinkers, braid tension, and sudden load shifts when fish surge—especially gag grouper, which often drive directly back into structure after the hookset. The tip-top also protects the most sensitive part of the blank, which is critical when lifting fish from depth or maintaining control in tight structure.
A properly selected tip-top ensures smooth line flow under pressure, reduces friction at the terminal point of the rod, and supports consistent performance through repeated drops, hooksets, and vertical lifts. Even small errors in sizing or alignment at the tip can affect load distribution, sensitivity, and overall control when fighting fish in deep water or heavy structure.
When selecting a tip-top, focus on these two key factors:
Tube Size
The tube must precisely match the diameter of the blank’s tip section to ensure a secure, aligned fit. A correct fit is essential for maintaining proper load transfer, allowing the blank to flex naturally while staying stable under vertical pressure and sudden load spikes—particularly important when turning gag grouper away from cover. In this type of offshore application, a tip top with a foot/tang can be especially beneficial, adding extra mechanical security and reinforcement where the highest stress is concentrated.
Ring Size
The ring controls how smoothly braid, leader knots, and terminal connections pass through the tip. Most offshore builds match the tip-top ring size to the final running guide to maintain a consistent line path. In heavier structure applications, slightly larger rings may be used to improve clearance for leader knots and reduce restriction during deep drops and hard runs toward cover. The goal is smooth, unrestricted line flow with maximum durability under sustained load.
The right tip-top completes the system by protecting the blank, maintaining clean line flow under load, and ensuring consistent performance during vertical lifts, bottom contact, and hard surges from structure-oriented fish.
Matching Your Tip-Top
While performance is the priority, most rod builders also select a tip-top that visually matches the rest of the guide train. Keeping frame style, finish, and ring type consistent creates a unified system and gives the finished offshore rod blank build a clean, professional appearance.
Key Takeaways
- The tip-top is a critical load-transfer point that affects overall control and blank performance under vertical pressure
- Proper tube fit is essential for secure alignment and correct load transfer into the blank
- Ring size impacts line flow, knot clearance, and consistency through the guide train
- Offshore builds often benefit from slightly larger ring sizing for braid and leader systems under load
- Small errors in tip-top sizing or alignment can noticeably affect sensitivity and fish control in deep-water applications
Tip Tops for Red Snapper & Gag Grouper Rods




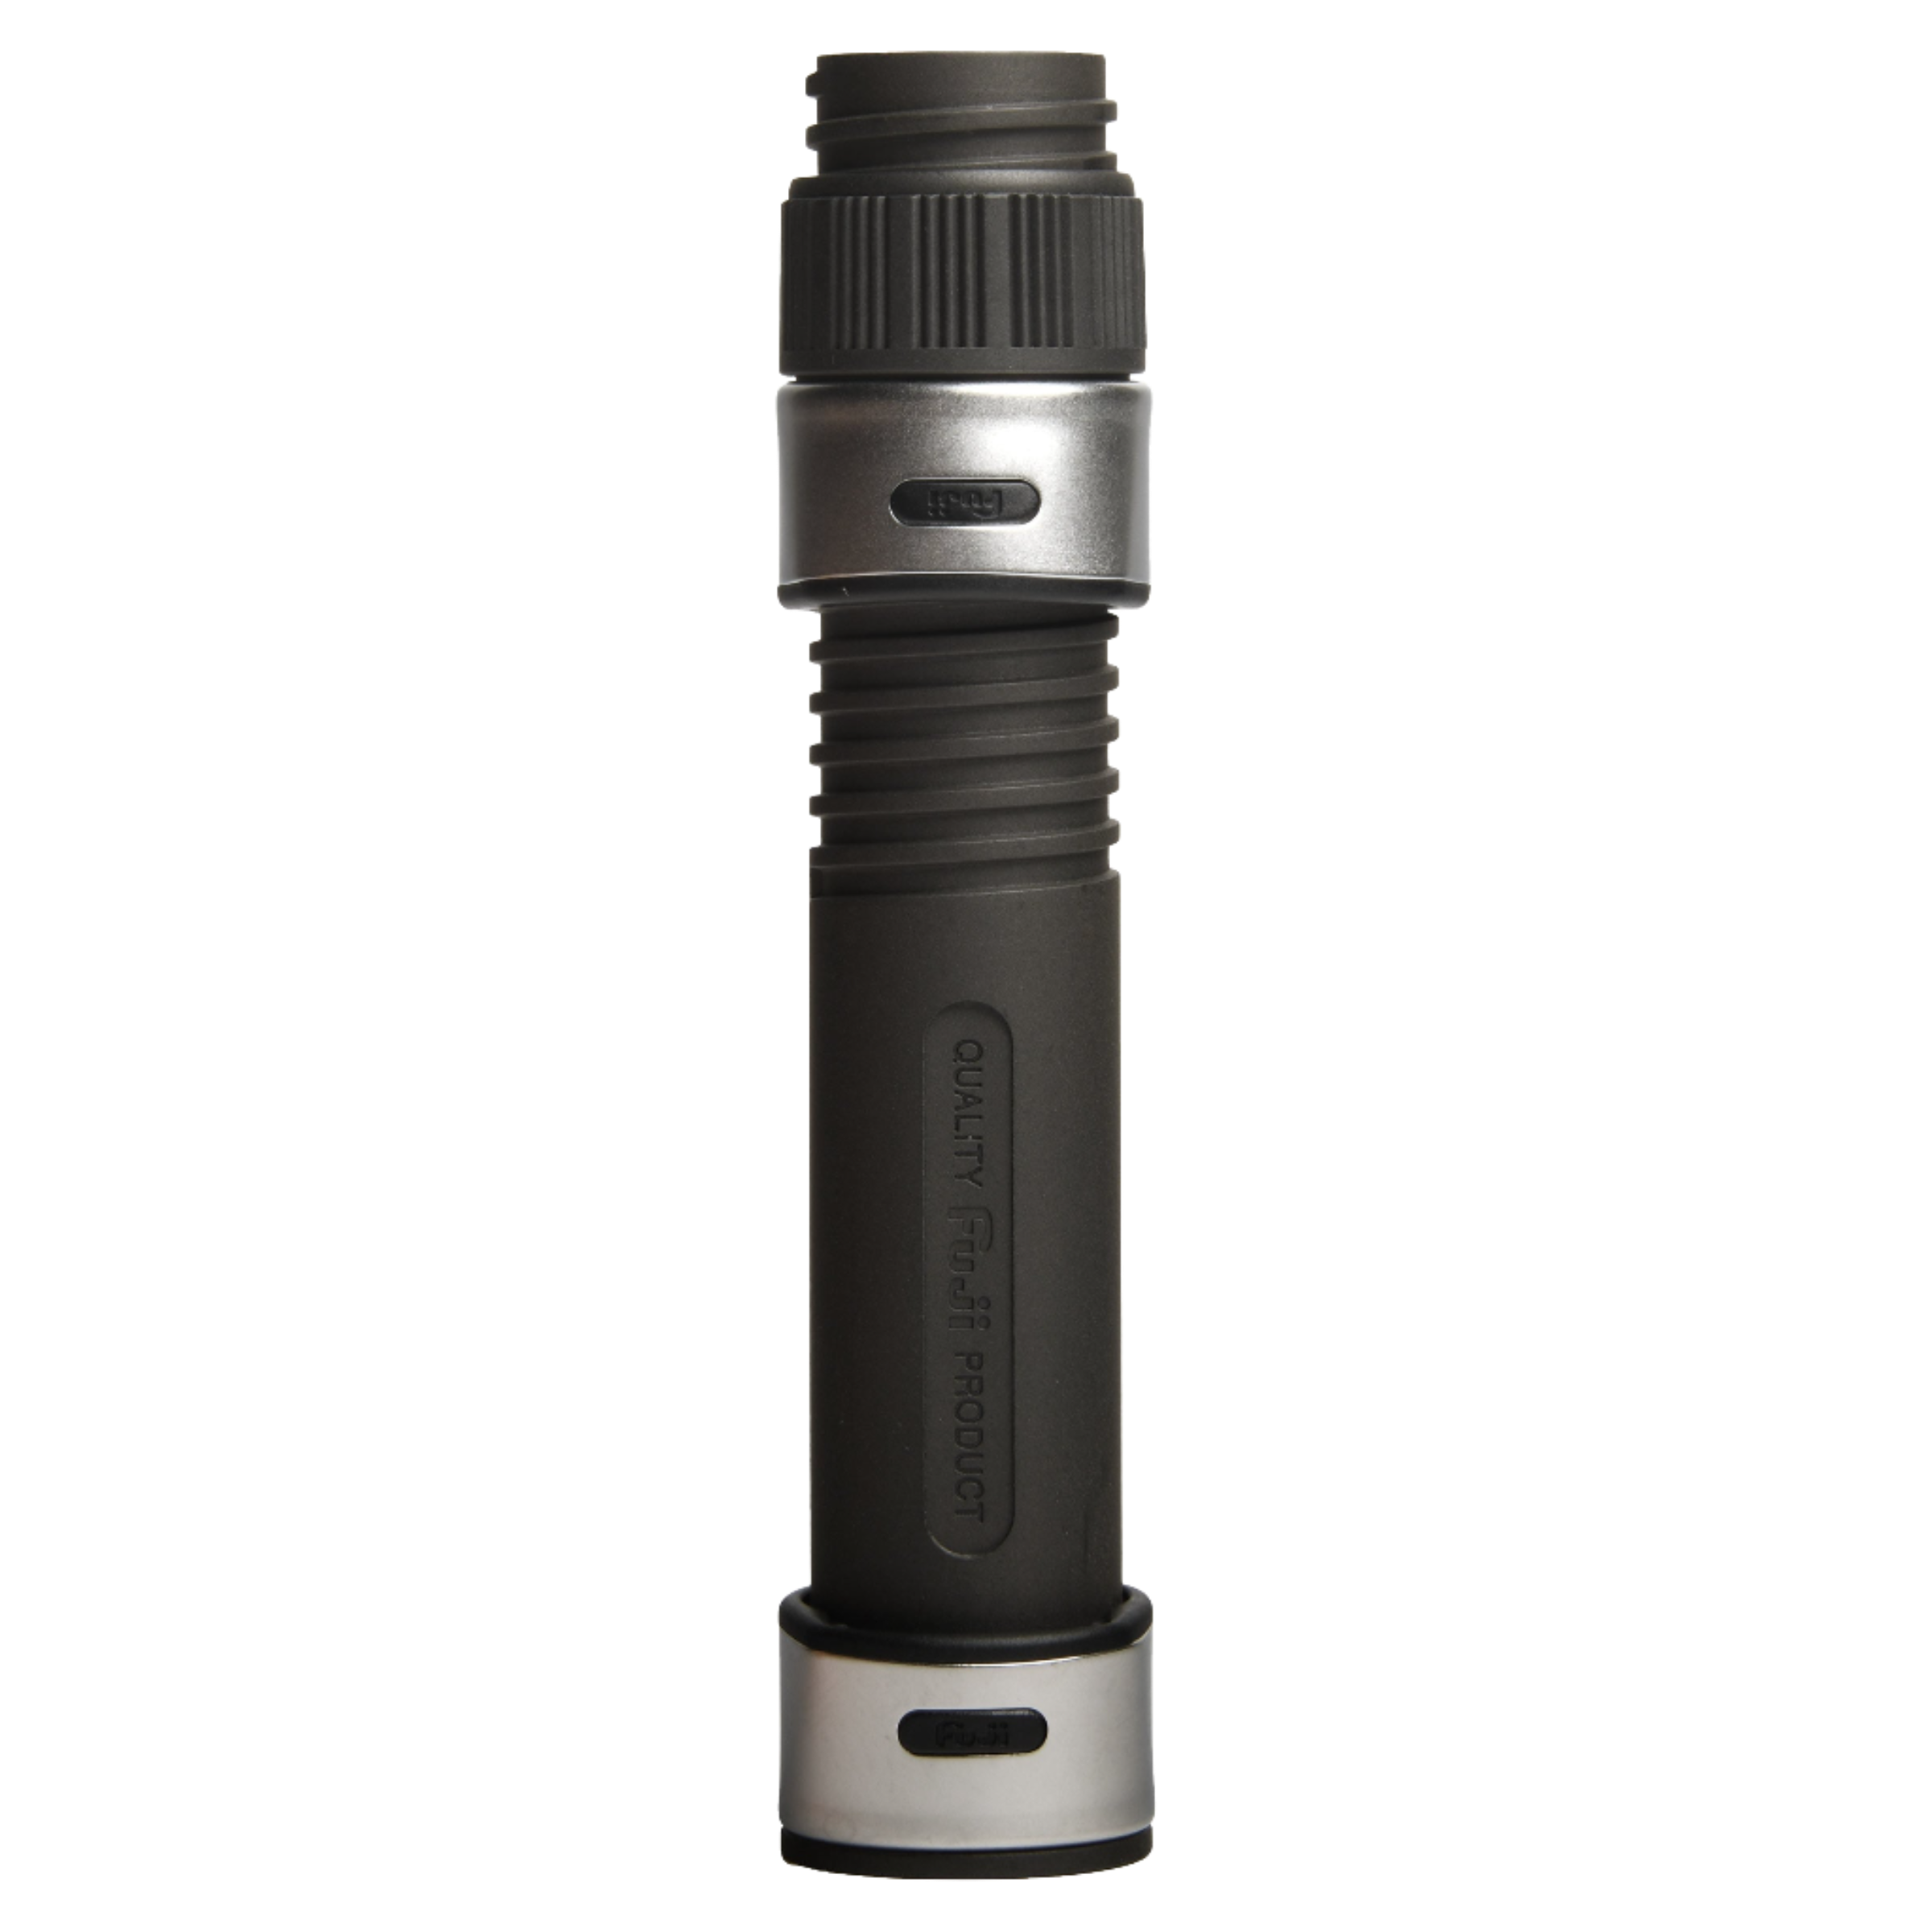
Grip & Handle Kits for Snapper & Grouper Rods
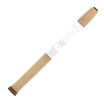
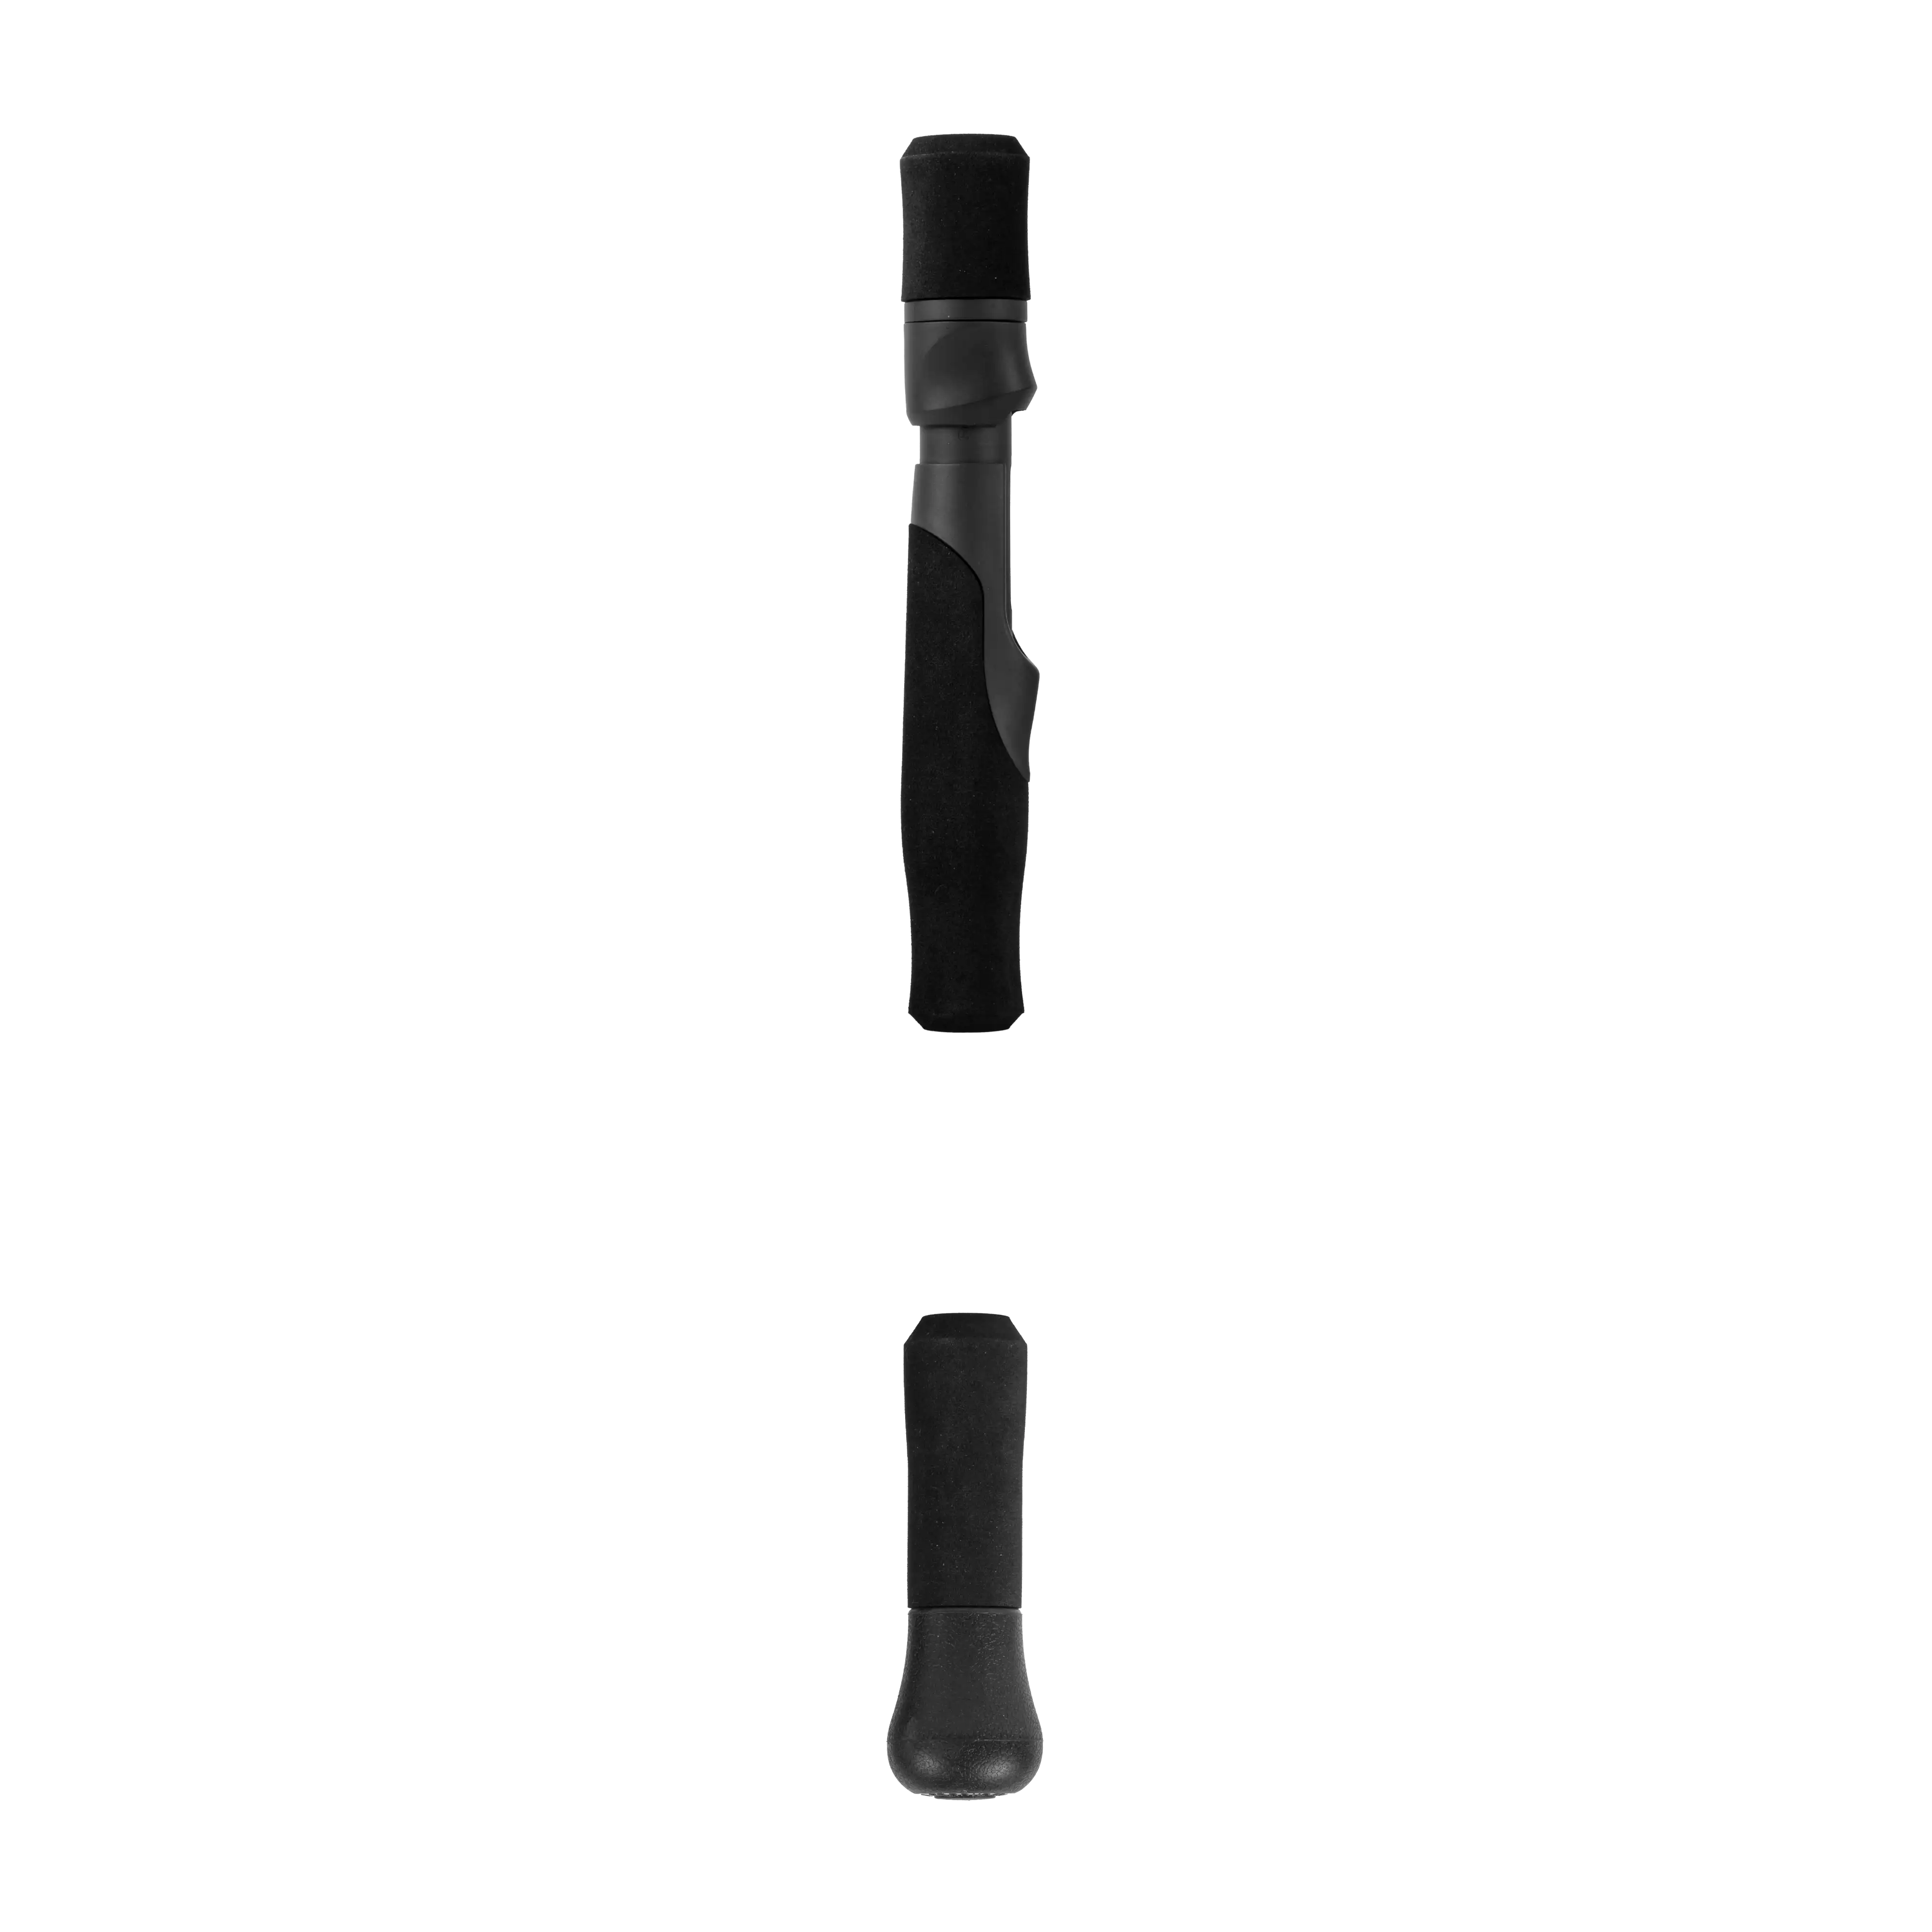
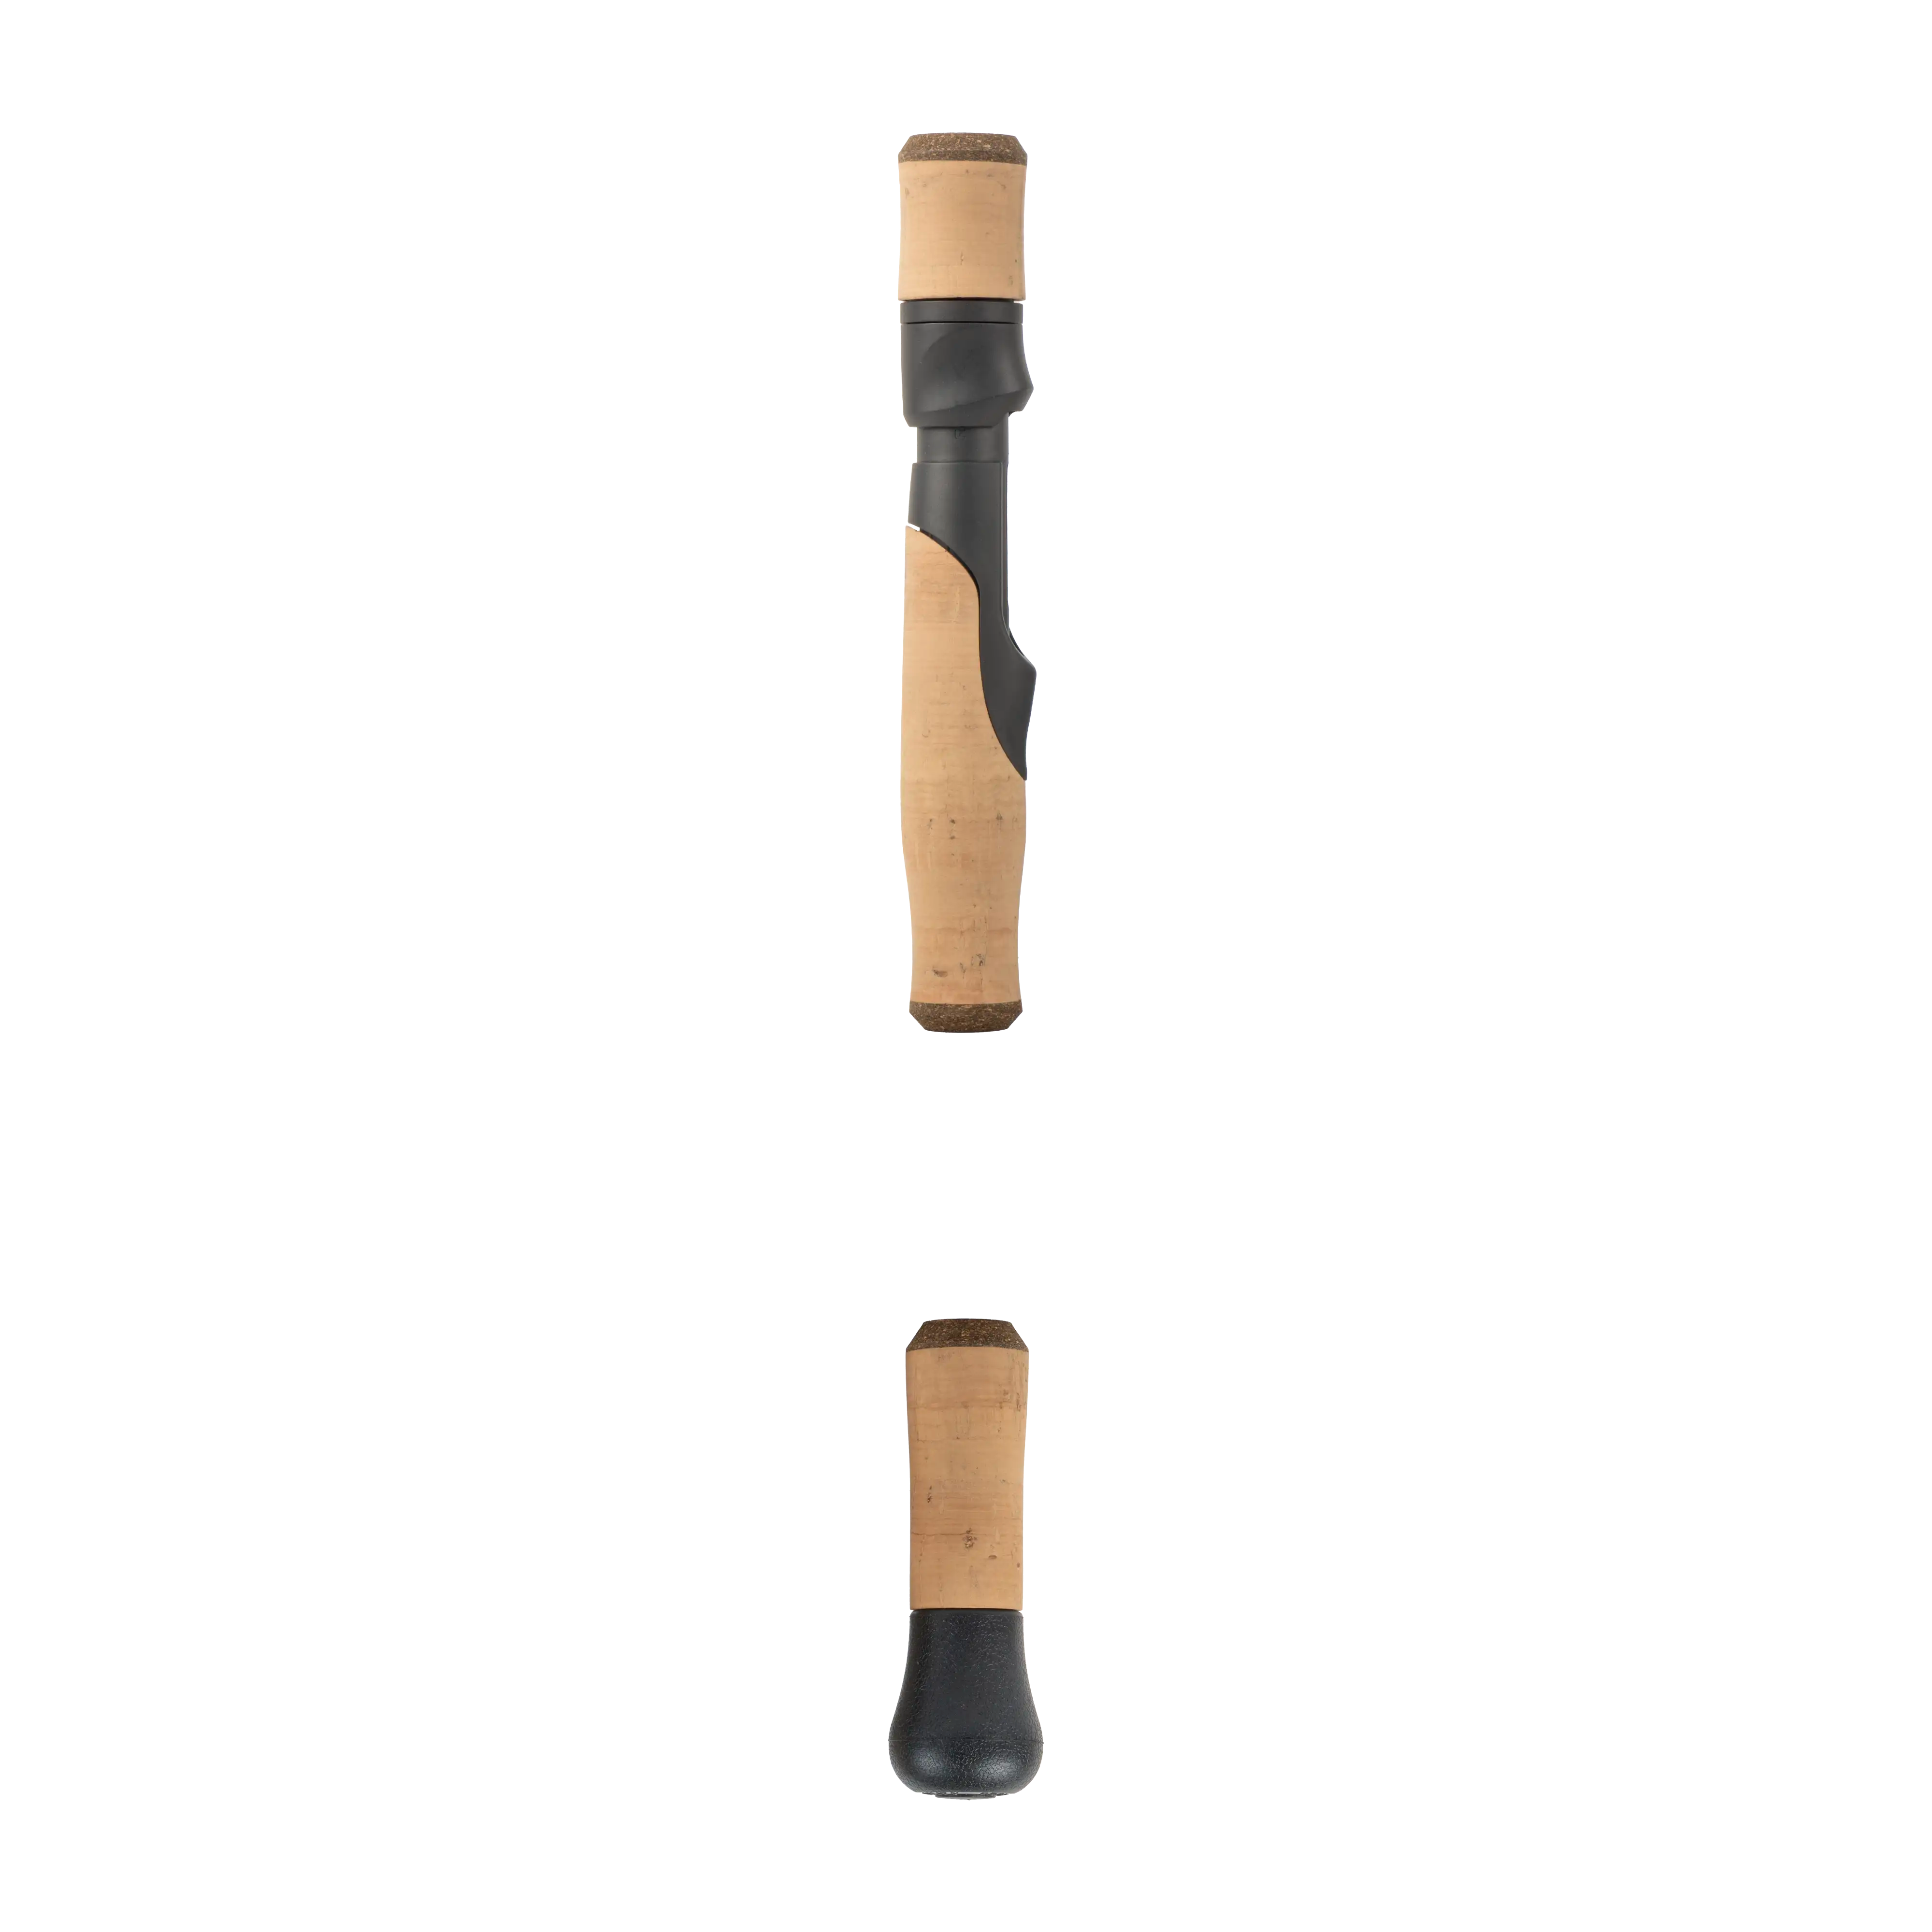
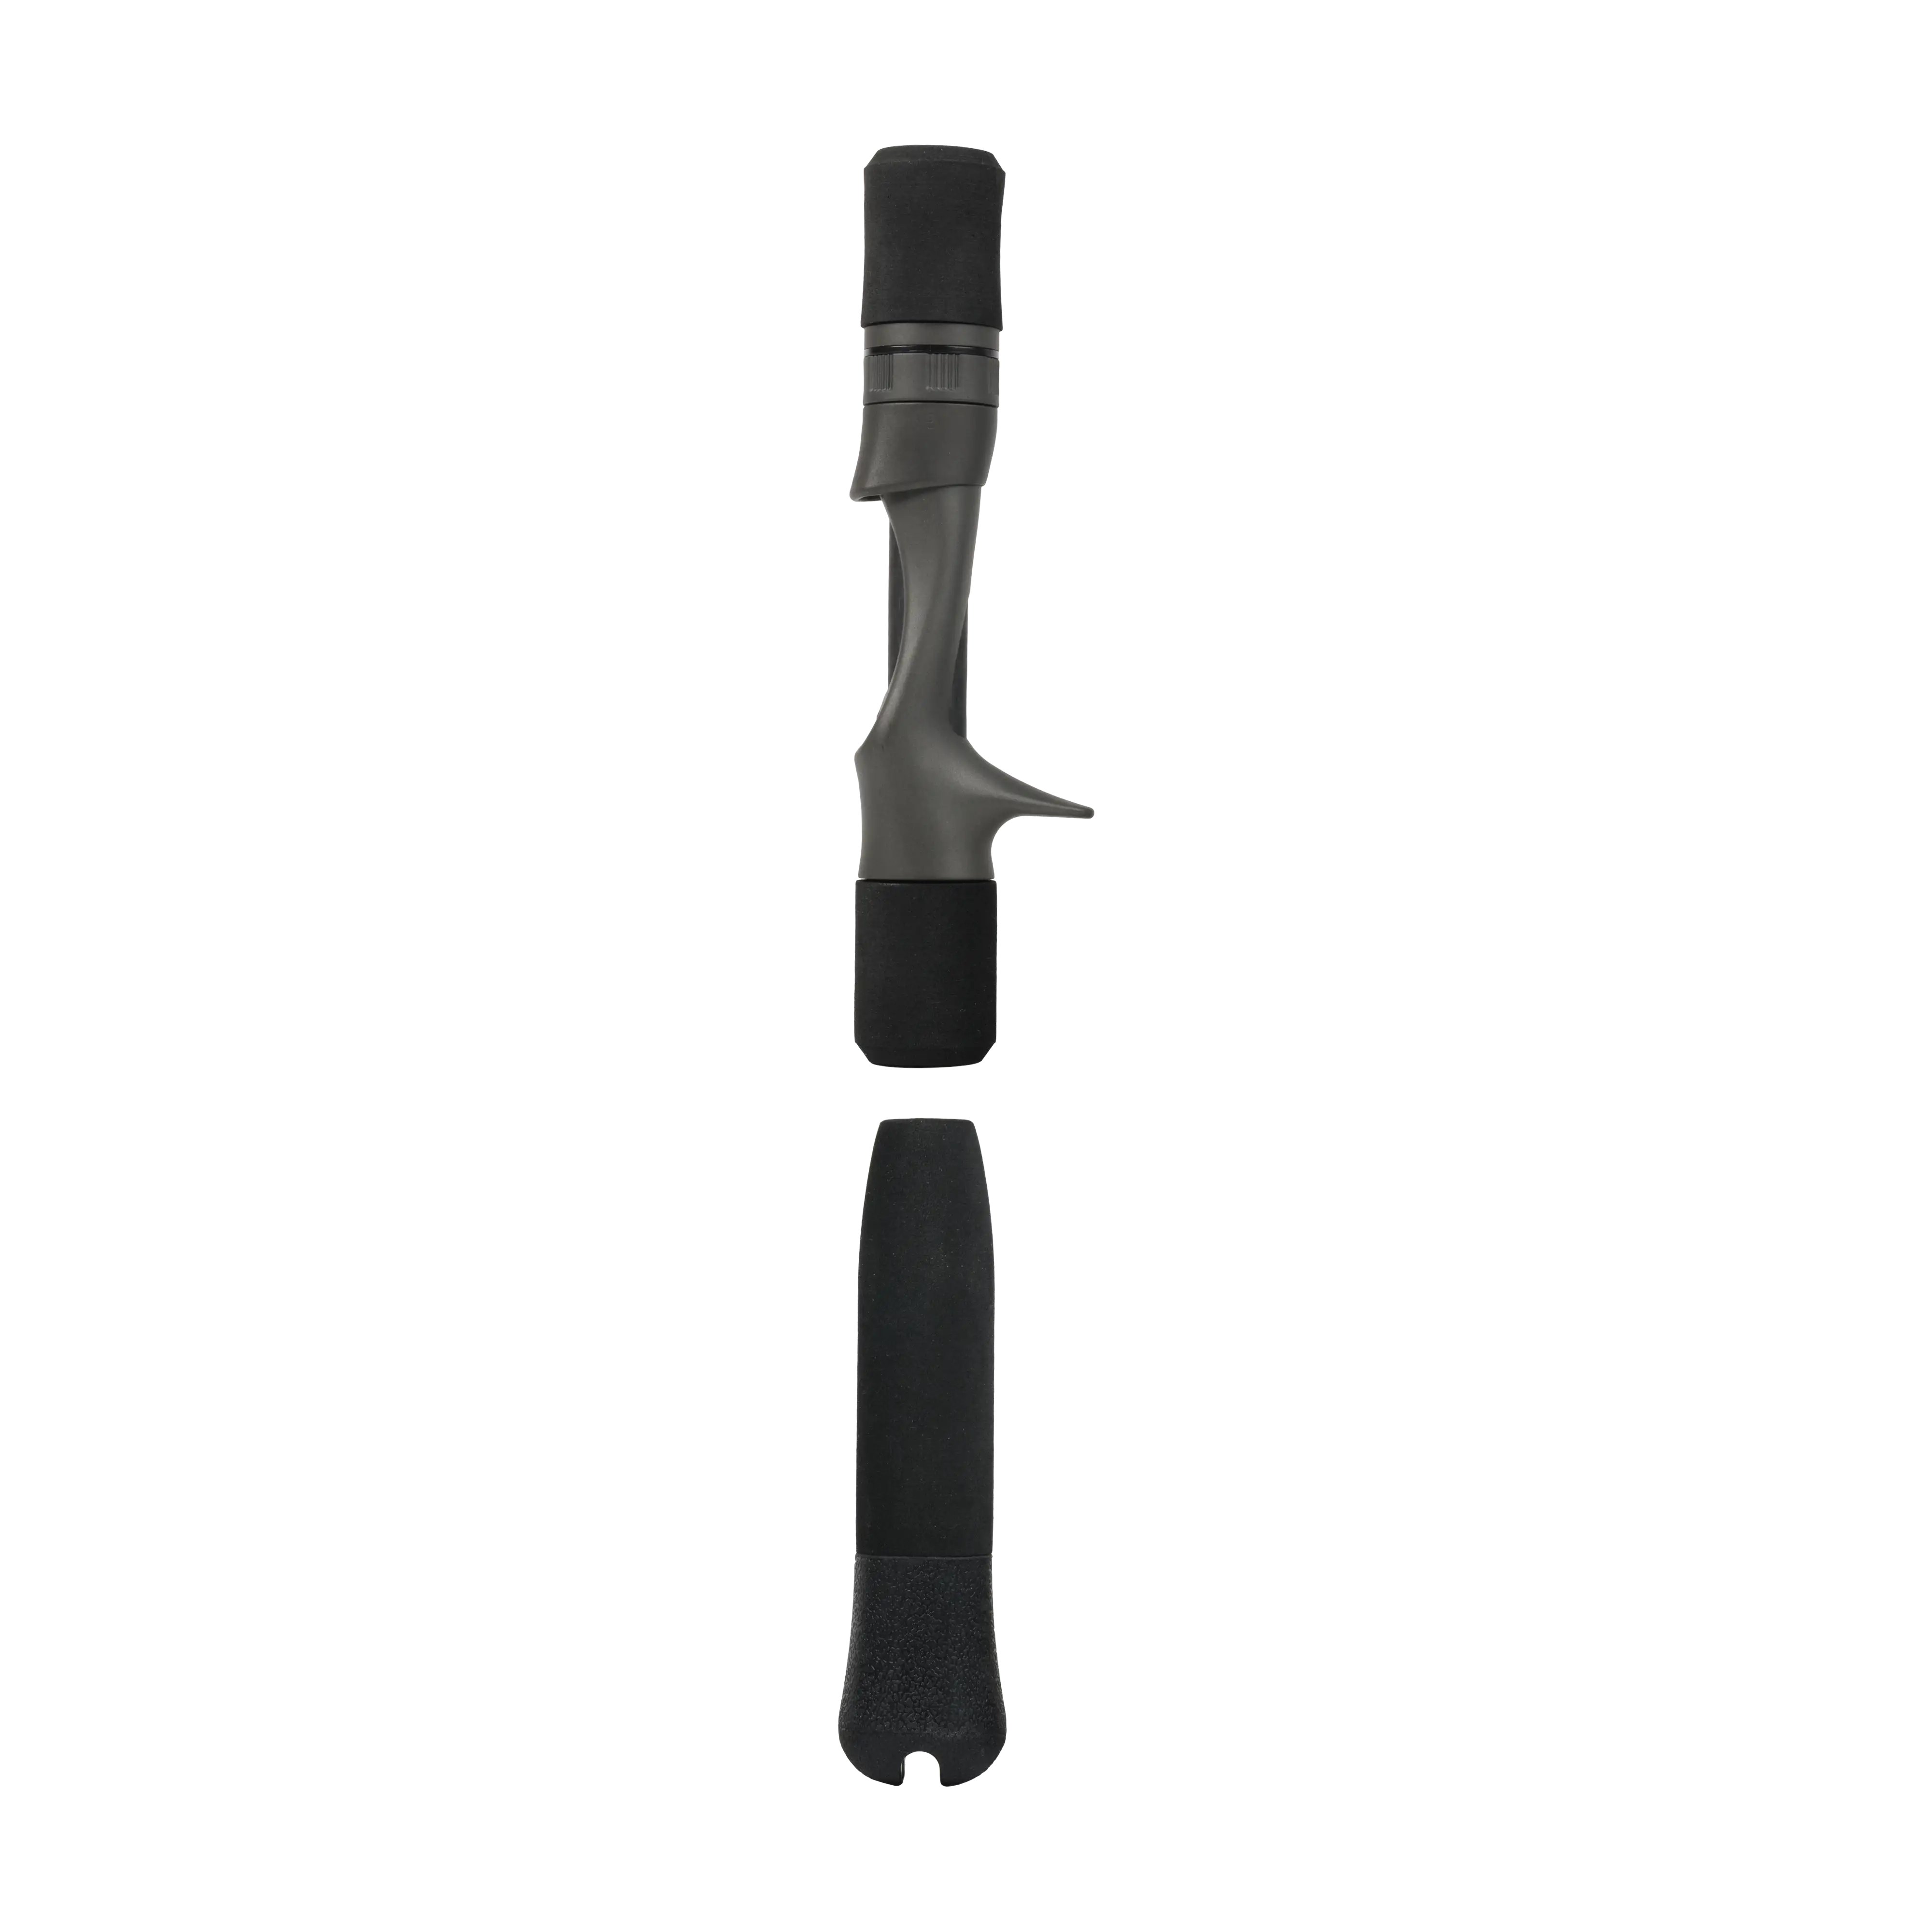
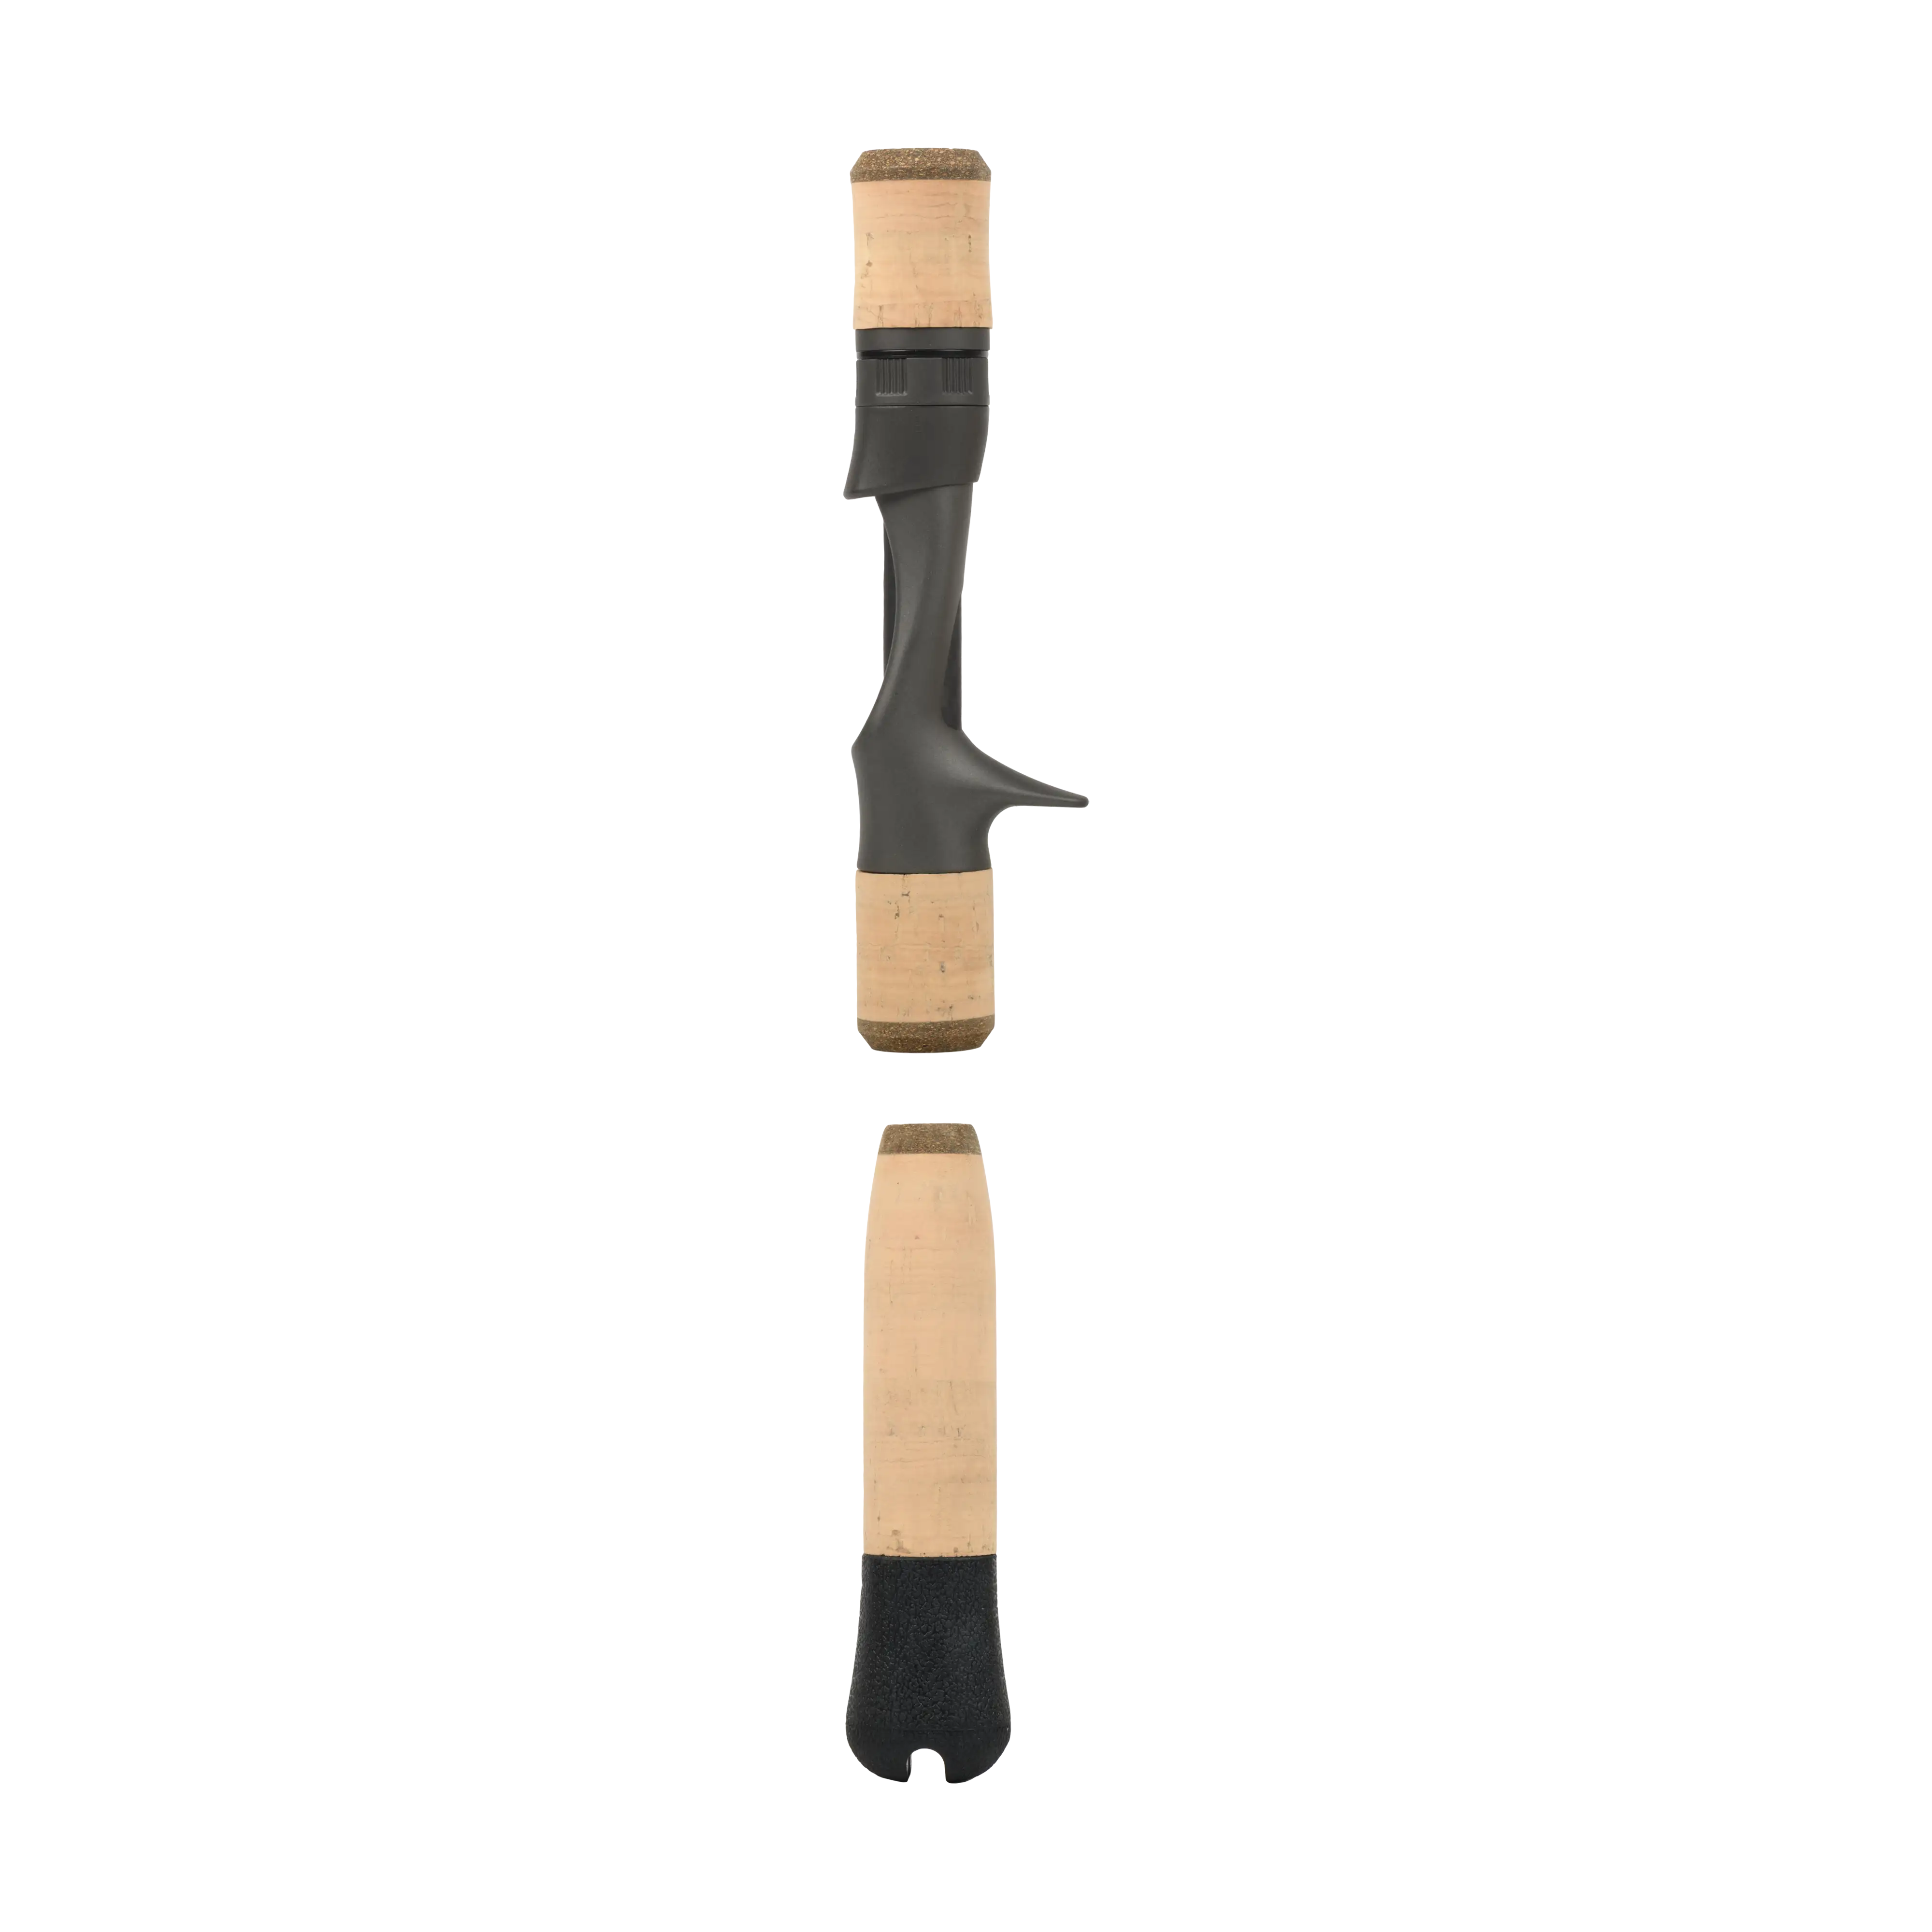
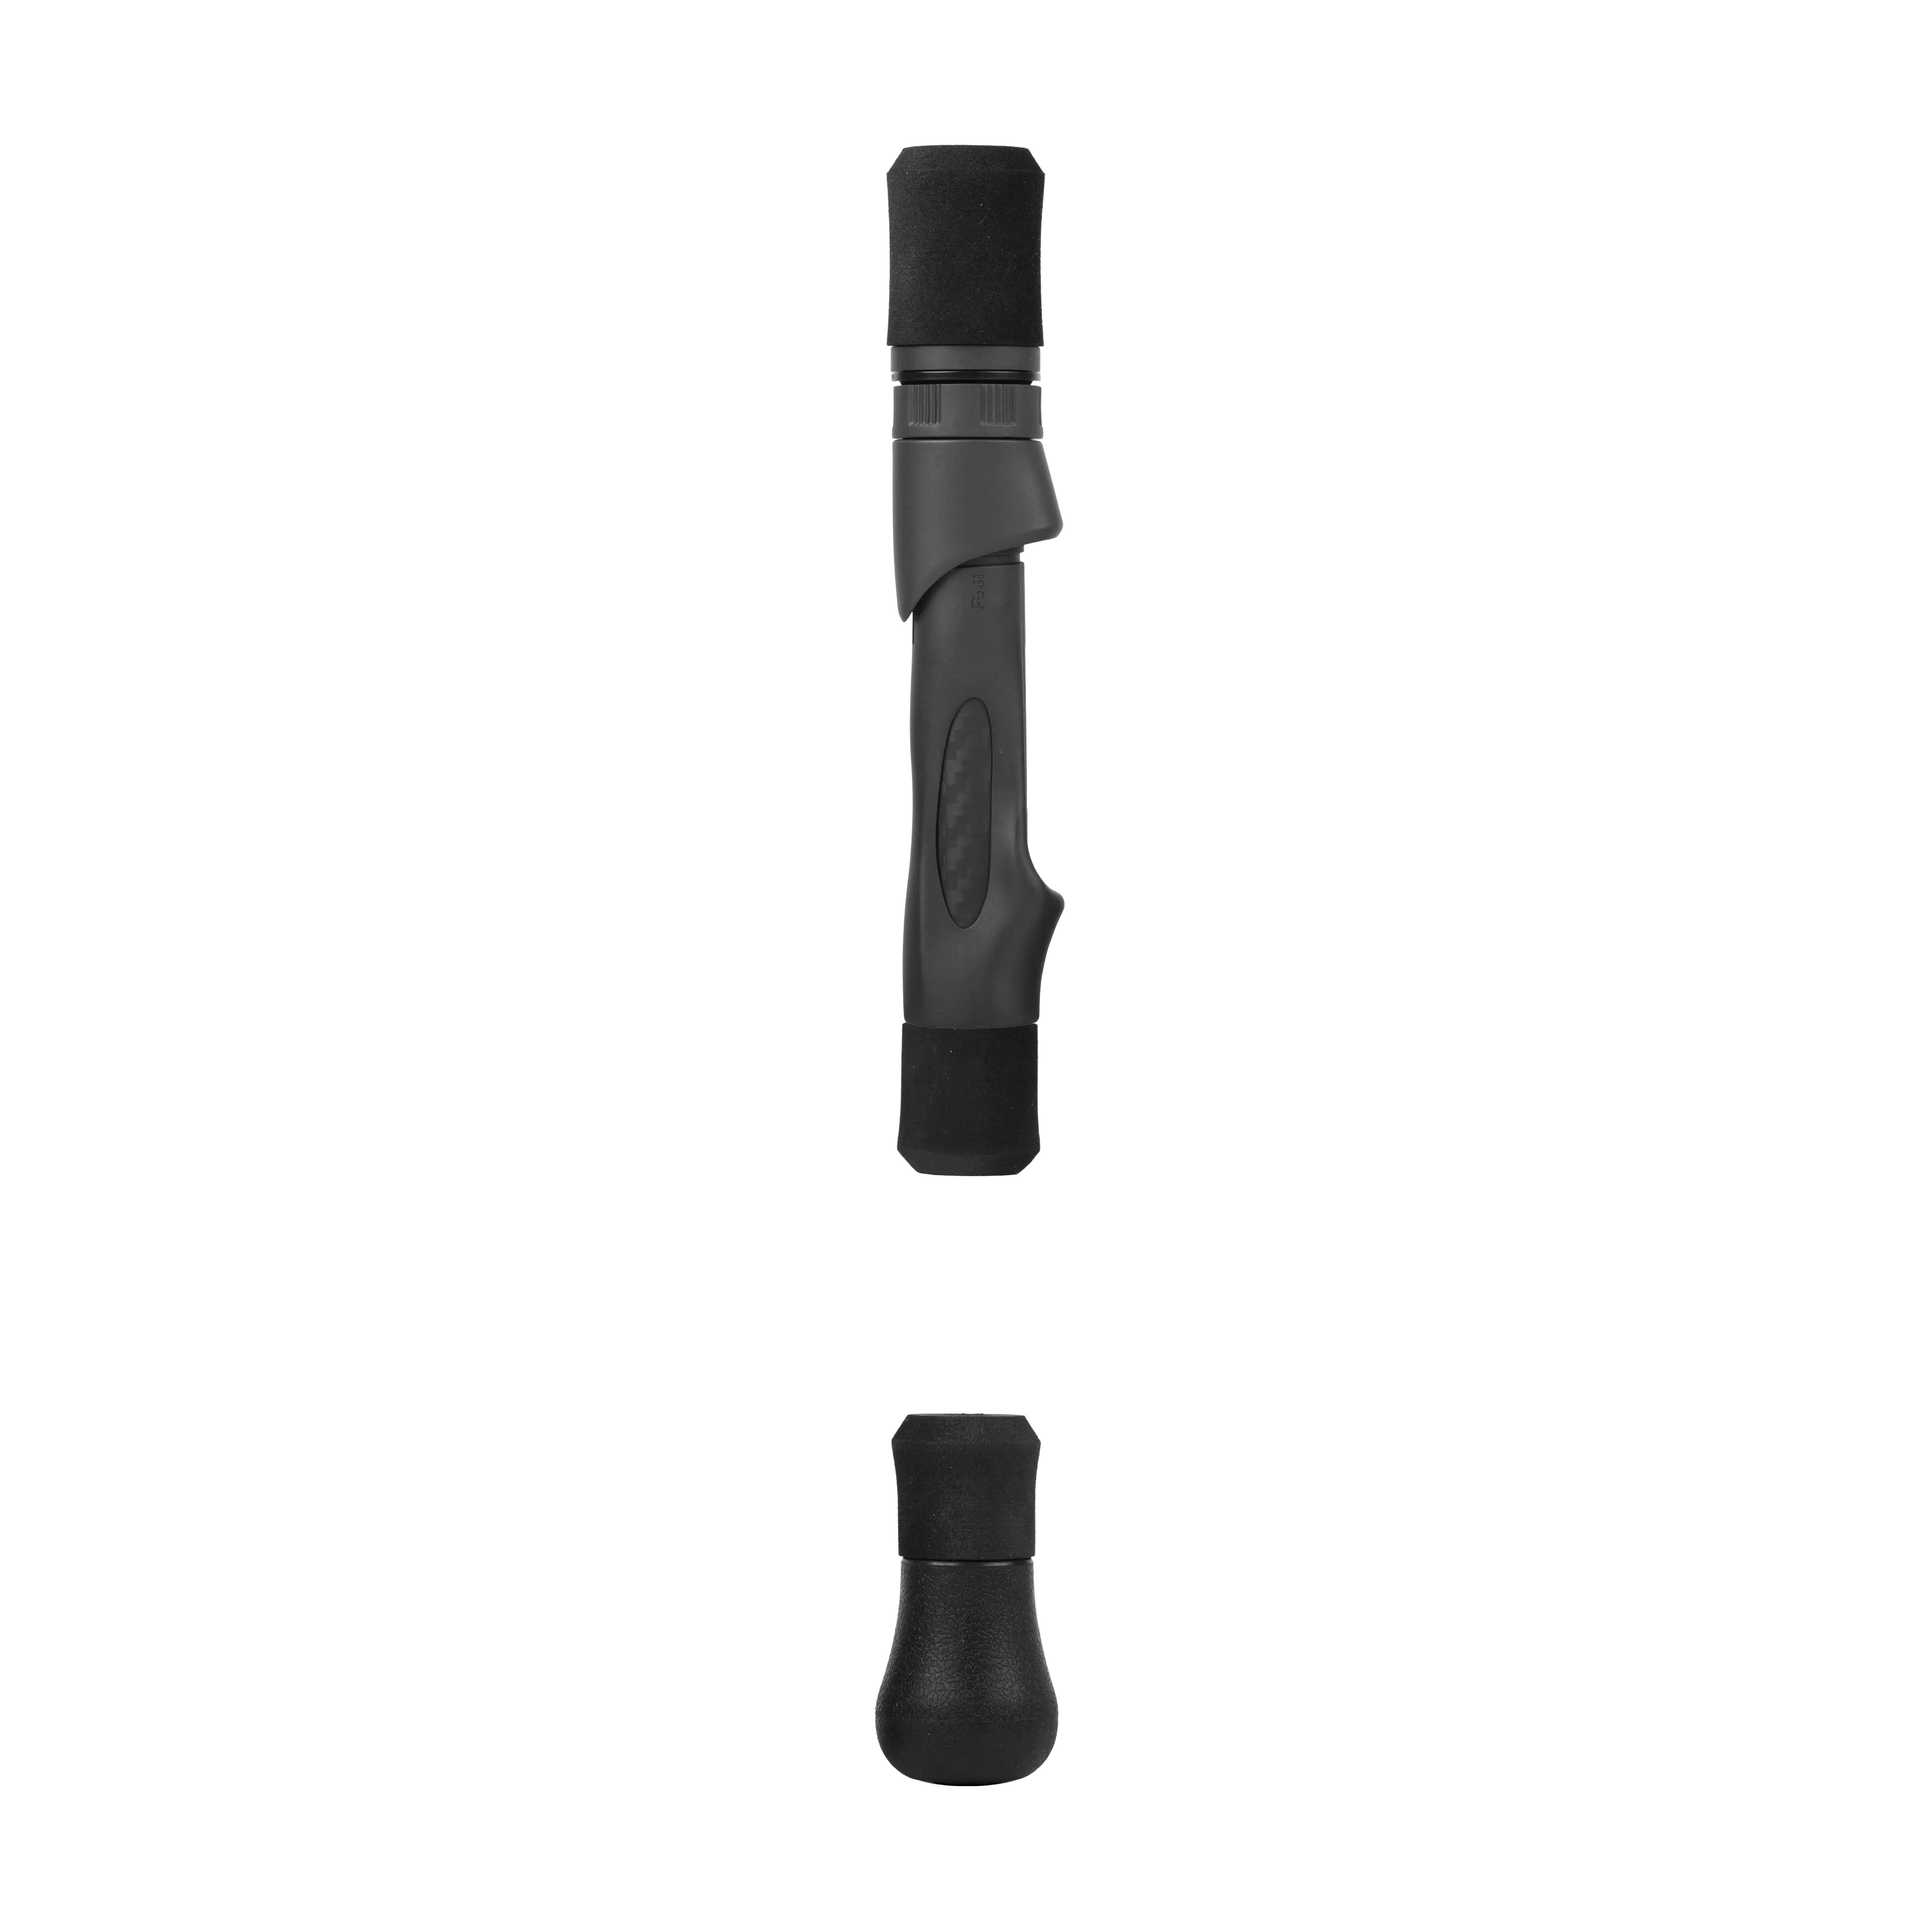
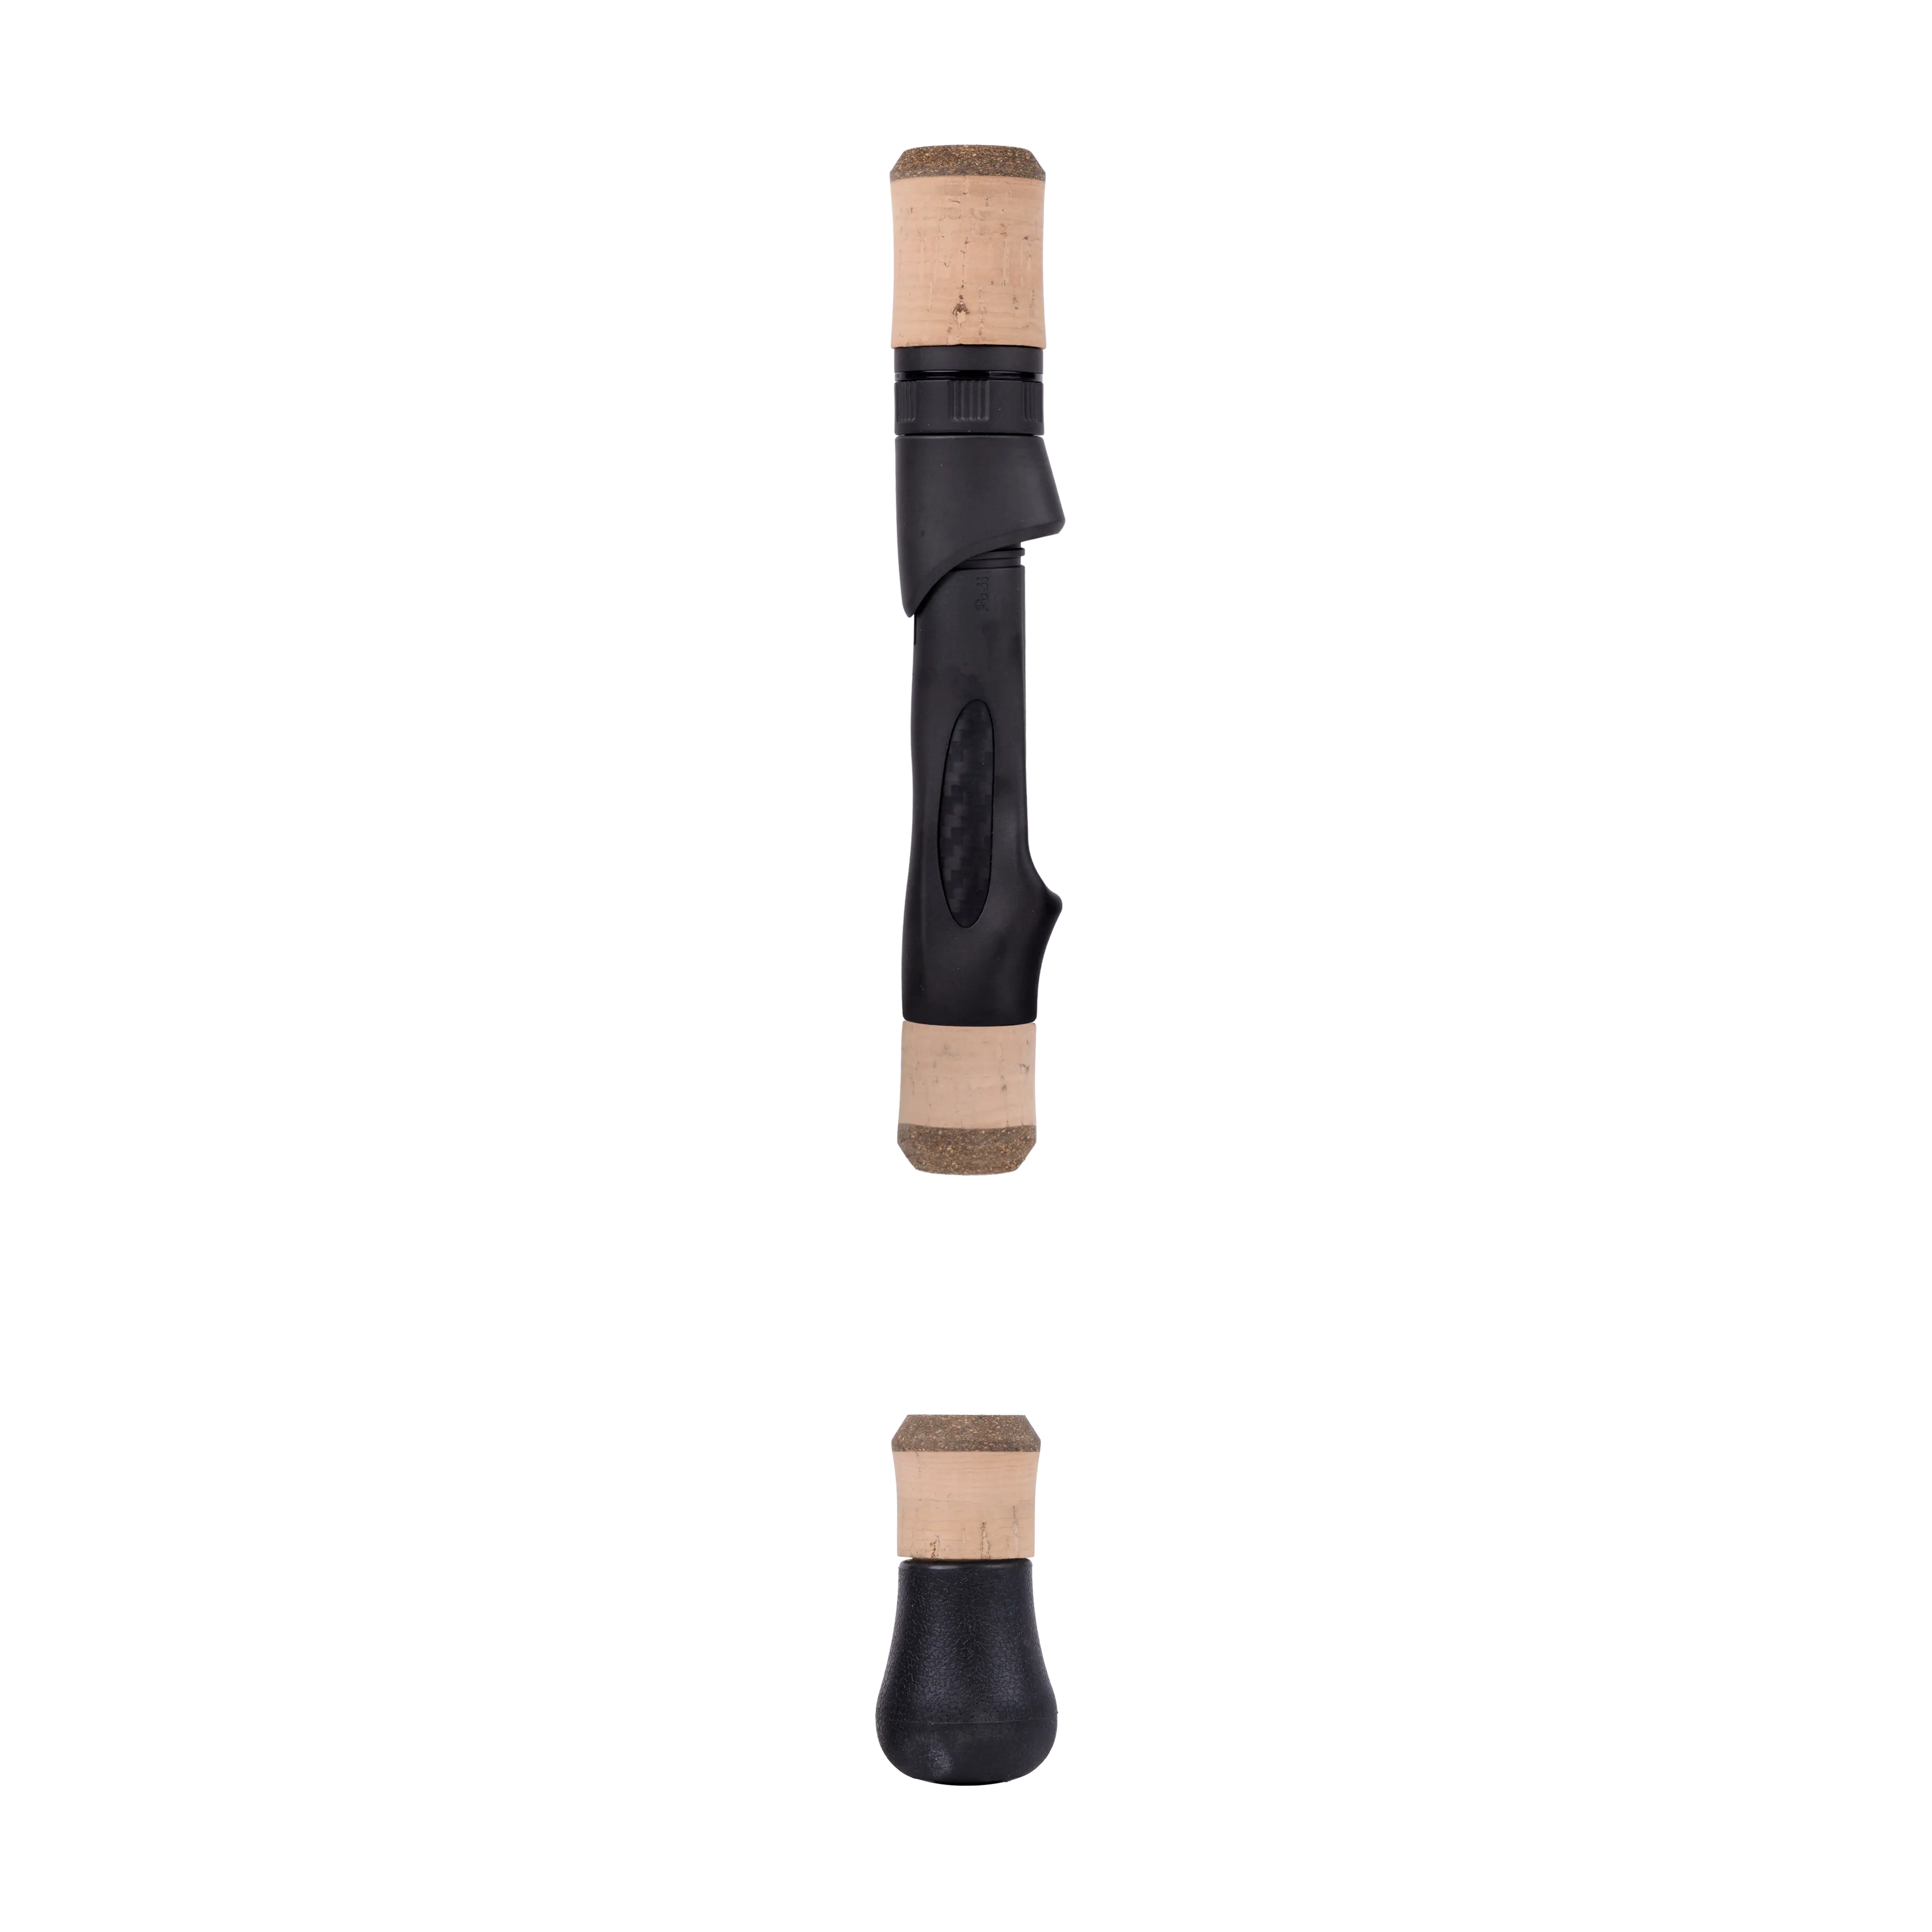
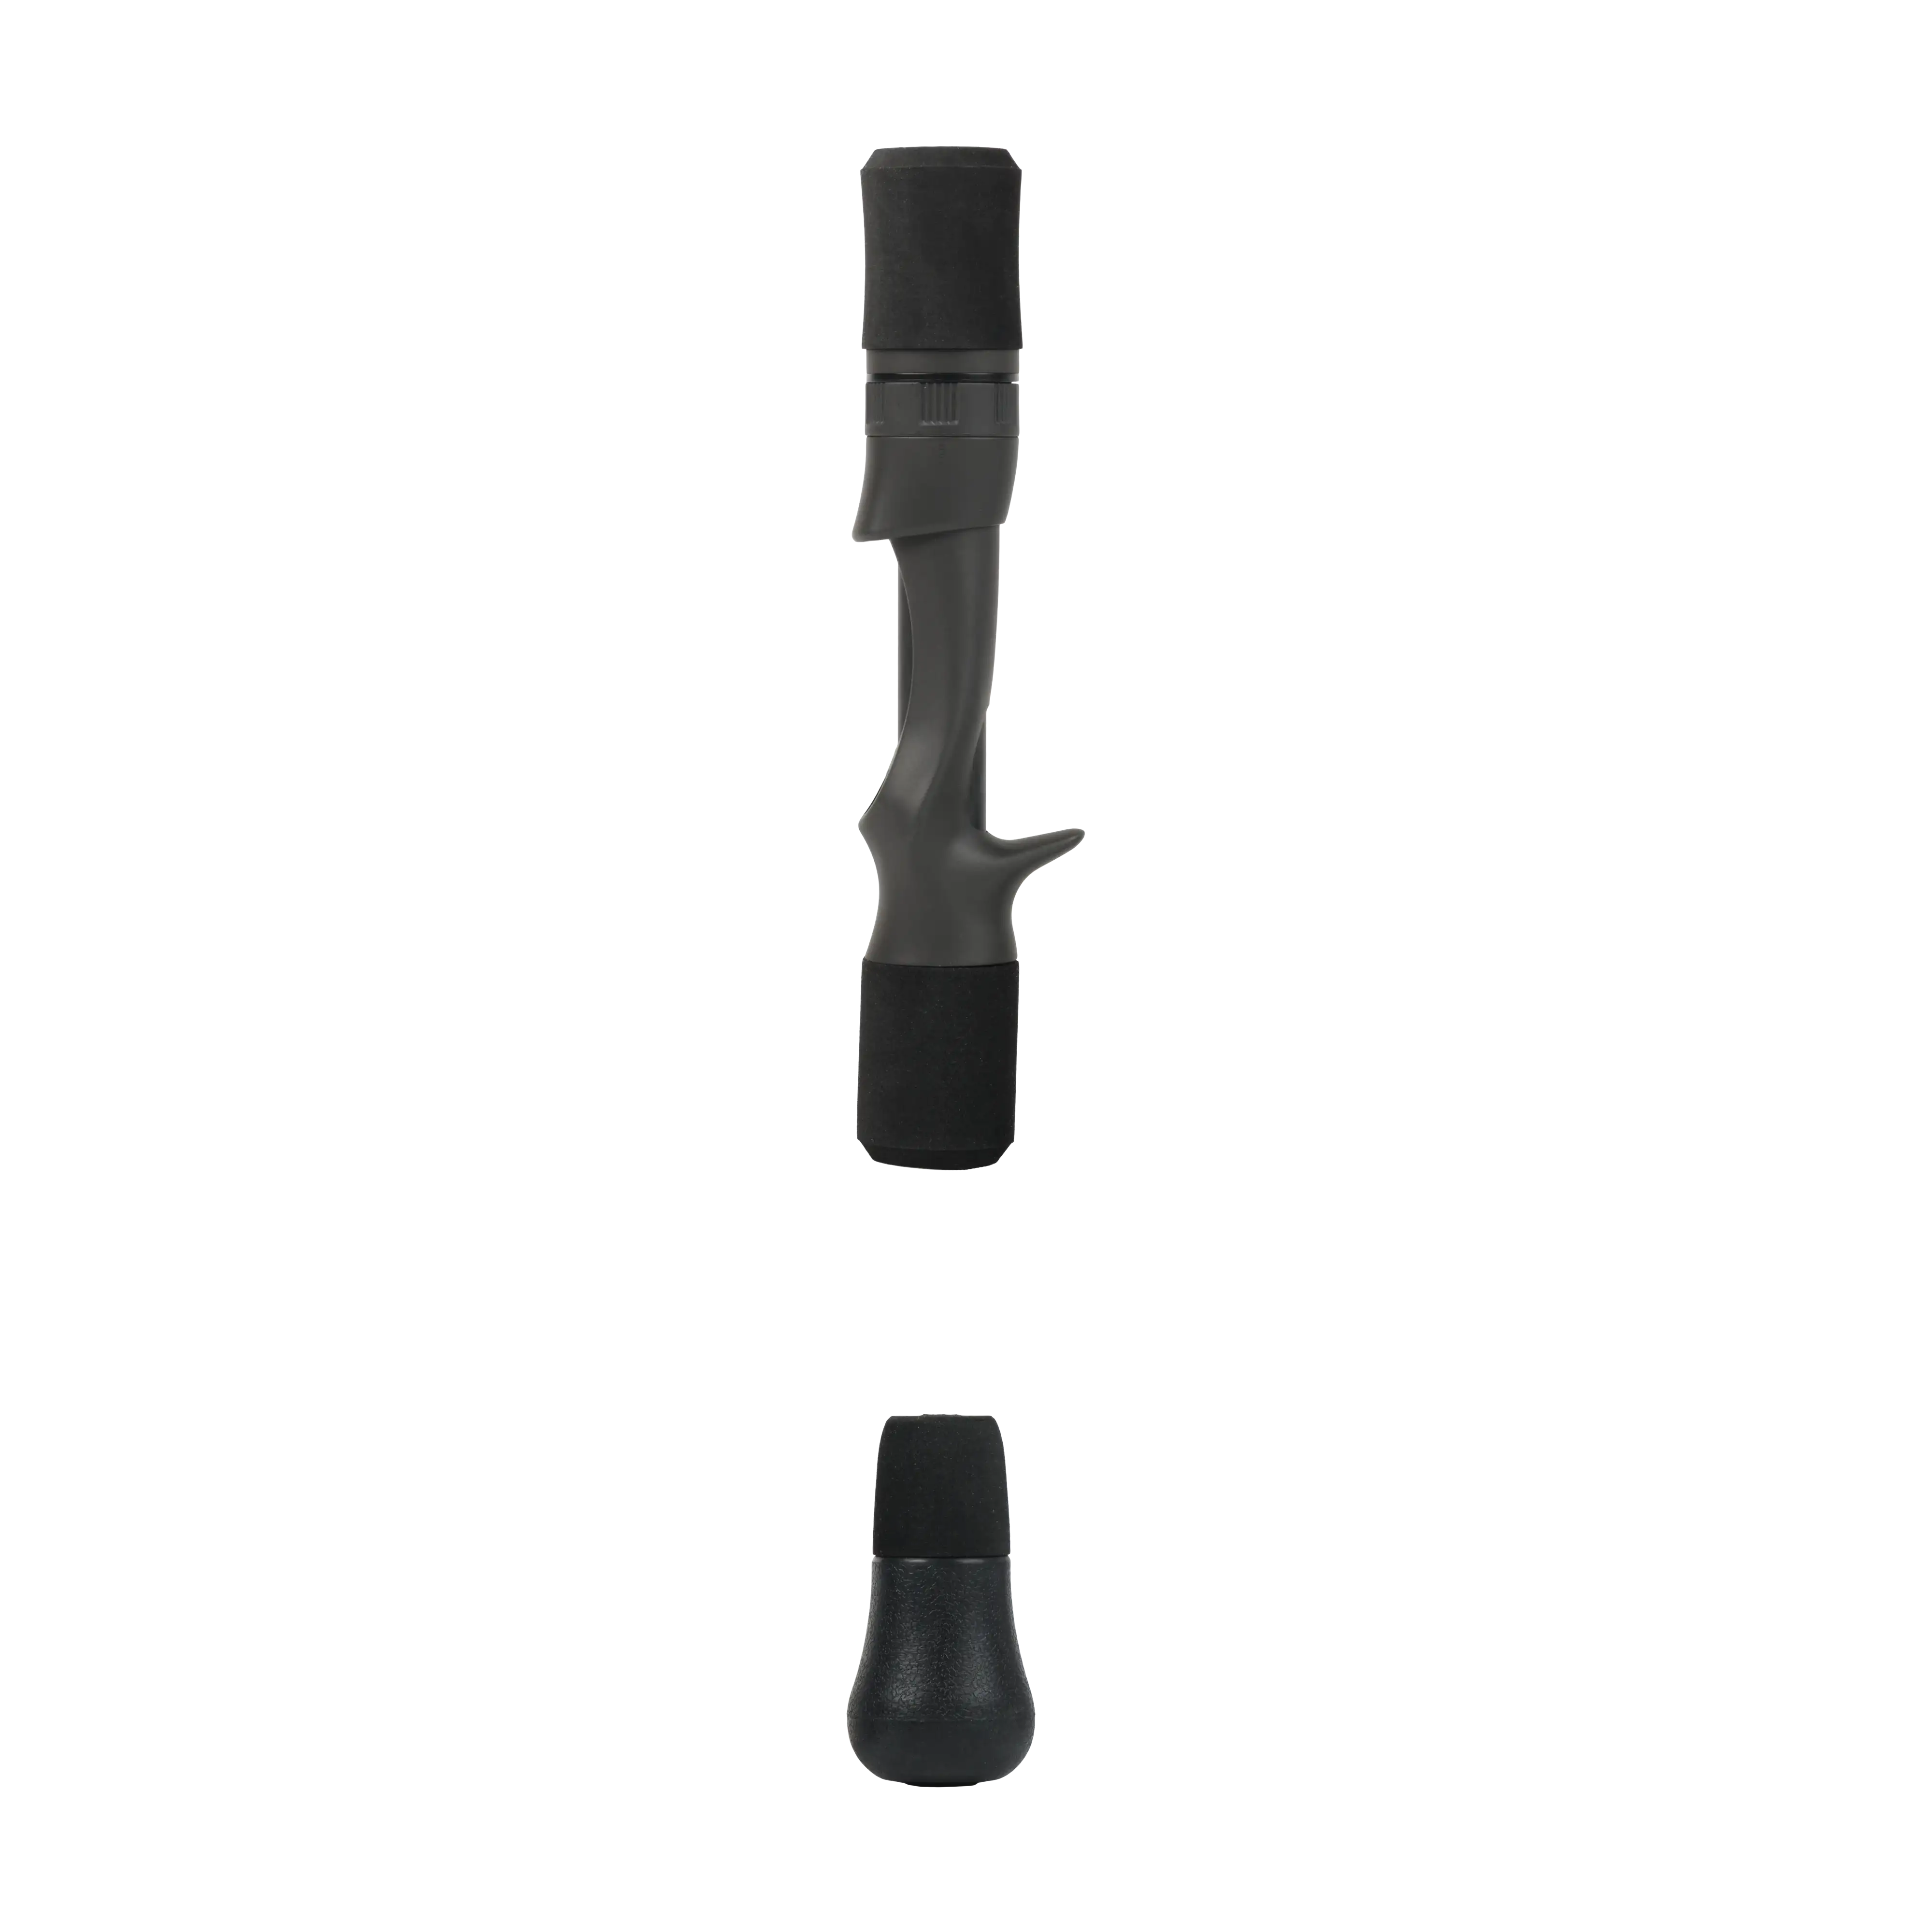
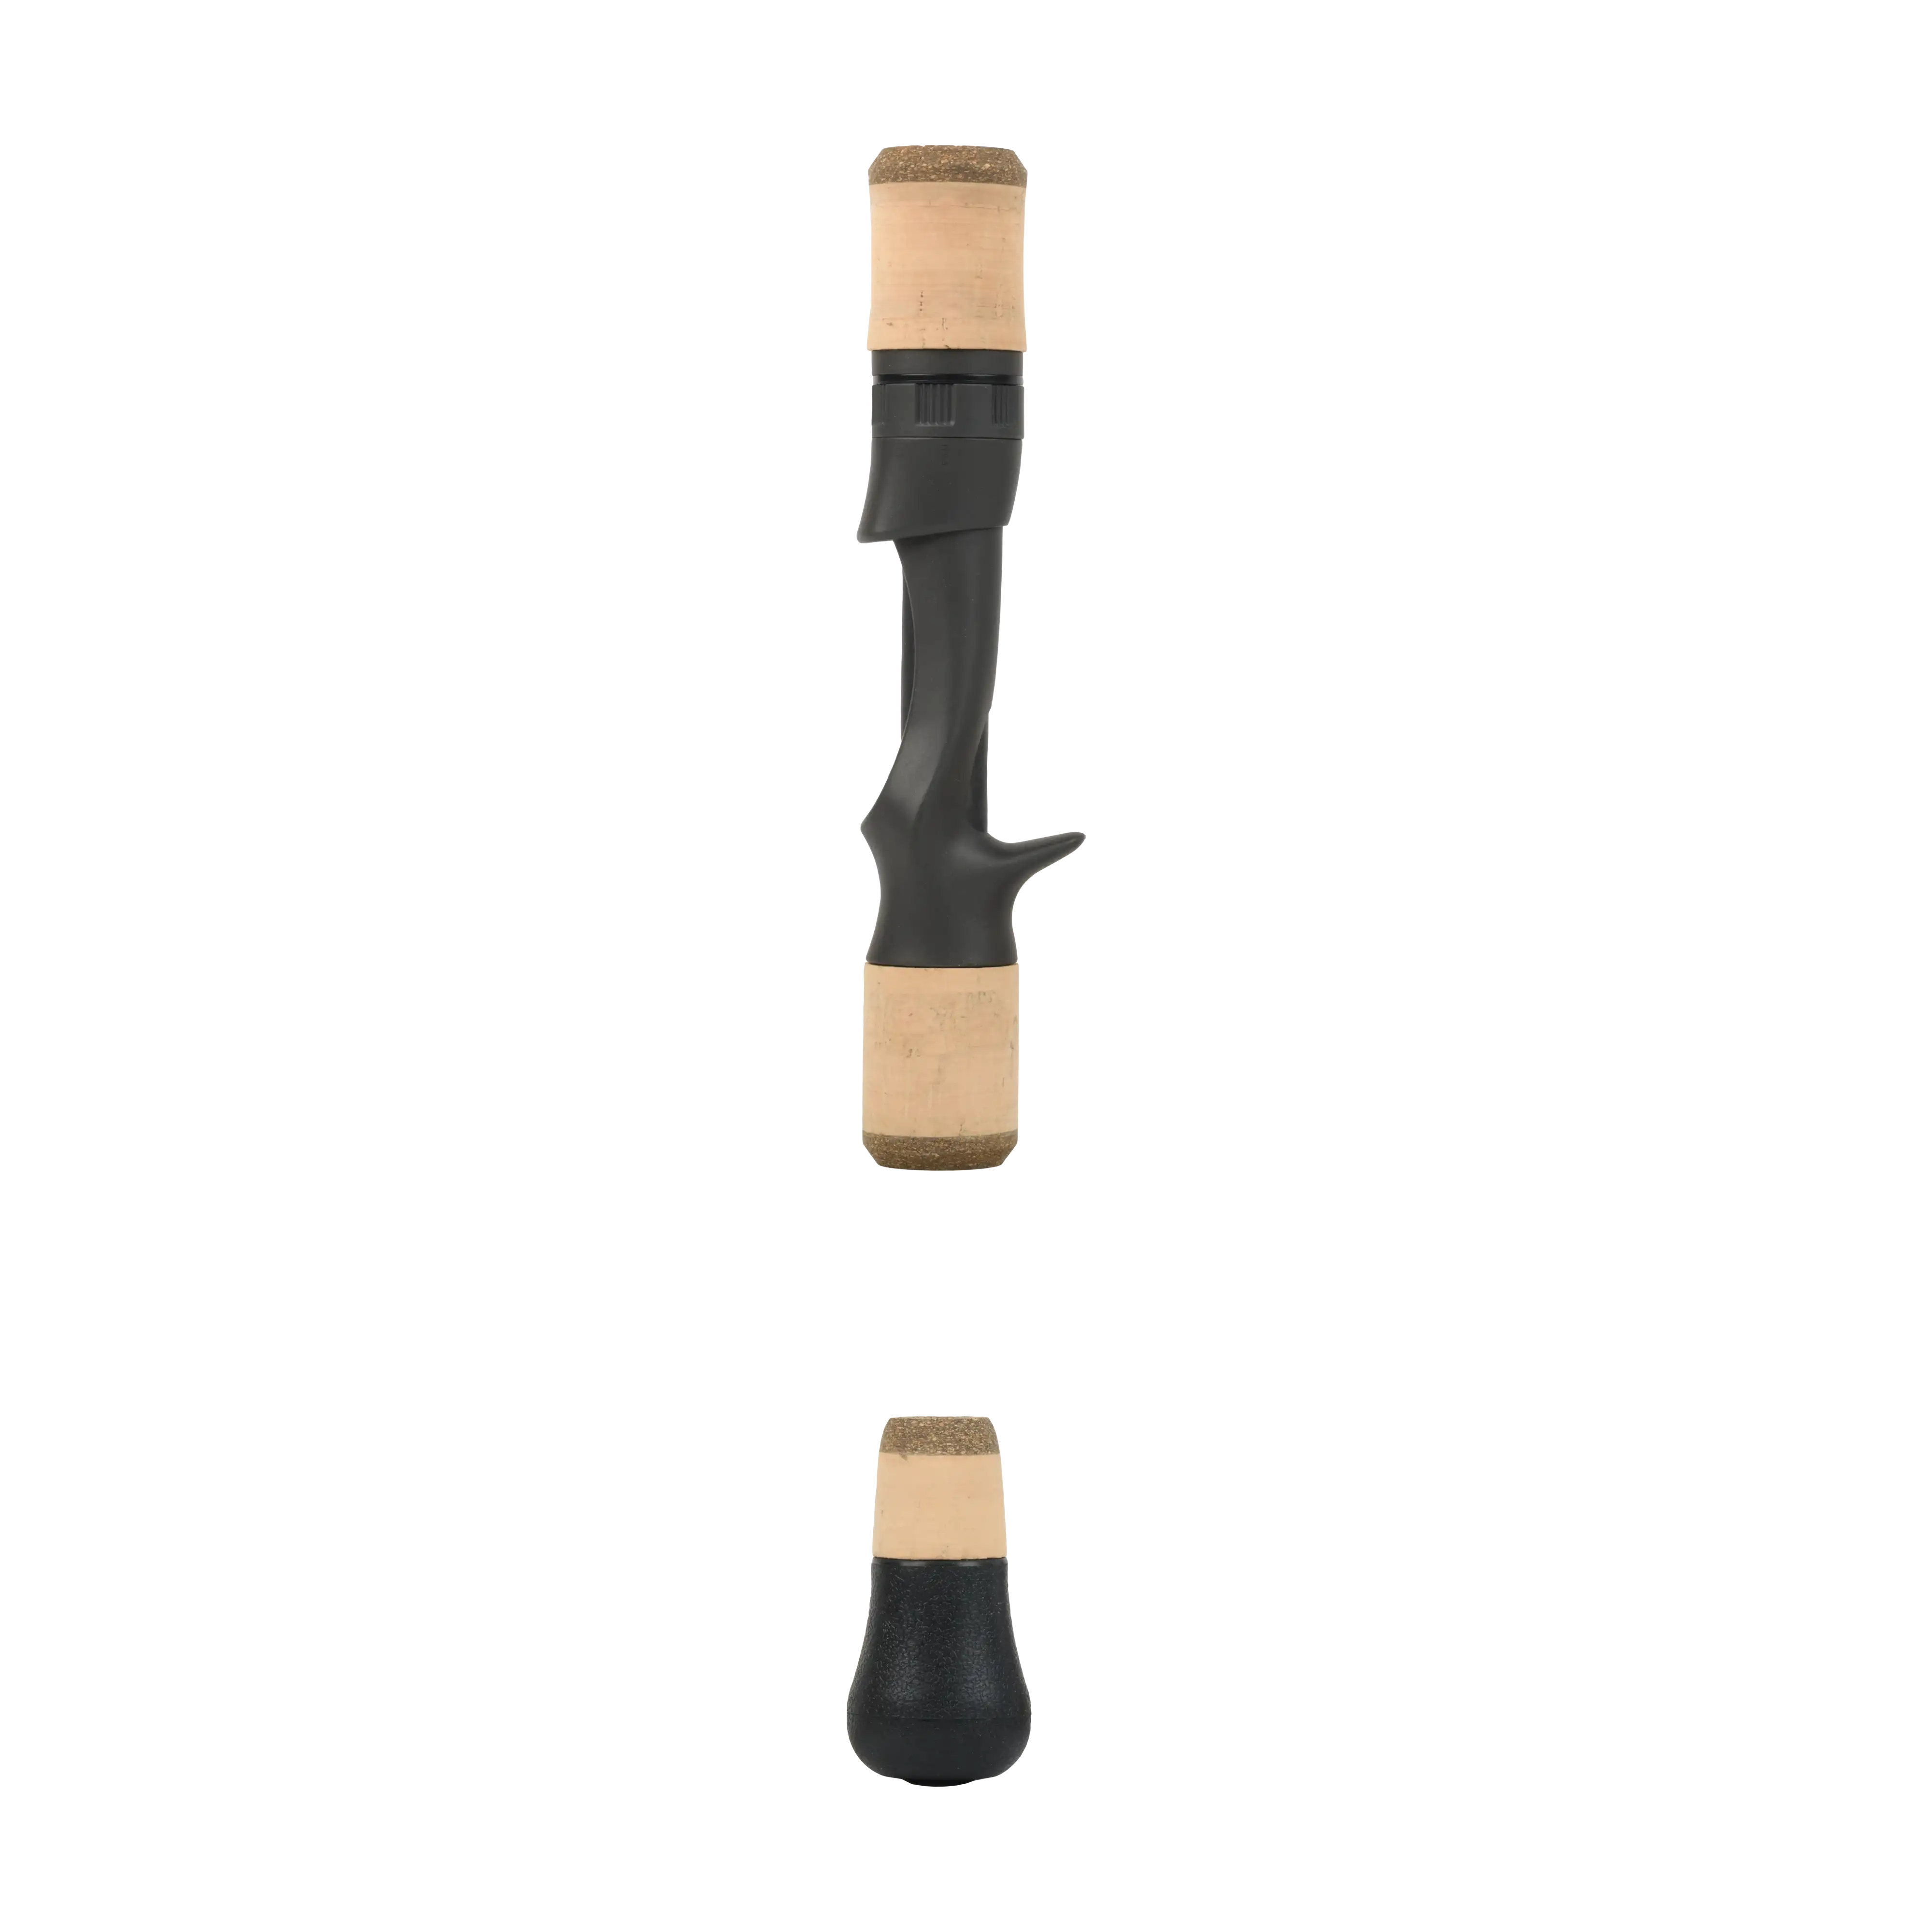
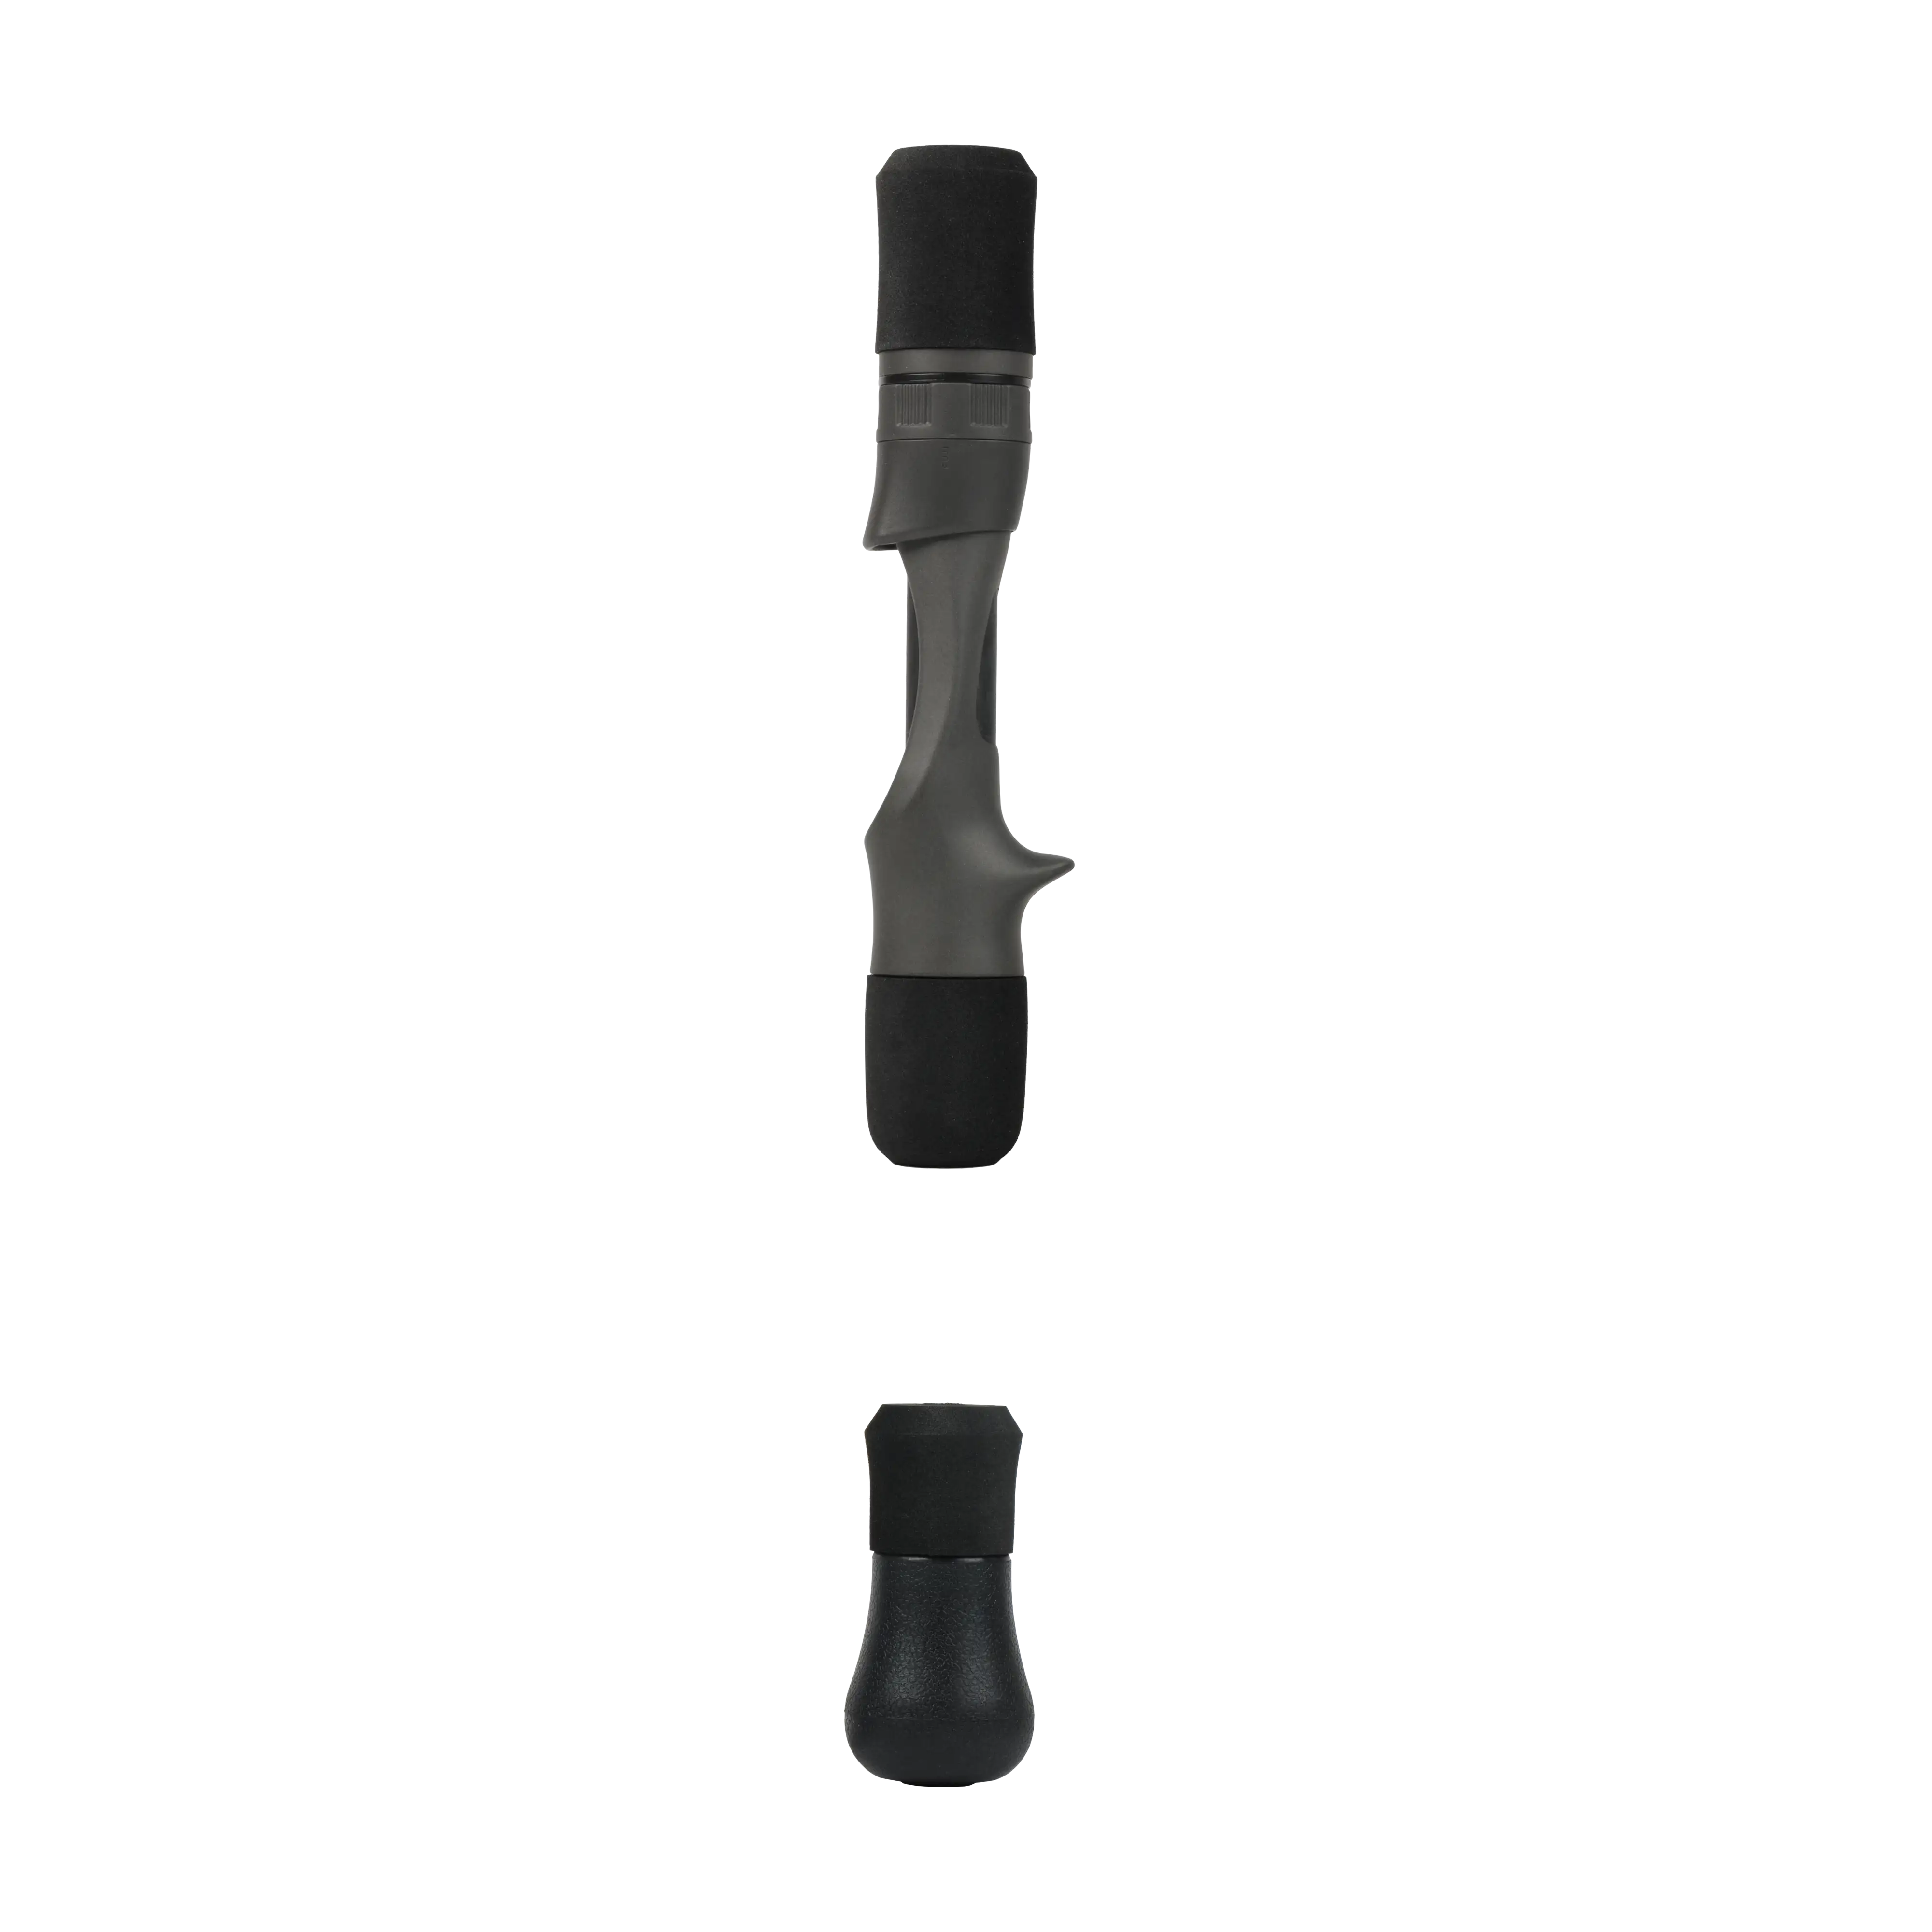
The handle system is a critical part of snapper and grouper rod builds because it directly impacts leverage, balance, and control during vertical fights and sustained load conditions. In red snapper and gag grouper applications, fishing is less about constant casting and more about managing pressure, lifting power, and controlling fish that immediately try to reach structure—especially gag grouper, which are known for diving hard into cover after the hookset. The handle must provide comfort during long drops while still delivering a secure, stable grip when applying heavy lift and turning fish away from structure.
Handle and grip kits simplify the build process by pairing the grips and related components that are pre-matched for alignment and balance on offshore blanks. This helps ensure proper spacing, consistent ergonomics, and a finished rod that feels stable under load without requiring trial-and-error fitting.
Casting vs Spinning
Conventional and spinning handle kits differ primarily by reel placement and how load is managed through the blank.
Conventional setups position the reel on top of the blank, creating a more direct connection for vertical fishing, bottom contact, and heavy lifting situations common in both snapper and grouper applications. This setup is especially effective when immediate control is needed to stop fish from reaching structure.
Spinning setups place the reel underneath the blank and are typically used in lighter applications such as jigheads, soft plastics, or lighter vertical presentations where reduced weight, easier line pickup, and enhanced feel on lighter loads are prioritized. Both configurations can be built using split or full grips, with selection usually based on balance preference and how the rod performs under sustained pressure rather than strict performance limitations.
Split vs Full-Grip Handles
Choosing between split and full-length rear grips comes down to balance, leverage preference, and how the rod is used during offshore fishing sessions.
Split Grips
Split grips reduce overall weight and expose more of the blank, improving sensitivity and creating a more direct connection to bottom contact and subtle strikes. In snapper and grouper applications, this can help detect changes in structure while still maintaining strong lifting control. The shortened rear section also allows more flexibility in reel seat placement, letting builders fine-tune balance and ergonomics for different blank actions and techniques. This style is often chosen for responsiveness, reduced fatigue, and modern offshore builds focused on feel and efficiency. One consideration is rod holder compatibility, as certain split grip configurations and longer reel seats can affect how securely the rod sits in some holders depending on the exact layout.
Full-Length Rear Grips
Full grips provide continuous support from reel seat to butt, offering a more traditional offshore setup with added leverage when lifting fish from depth. While slightly heavier, they improve stability during long fights and help maintain consistent hand placement when working fish away from structure. This design is especially useful when constant pressure and maximum control are more important than weight savings.
Handle Materials
Grip material affects comfort, durability, and how vibration and load feedback transfer through the handle during fishing. Each material offers a different balance depending on fishing style and conditions:
Cork
Cork provides a lightweight, natural feel with strong sensitivity and good feedback through the blank. It performs well in lighter applications but is less commonly used in heavy offshore snapper and grouper builds due to long-term exposure to saltwater, pressure, and abrasion.
EVA Foam
EVA is the most common choice for offshore rod builds used in snapper and grouper fishing due to its durability, water resistance, and comfort under sustained load. It maintains a secure grip when wet and reduces fatigue during long vertical fishing sessions, making it ideal for heavy sinker and deep-water applications.
Carbon / Composite
Carbon and composite grips deliver a very direct connection to the blank with high sensitivity and minimal weight. They are often used in performance-focused builds where feedback (feel) and precision are prioritized, though they can feel firmer during long fights or extended bottom fishing sessions.
Selecting the right handle kit comes down to how the rod blank will perform under load and how the angler prefers to fight fish. Whether prioritizing lifting power, comfort during deep drops, or sensitivity around structure, matching the handle system to the application is key to a balanced offshore build.
Key Takeaways
- Handle design directly affects leverage, balance, and control under load
- Split grips reduce weight and improve blank sensitivity
- Full grips provide added stability and lifting leverage in deep-water fights
- Material choice impacts durability, grip comfort, and fatigue over time
- Proper handle setup improves control when fighting structure-oriented fish
Grip & Handle Kits for Snapper & Grouper Rods
The handle system is a critical part of snapper and grouper rod builds because it directly impacts leverage, balance, and control during vertical fights and sustained load conditions. In red snapper and gag grouper applications, fishing is less about constant casting and more about managing pressure, lifting power, and controlling fish that immediately try to reach structure—especially gag grouper, which are known for diving hard into cover after the hookset. The handle must provide comfort during long drops while still delivering a secure, stable grip when applying heavy lift and turning fish away from structure.
Handle and grip kits simplify the build process by pairing the grips and related components that are pre-matched for alignment and balance on offshore blanks. This helps ensure proper spacing, consistent ergonomics, and a finished rod that feels stable under load without requiring trial-and-error fitting.
Casting vs Spinning
Conventional and spinning handle kits differ primarily by reel placement and how load is managed through the blank.
Conventional setups position the reel on top of the blank, creating a more direct connection for vertical fishing, bottom contact, and heavy lifting situations common in both snapper and grouper applications. This setup is especially effective when immediate control is needed to stop fish from reaching structure.
Spinning setups place the reel underneath the blank and are typically used in lighter applications such as jigheads, soft plastics, or lighter vertical presentations where reduced weight, easier line pickup, and enhanced feel on lighter loads are prioritized. Both configurations can be built using split or full grips, with selection usually based on balance preference and how the rod performs under sustained pressure rather than strict performance limitations.
Split vs Full-Grip Handles
Choosing between split and full-length rear grips comes down to balance, leverage preference, and how the rod is used during offshore fishing sessions.
Split Grips
Split grips reduce overall weight and expose more of the blank, improving sensitivity and creating a more direct connection to bottom contact and subtle strikes. In snapper and grouper applications, this can help detect changes in structure while still maintaining strong lifting control. The shortened rear section also allows more flexibility in reel seat placement, letting builders fine-tune balance and ergonomics for different blank actions and techniques. This style is often chosen for responsiveness, reduced fatigue, and modern offshore builds focused on feel and efficiency. One consideration is rod holder compatibility, as certain split grip configurations and longer reel seats can affect how securely the rod sits in some holders depending on the exact layout.
Full-Length Rear Grips
Full grips provide continuous support from reel seat to butt, offering a more traditional offshore setup with added leverage when lifting fish from depth. While slightly heavier, they improve stability during long fights and help maintain consistent hand placement when working fish away from structure. This design is especially useful when constant pressure and maximum control are more important than weight savings.
Handle Materials
Grip material affects comfort, durability, and how vibration and load feedback transfer through the handle during fishing. Each material offers a different balance depending on fishing style and conditions:
Cork
Cork provides a lightweight, natural feel with strong sensitivity and good feedback through the blank. It performs well in lighter applications but is less commonly used in heavy offshore snapper and grouper builds due to long-term exposure to saltwater, pressure, and abrasion.
EVA Foam
EVA is the most common choice for offshore rod builds used in snapper and grouper fishing due to its durability, water resistance, and comfort under sustained load. It maintains a secure grip when wet and reduces fatigue during long vertical fishing sessions, making it ideal for heavy sinker and deep-water applications.
Carbon / Composite
Carbon and composite grips deliver a very direct connection to the blank with high sensitivity and minimal weight. They are often used in performance-focused builds where feedback (feel) and precision are prioritized, though they can feel firmer during long fights or extended bottom fishing sessions.
Selecting the right handle kit comes down to how the rod blank will perform under load and how the angler prefers to fight fish. Whether prioritizing lifting power, comfort during deep drops, or sensitivity around structure, matching the handle system to the application is key to a balanced offshore build.
Key Takeaways
- Handle design directly affects leverage, balance, and control under load
- Split grips reduce weight and improve blank sensitivity
- Full grips provide added stability and lifting leverage in deep-water fights
- Material choice impacts durability, grip comfort, and fatigue over time
- Proper handle setup improves control when fighting structure-oriented fish
Grip & Handle Kits for Red Snapper & Gag Grouper Builds

Reel Seats for Snapper & Grouper Rods
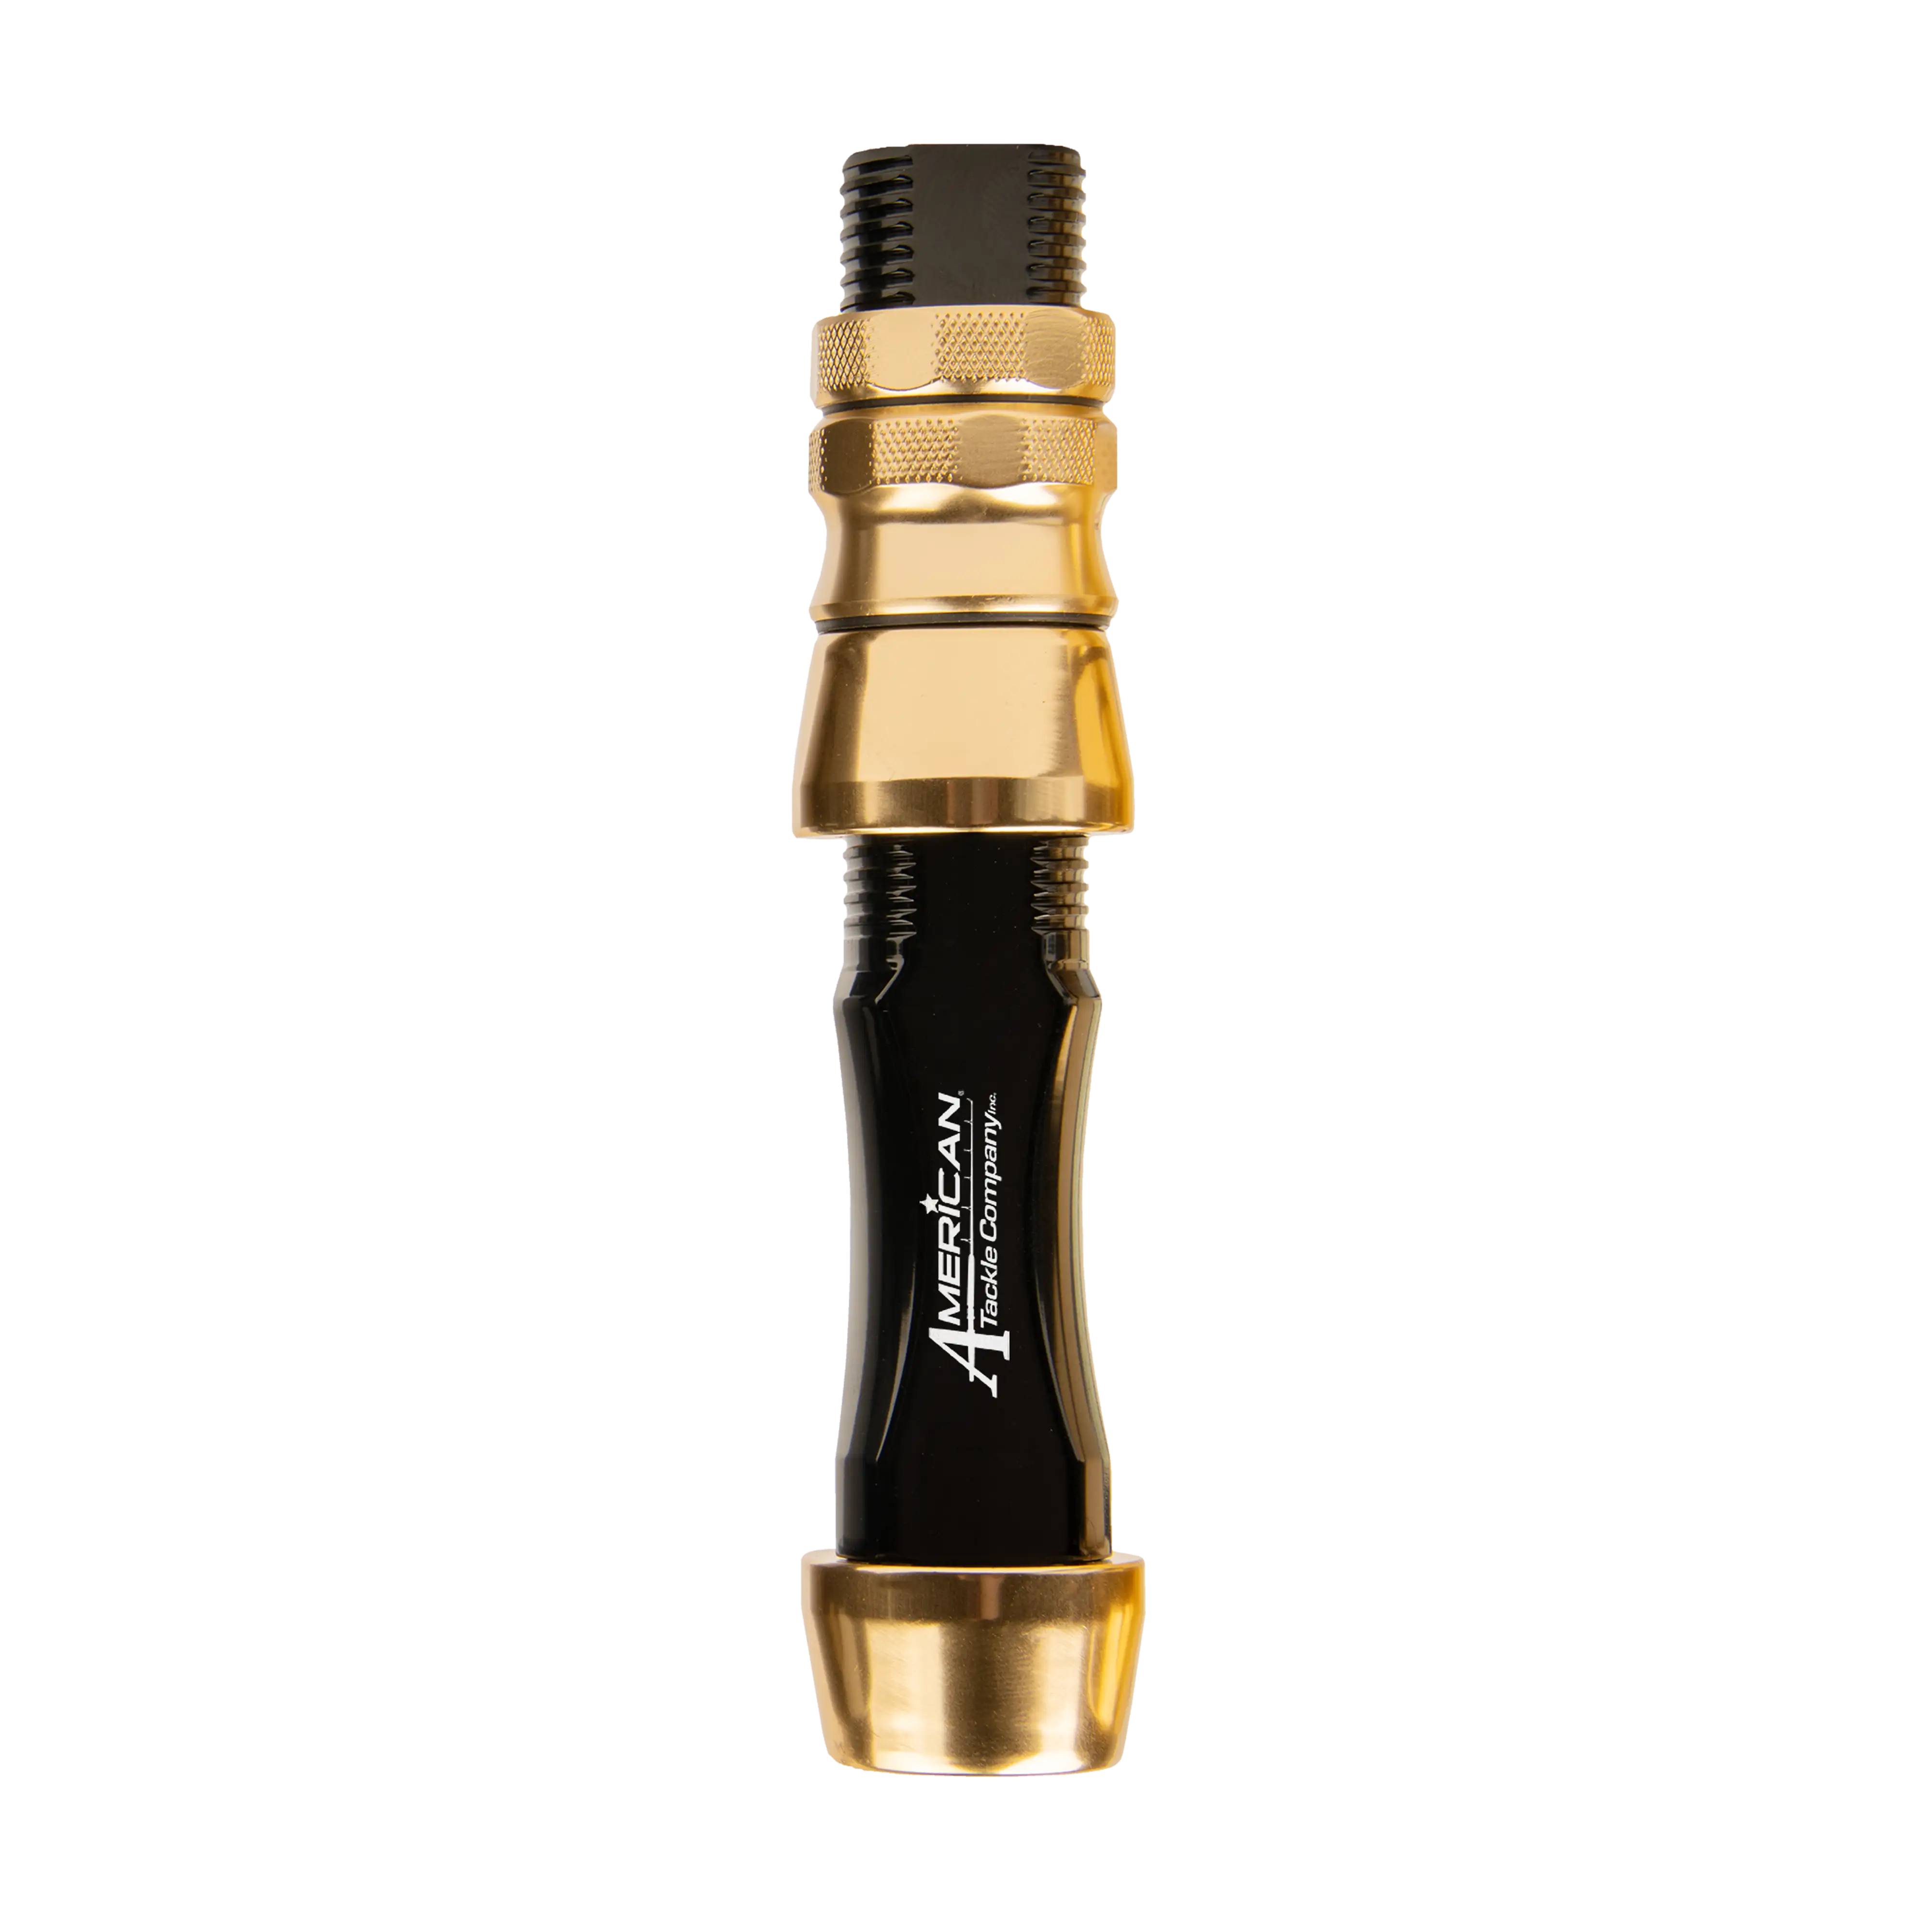
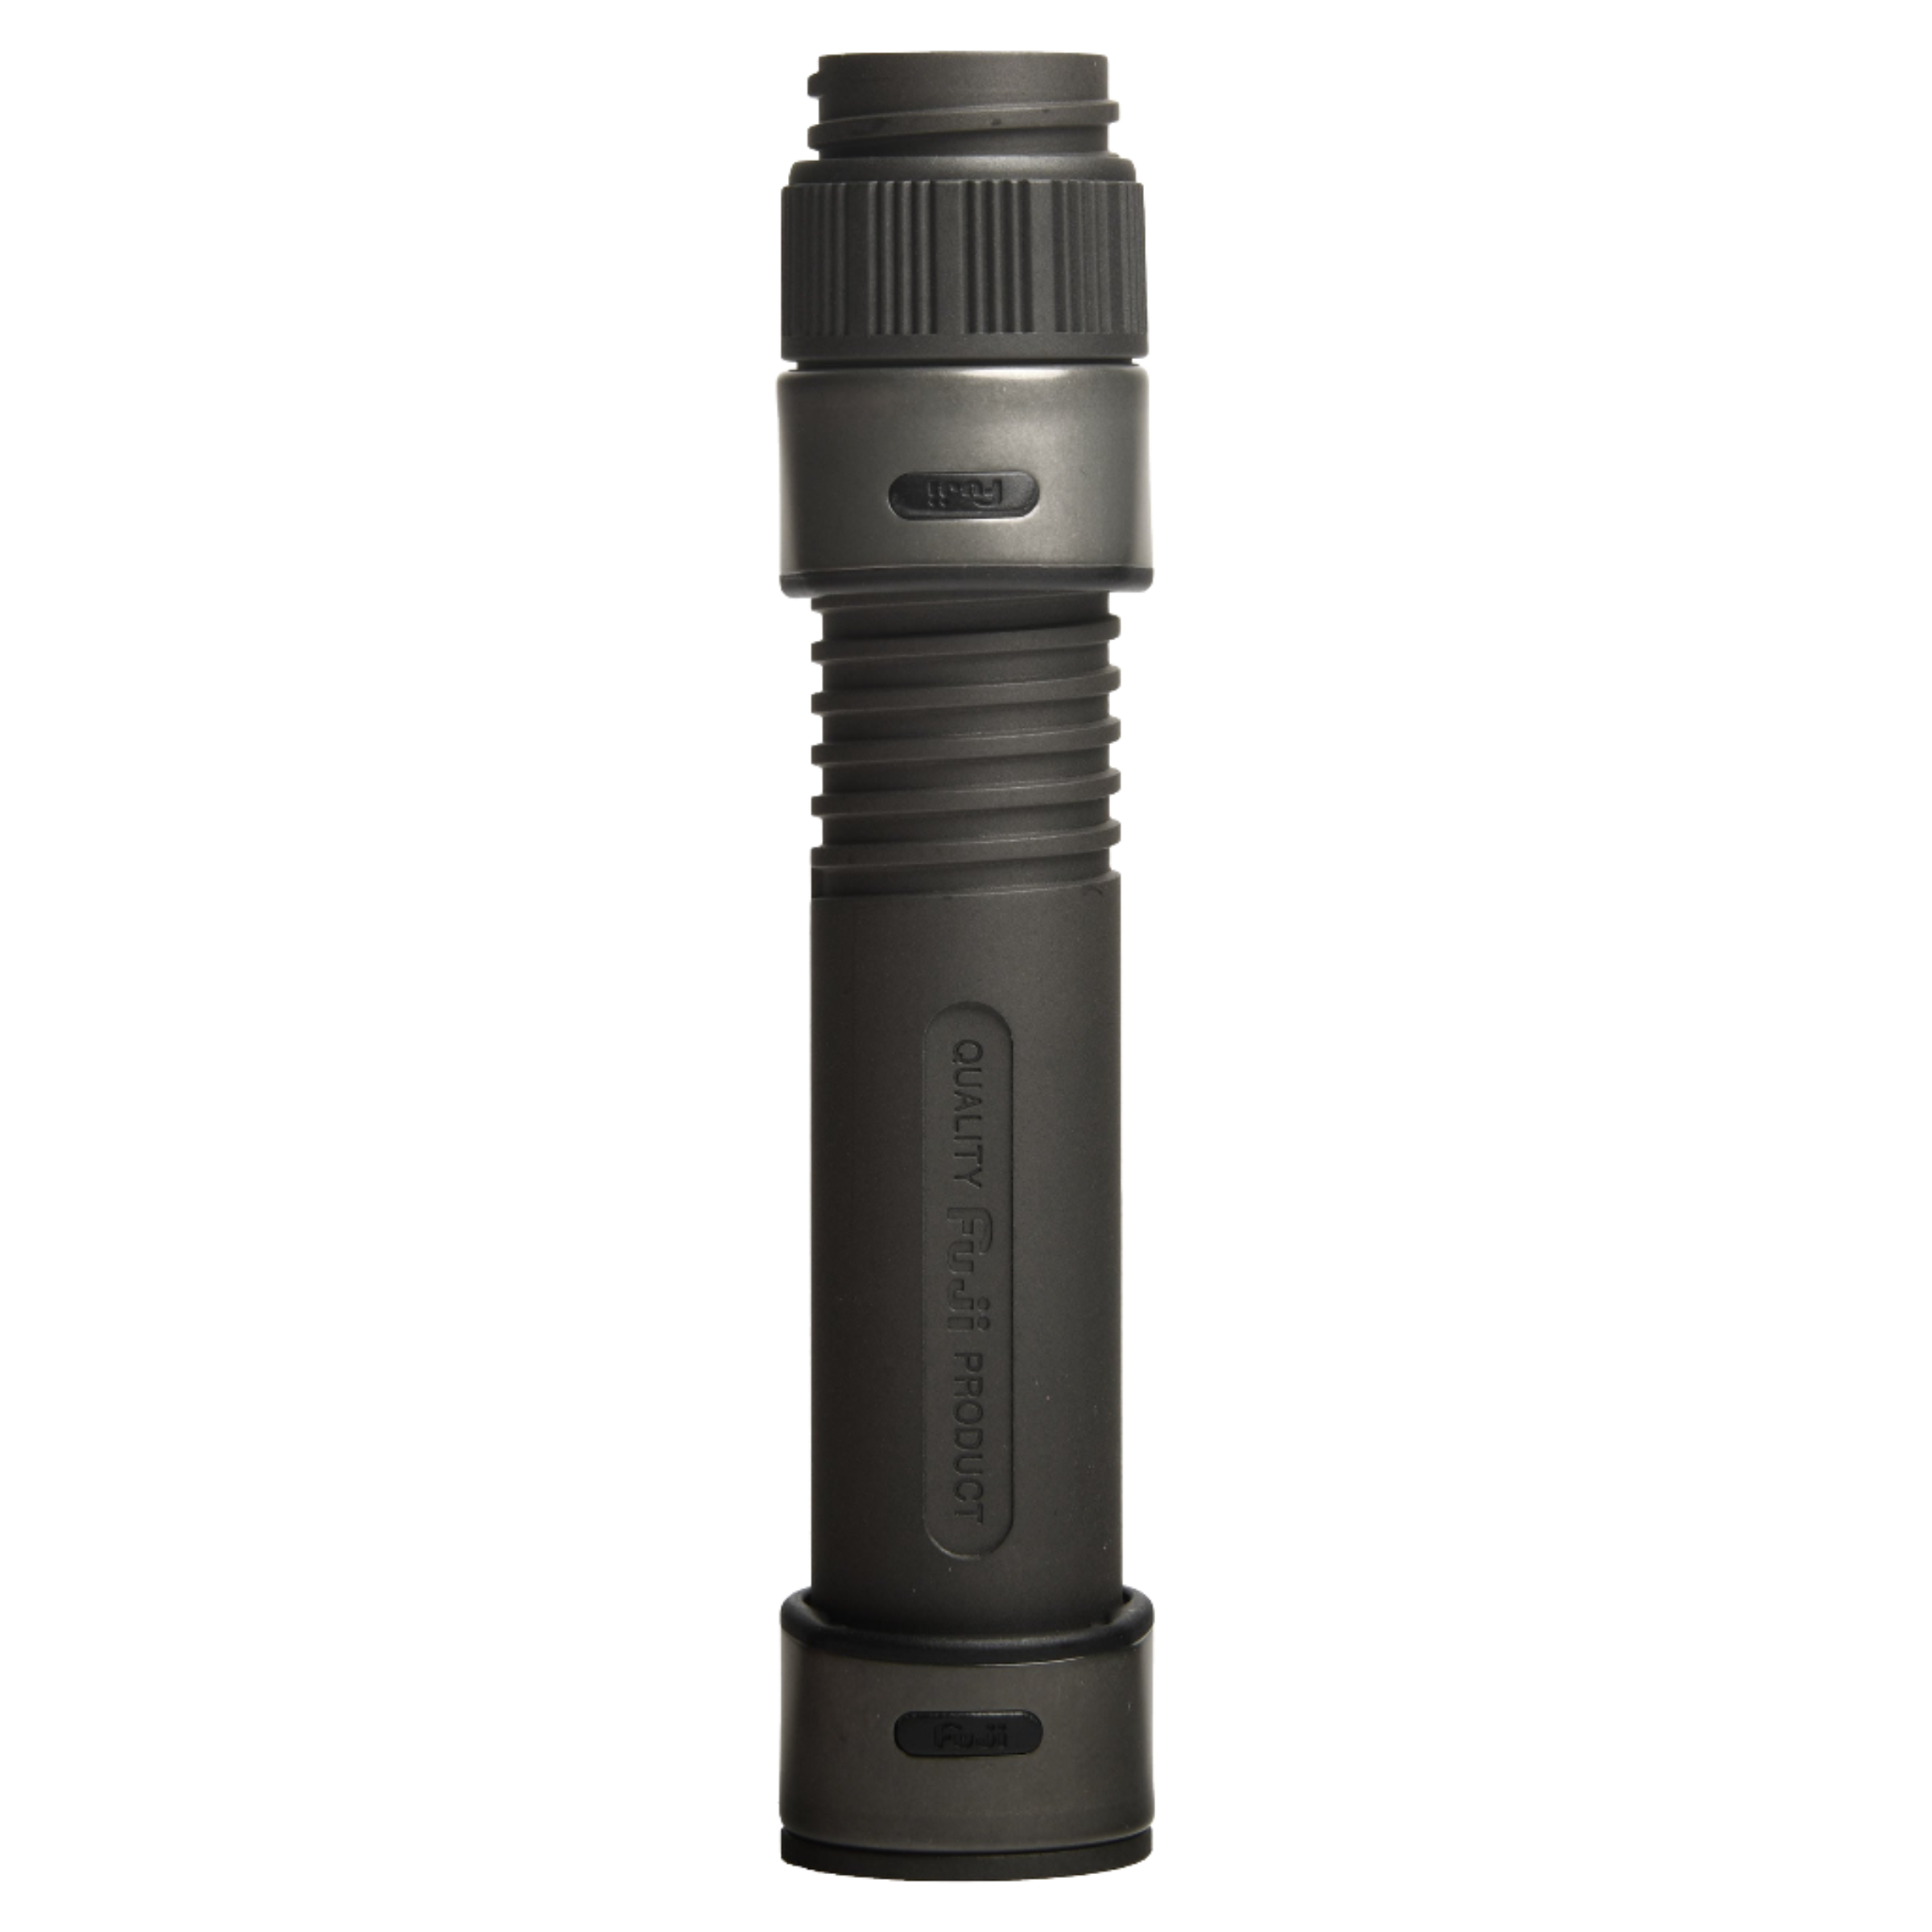
In snapper and grouper rod builds, the reel seat is a key structural component that locks the reel into position, maintains alignment with the blank under heavy load, and provides a stable connection between reel and handle system during vertical fishing, bottom contact, and hard fights around structure.
A properly selected reel seat must maintain a tight, non-flexing fit on the reel foot while supporting consistent load transfer through the blank. In red snapper and gag grouper fishing, rods are constantly under pressure from heavy sinkers, vertical lifts, and sudden runs toward structure, so even small differences in seat fit, rigidity, and layout can affect control, comfort, and long-term durability.
Note: Some handle kits include a reel seat, while others require it to be selected separately.
Reel Seat Types
Spinning vs. Conventional
Spinning and casting reel seats are designed for different reel positions and load transfer.
Spinning reel seats mount the reel underneath the blank and use a hooded locking system that secures the reel foot from both sides, creating a stable connection for lighter offshore applications like jigheads, soft plastics, and lighter vertical presentations where line management and reduced fatigue are priorities.
Conventional reel seats mount the reel on top of the blank and use a hood-and-locking nut system, sometimes paired with a trigger-style grip, to keep the reel firmly aligned under heavy vertical pressure. This setup is more commonly used for bottom fishing and structure-heavy applications where immediate control is needed to stop fish—especially gag grouper—from reaching cover. In both cases, the goal is a secure, non-slip connection that maintains alignment under sustained offshore load.
Full-Length (Barrel) Reel Seats
Full-length reel seats provide a continuous mounting surface for the reel, creating a solid, traditional connection between reel and handle system. This design delivers maximum stability and a planted feel when fighting fish in deep water or applying heavy pressure to turn fish away from structure. Full-length seats are widely used in offshore builds where control, leverage, and durability under load are prioritized over weight savings, making them well suited for both snapper and grouper applications in heavy structure environments.
Reel Seat Materials
Graphite
Graphite reel seats are widely used in offshore rod blanks due to their light weight, corrosion resistance, and overall durability in saltwater environments. They provide a balanced mix of strength and weight savings, making them a reliable all-around option for snapper and grouper builds across a wide range of depths and conditions.
Composite / Carbon Fiber
Composite and carbon-enhanced reel seats offer increased rigidity and reduced weight compared to standard graphite. This improves the direct connection between reel and blank, enhancing sensitivity and maintaining a more responsive feel under load while still resisting corrosion and wear in offshore conditions where both snapper and gag grouper place constant pressure on the system.
Metal
Metal reel seats, typically aluminum or stainless steel, are used in heavy-duty offshore applications where maximum durability and lock-up strength are required. While less common due to added weight, they are favored in extreme deep-water or heavy structure scenarios where absolute security under load is critical—particularly when targeting larger gag grouper in tight cover.
Note: Some applications like slow-pitch jigging require caution when using metal reel seats, as the extreme parabolic bend of these rods can create stress points where a rigid metal seat does not flex with the blank. In these situations, the lack of flex can concentrate load into a small area of the rod, increasing the risk of blank damage under sustained pressure or deep flex.
Selecting the correct reel seat ensures the reel is securely locked, properly aligned with the blank, and fully integrated into the handle system for consistent offshore performance under pressure.
Key Takeaways
- Reel seats control reel security, alignment, and load transfer into the blank
- Spinning seats mount underneath for lighter, more versatile applications
- Casting seats mount on top and are preferred for heavy structure and vertical pressure
- Full-length seats prioritize stability and control under sustained load
- Material choice impacts weight, rigidity, sensitivity, and corrosion resistance
- Proper fit and lock-up matter more than seat style alone
Reel Seats for Snapper & Grouper Rods
In snapper and grouper rod builds, the reel seat is a key structural component that locks the reel into position, maintains alignment with the blank under heavy load, and provides a stable connection between reel and handle system during vertical fishing, bottom contact, and hard fights around structure.
A properly selected reel seat must maintain a tight, non-flexing fit on the reel foot while supporting consistent load transfer through the blank. In red snapper and gag grouper fishing, rods are constantly under pressure from heavy sinkers, vertical lifts, and sudden runs toward structure, so even small differences in seat fit, rigidity, and layout can affect control, comfort, and long-term durability.
Note: Some handle kits include a reel seat, while others require it to be selected separately.
Reel Seat Types
Spinning vs. Conventional
Spinning and casting reel seats are designed for different reel positions and load transfer.
Spinning reel seats mount the reel underneath the blank and use a hooded locking system that secures the reel foot from both sides, creating a stable connection for lighter offshore applications like jigheads, soft plastics, and lighter vertical presentations where line management and reduced fatigue are priorities.
Conventional reel seats mount the reel on top of the blank and use a hood-and-locking nut system, sometimes paired with a trigger-style grip, to keep the reel firmly aligned under heavy vertical pressure. This setup is more commonly used for bottom fishing and structure-heavy applications where immediate control is needed to stop fish—especially gag grouper—from reaching cover. In both cases, the goal is a secure, non-slip connection that maintains alignment under sustained offshore load.
Full-Length (Barrel) Reel Seats
Full-length reel seats provide a continuous mounting surface for the reel, creating a solid, traditional connection between reel and handle system. This design delivers maximum stability and a planted feel when fighting fish in deep water or applying heavy pressure to turn fish away from structure. Full-length seats are widely used in offshore builds where control, leverage, and durability under load are prioritized over weight savings, making them well suited for both snapper and grouper applications in heavy structure environments.
Reel Seat Materials
Graphite
Graphite reel seats are widely used in offshore rod blanks due to their light weight, corrosion resistance, and overall durability in saltwater environments. They provide a balanced mix of strength and weight savings, making them a reliable all-around option for snapper and grouper builds across a wide range of depths and conditions.
Composite / Carbon Fiber
Composite and carbon-enhanced reel seats offer increased rigidity and reduced weight compared to standard graphite. This improves the direct connection between reel and blank, enhancing sensitivity and maintaining a more responsive feel under load while still resisting corrosion and wear in offshore conditions where both snapper and gag grouper place constant pressure on the system.
Metal
Metal reel seats, typically aluminum or stainless steel, are used in heavy-duty offshore applications where maximum durability and lock-up strength are required. While less common due to added weight, they are favored in extreme deep-water or heavy structure scenarios where absolute security under load is critical—particularly when targeting larger gag grouper in tight cover.
Note: Some applications like slow-pitch jigging require caution when using metal reel seats, as the extreme parabolic bend of these rods can create stress points where a rigid metal seat does not flex with the blank. In these situations, the lack of flex can concentrate load into a small area of the rod, increasing the risk of blank damage under sustained pressure or deep flex.
Selecting the correct reel seat ensures the reel is securely locked, properly aligned with the blank, and fully integrated into the handle system for consistent offshore performance under pressure.
Key Takeaways
- Reel seats control reel security, alignment, and load transfer into the blank
- Spinning seats mount underneath for lighter, more versatile applications
- Casting seats mount on top and are preferred for heavy structure and vertical pressure
- Full-length seats prioritize stability and control under sustained load
- Material choice impacts weight, rigidity, sensitivity, and corrosion resistance
- Proper fit and lock-up matter more than seat style alone
Reel Seats for Red Snapper & Gag Grouper Rods




Choose Your Supplies
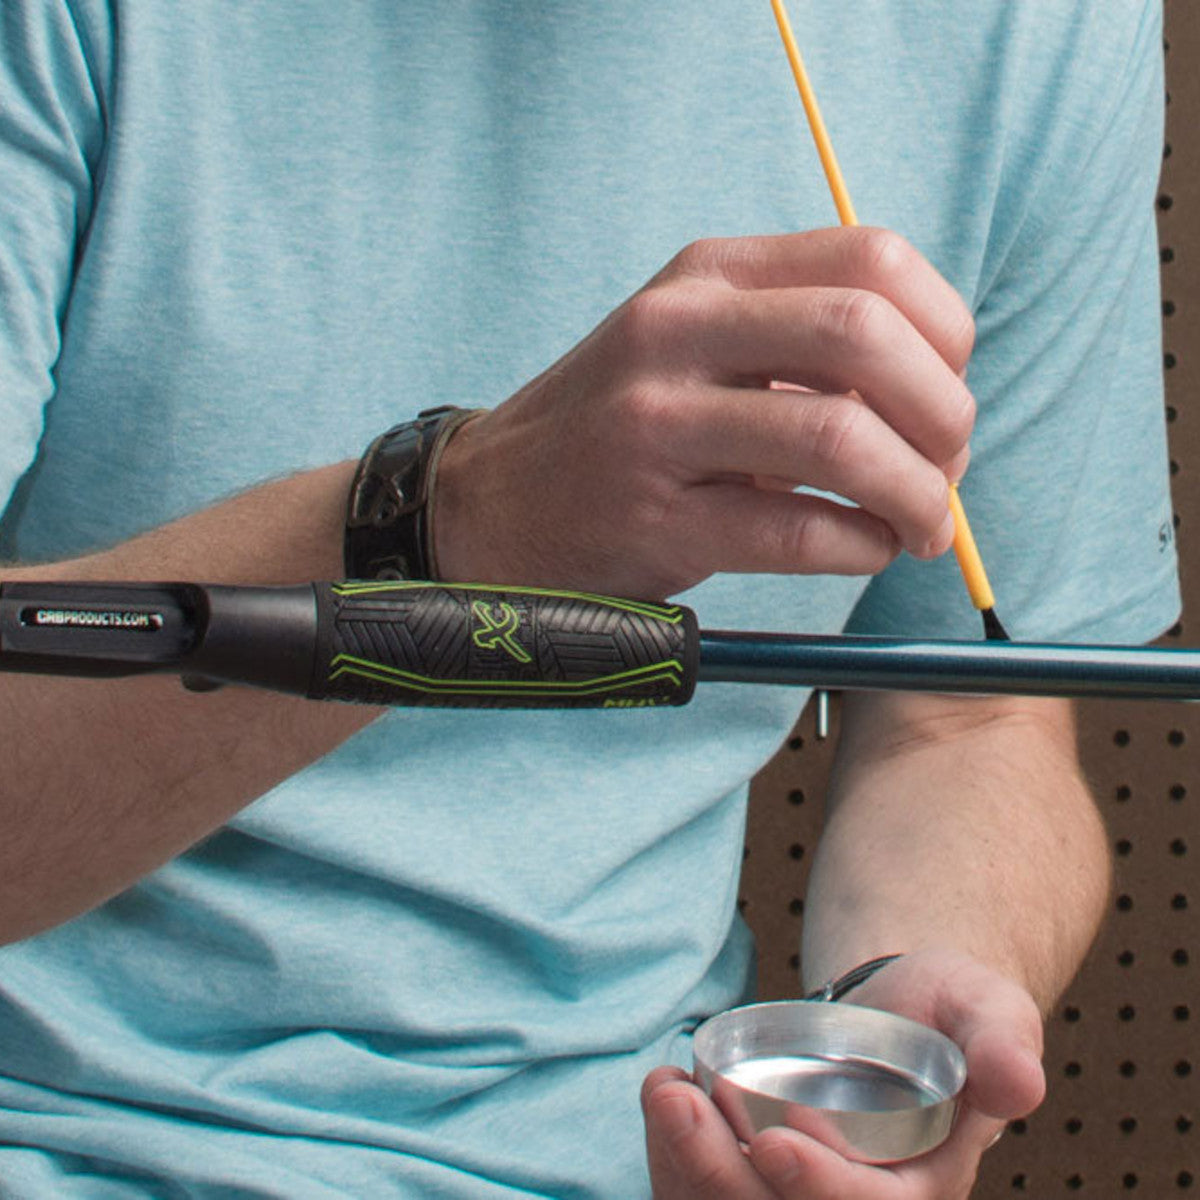
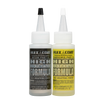
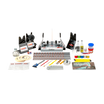
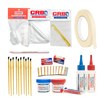
Rod building supply kits provide all the essential tools and consumables needed to assemble a custom red snapper and gag grouper rod. These kits typically include items such as rod dryers, hand wrappers, epoxy, brushes, reamers, thread, and alignment tools. Using a complete kit helps ensure accurate guide placement, secure reel seat installation, and properly aligned handle assemblies, all of which are critical when building rods that must handle heavy vertical loads, deep water pressure, and hard-running fish that push back toward structure.
Beginners benefit from all-in-one kits because they remove the complexity of sourcing individual tools and materials, allowing them to focus on learning the core build process from start to finish. Experienced builders use these kits to restock consumables like epoxy, thread, brushes, and mixing supplies, keeping workflows efficient and consistent across multiple offshore builds.
Key Takeaways
- Supply kits include all essential tools and consumables for red snapper and gag grouper rod builds
- Beginners can start building immediately without sourcing individual components
- Experienced builders can efficiently restock and maintain consistent build quality
- Proper tools ensure accurate alignment of guides, reel seats, and handle systems
- Complete kits improve efficiency, reduce errors, and support durable offshore rod construction
Choose Your Supplies
Rod building supply kits provide all the essential tools and consumables needed to assemble a custom red snapper and gag grouper rod. These kits typically include items such as rod dryers, hand wrappers, epoxy, brushes, reamers, thread, and alignment tools. Using a complete kit helps ensure accurate guide placement, secure reel seat installation, and properly aligned handle assemblies, all of which are critical when building rods that must handle heavy vertical loads, deep water pressure, and hard-running fish that push back toward structure.
Beginners benefit from all-in-one kits because they remove the complexity of sourcing individual tools and materials, allowing them to focus on learning the core build process from start to finish. Experienced builders use these kits to restock consumables like epoxy, thread, brushes, and mixing supplies, keeping workflows efficient and consistent across multiple offshore builds.
Key Takeaways
- Supply kits include all essential tools and consumables for red snapper and gag grouper rod builds
- Beginners can start building immediately without sourcing individual components
- Experienced builders can efficiently restock and maintain consistent build quality
- Proper tools ensure accurate alignment of guides, reel seats, and handle systems
- Complete kits improve efficiency, reduce errors, and support durable offshore rod construction
Supply Kits
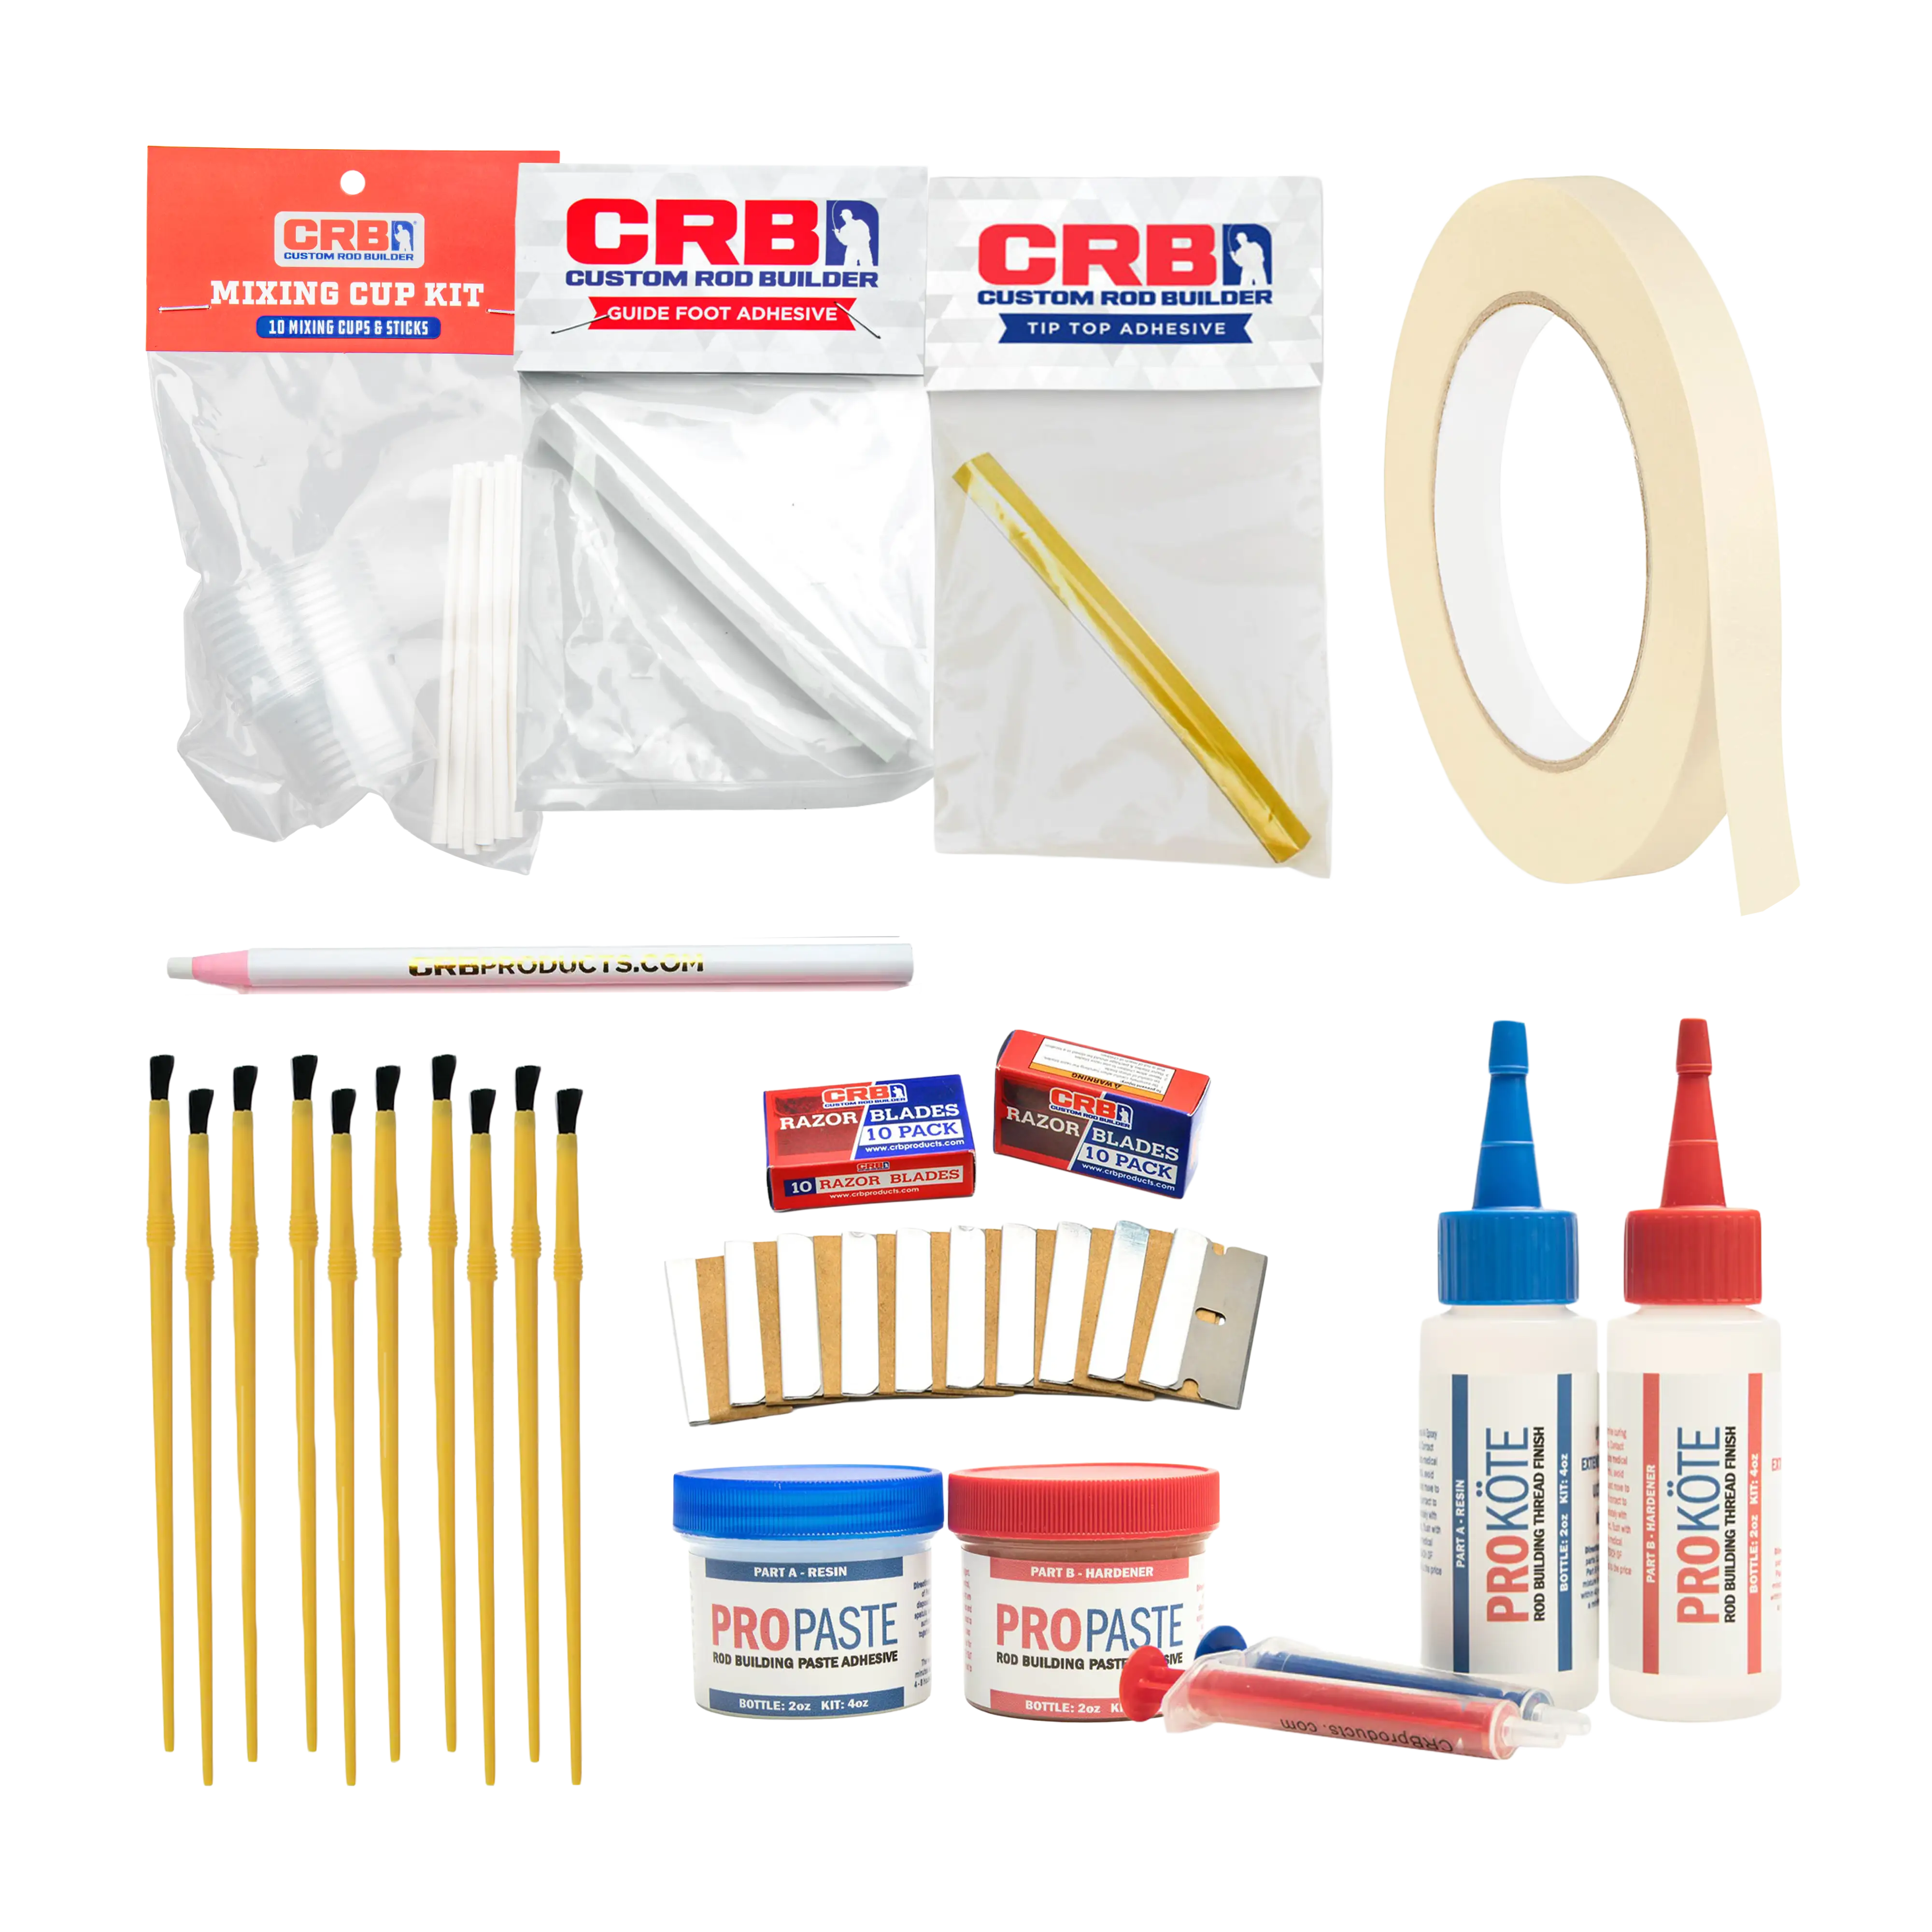
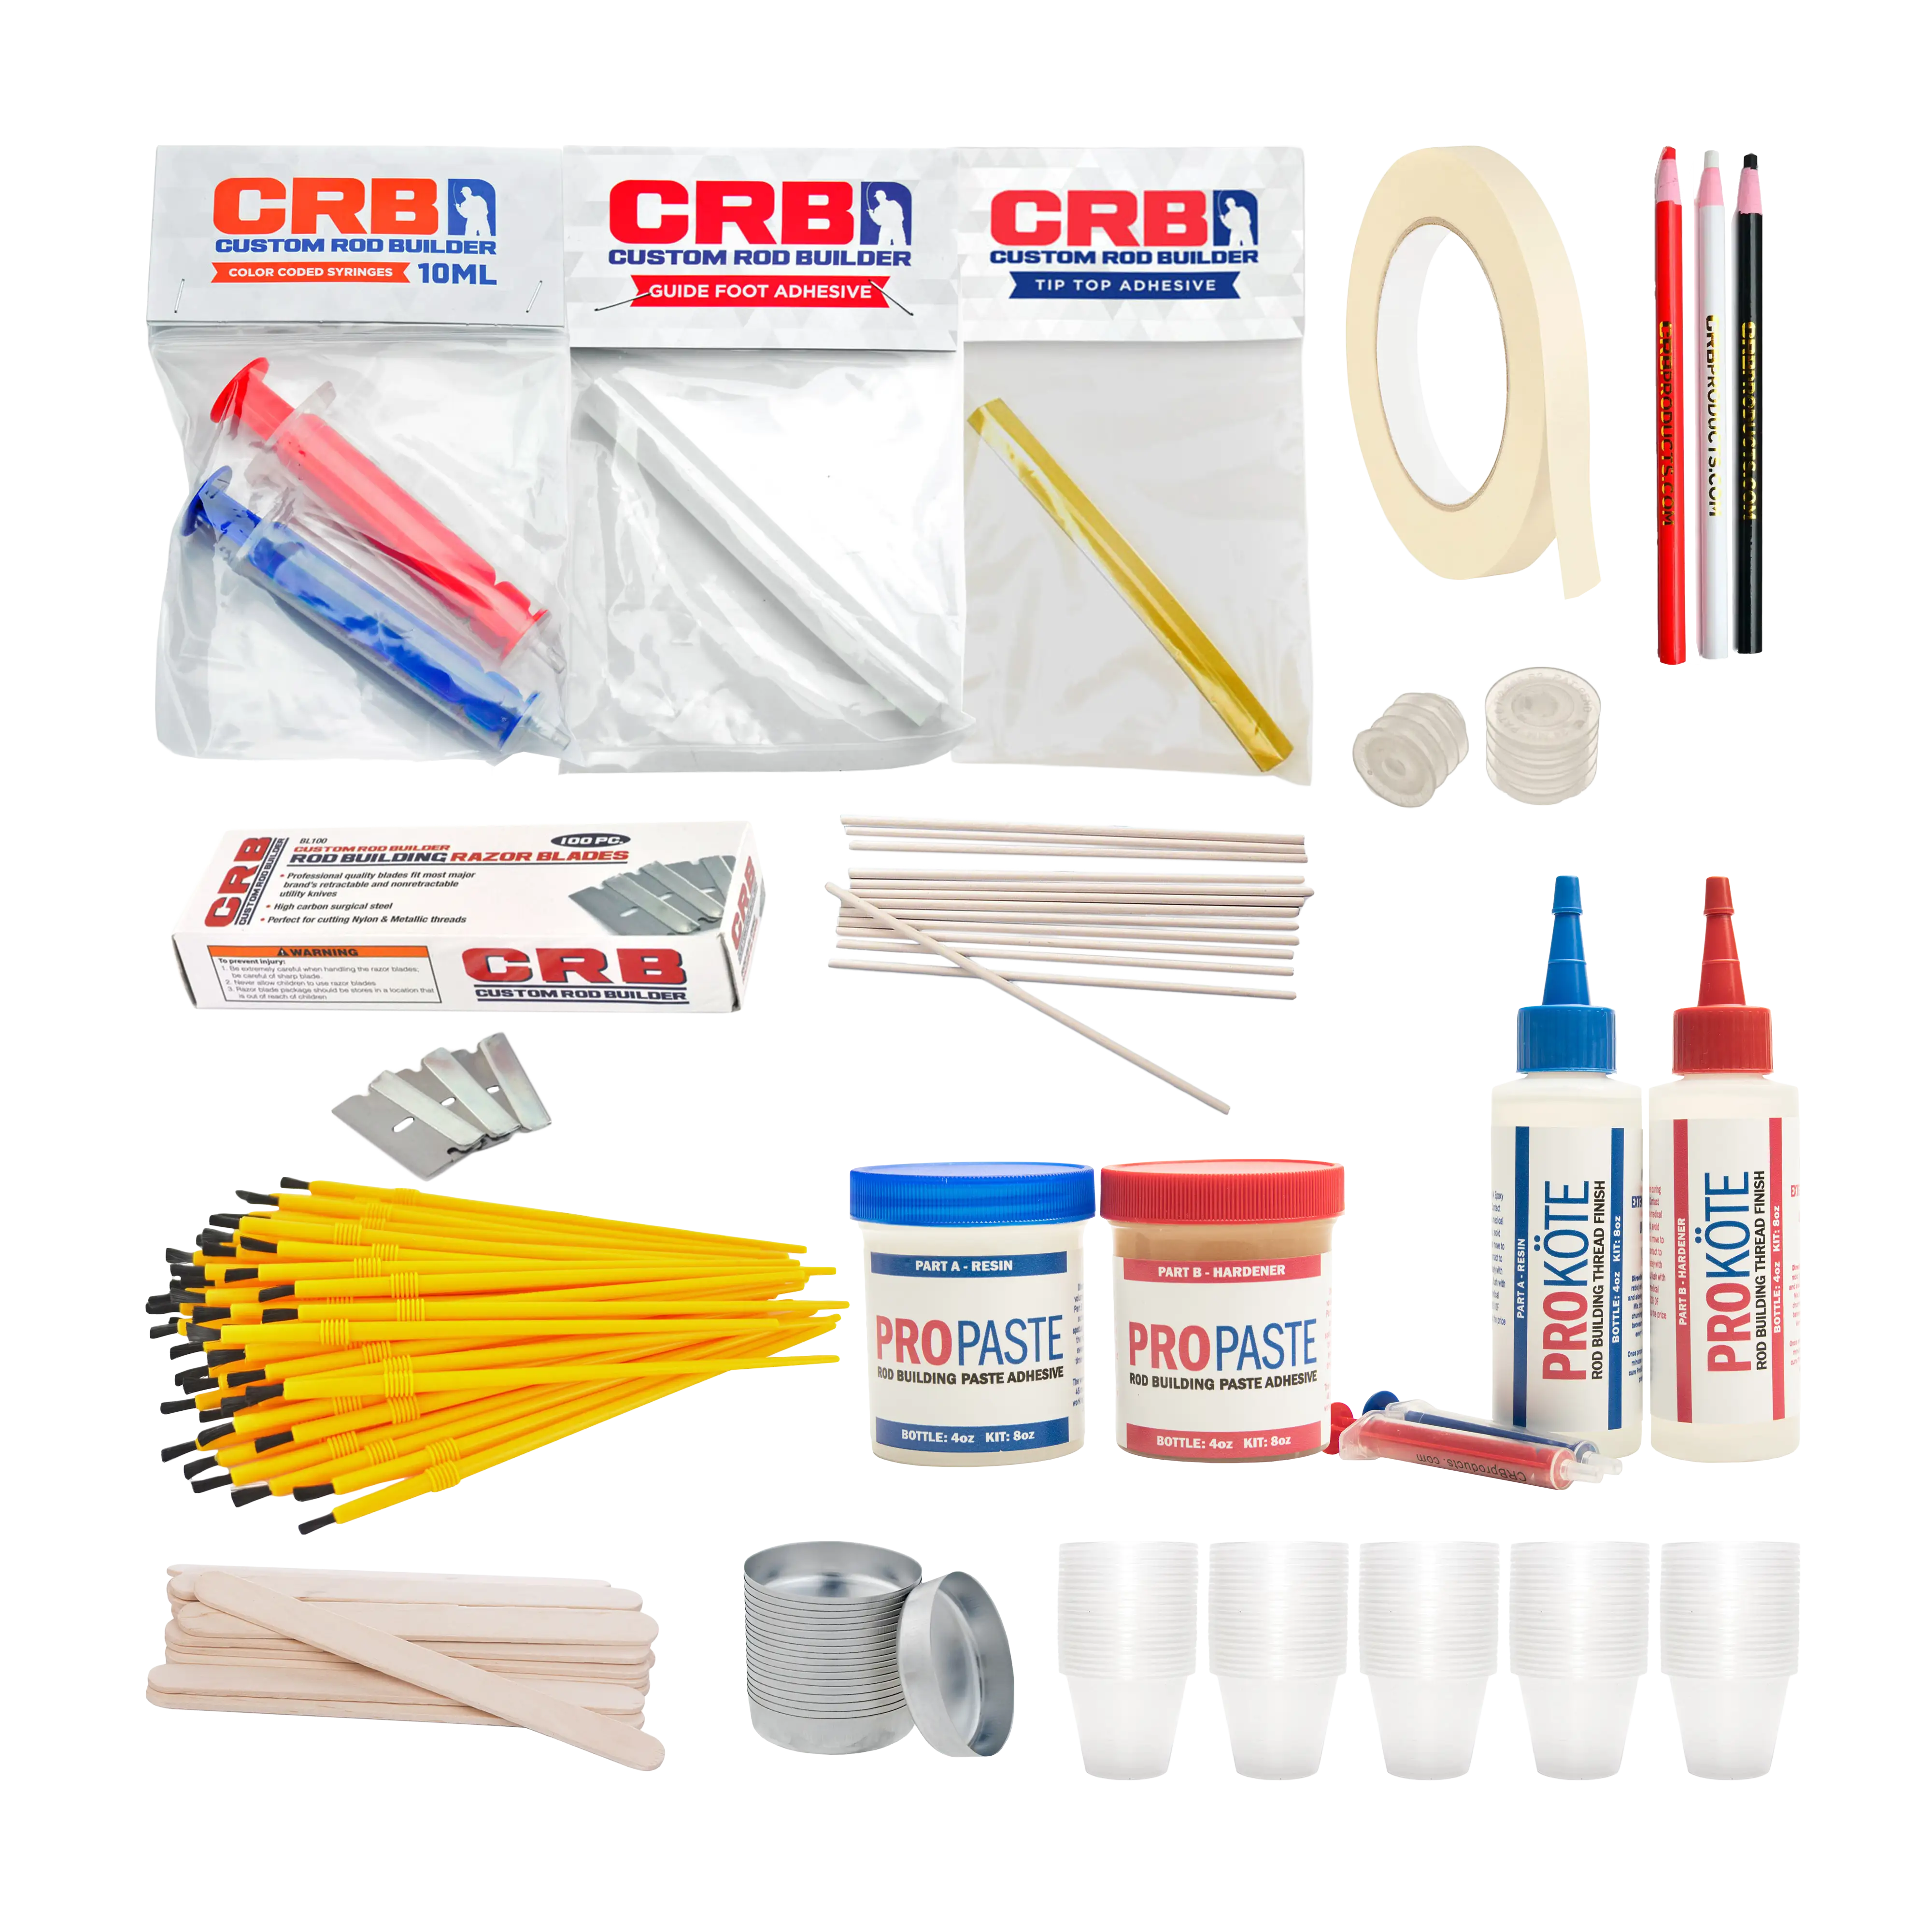

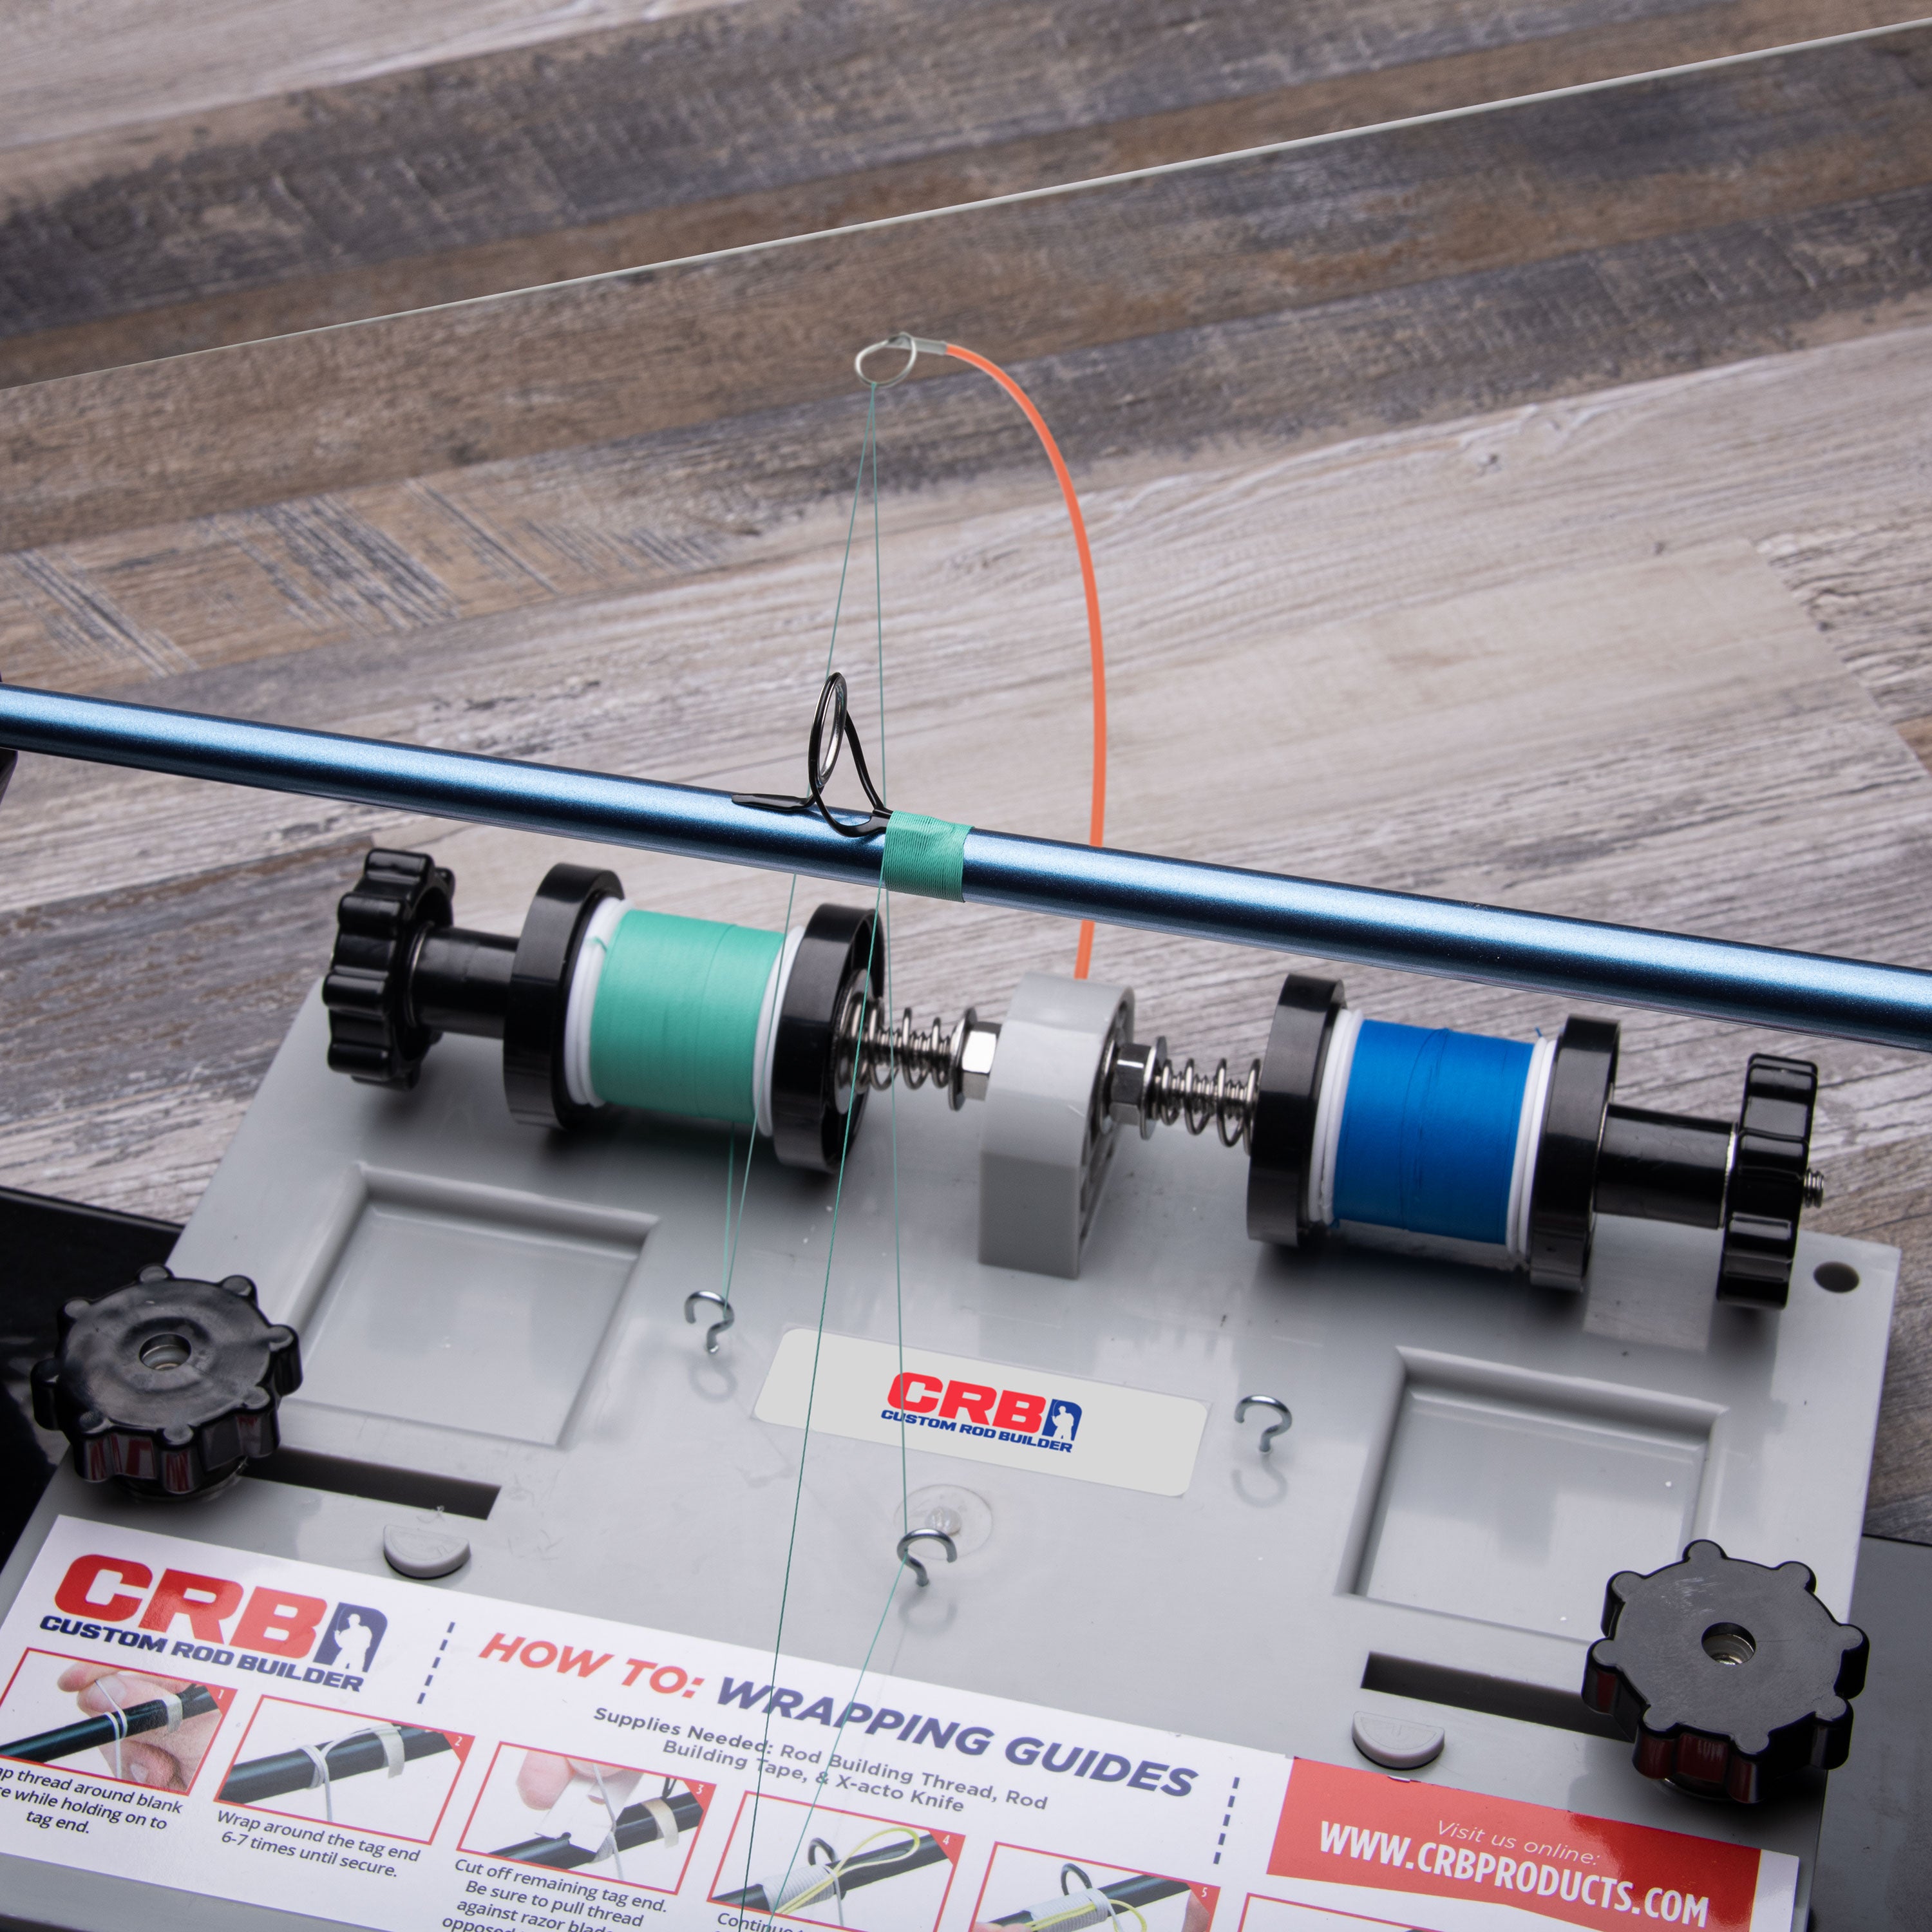
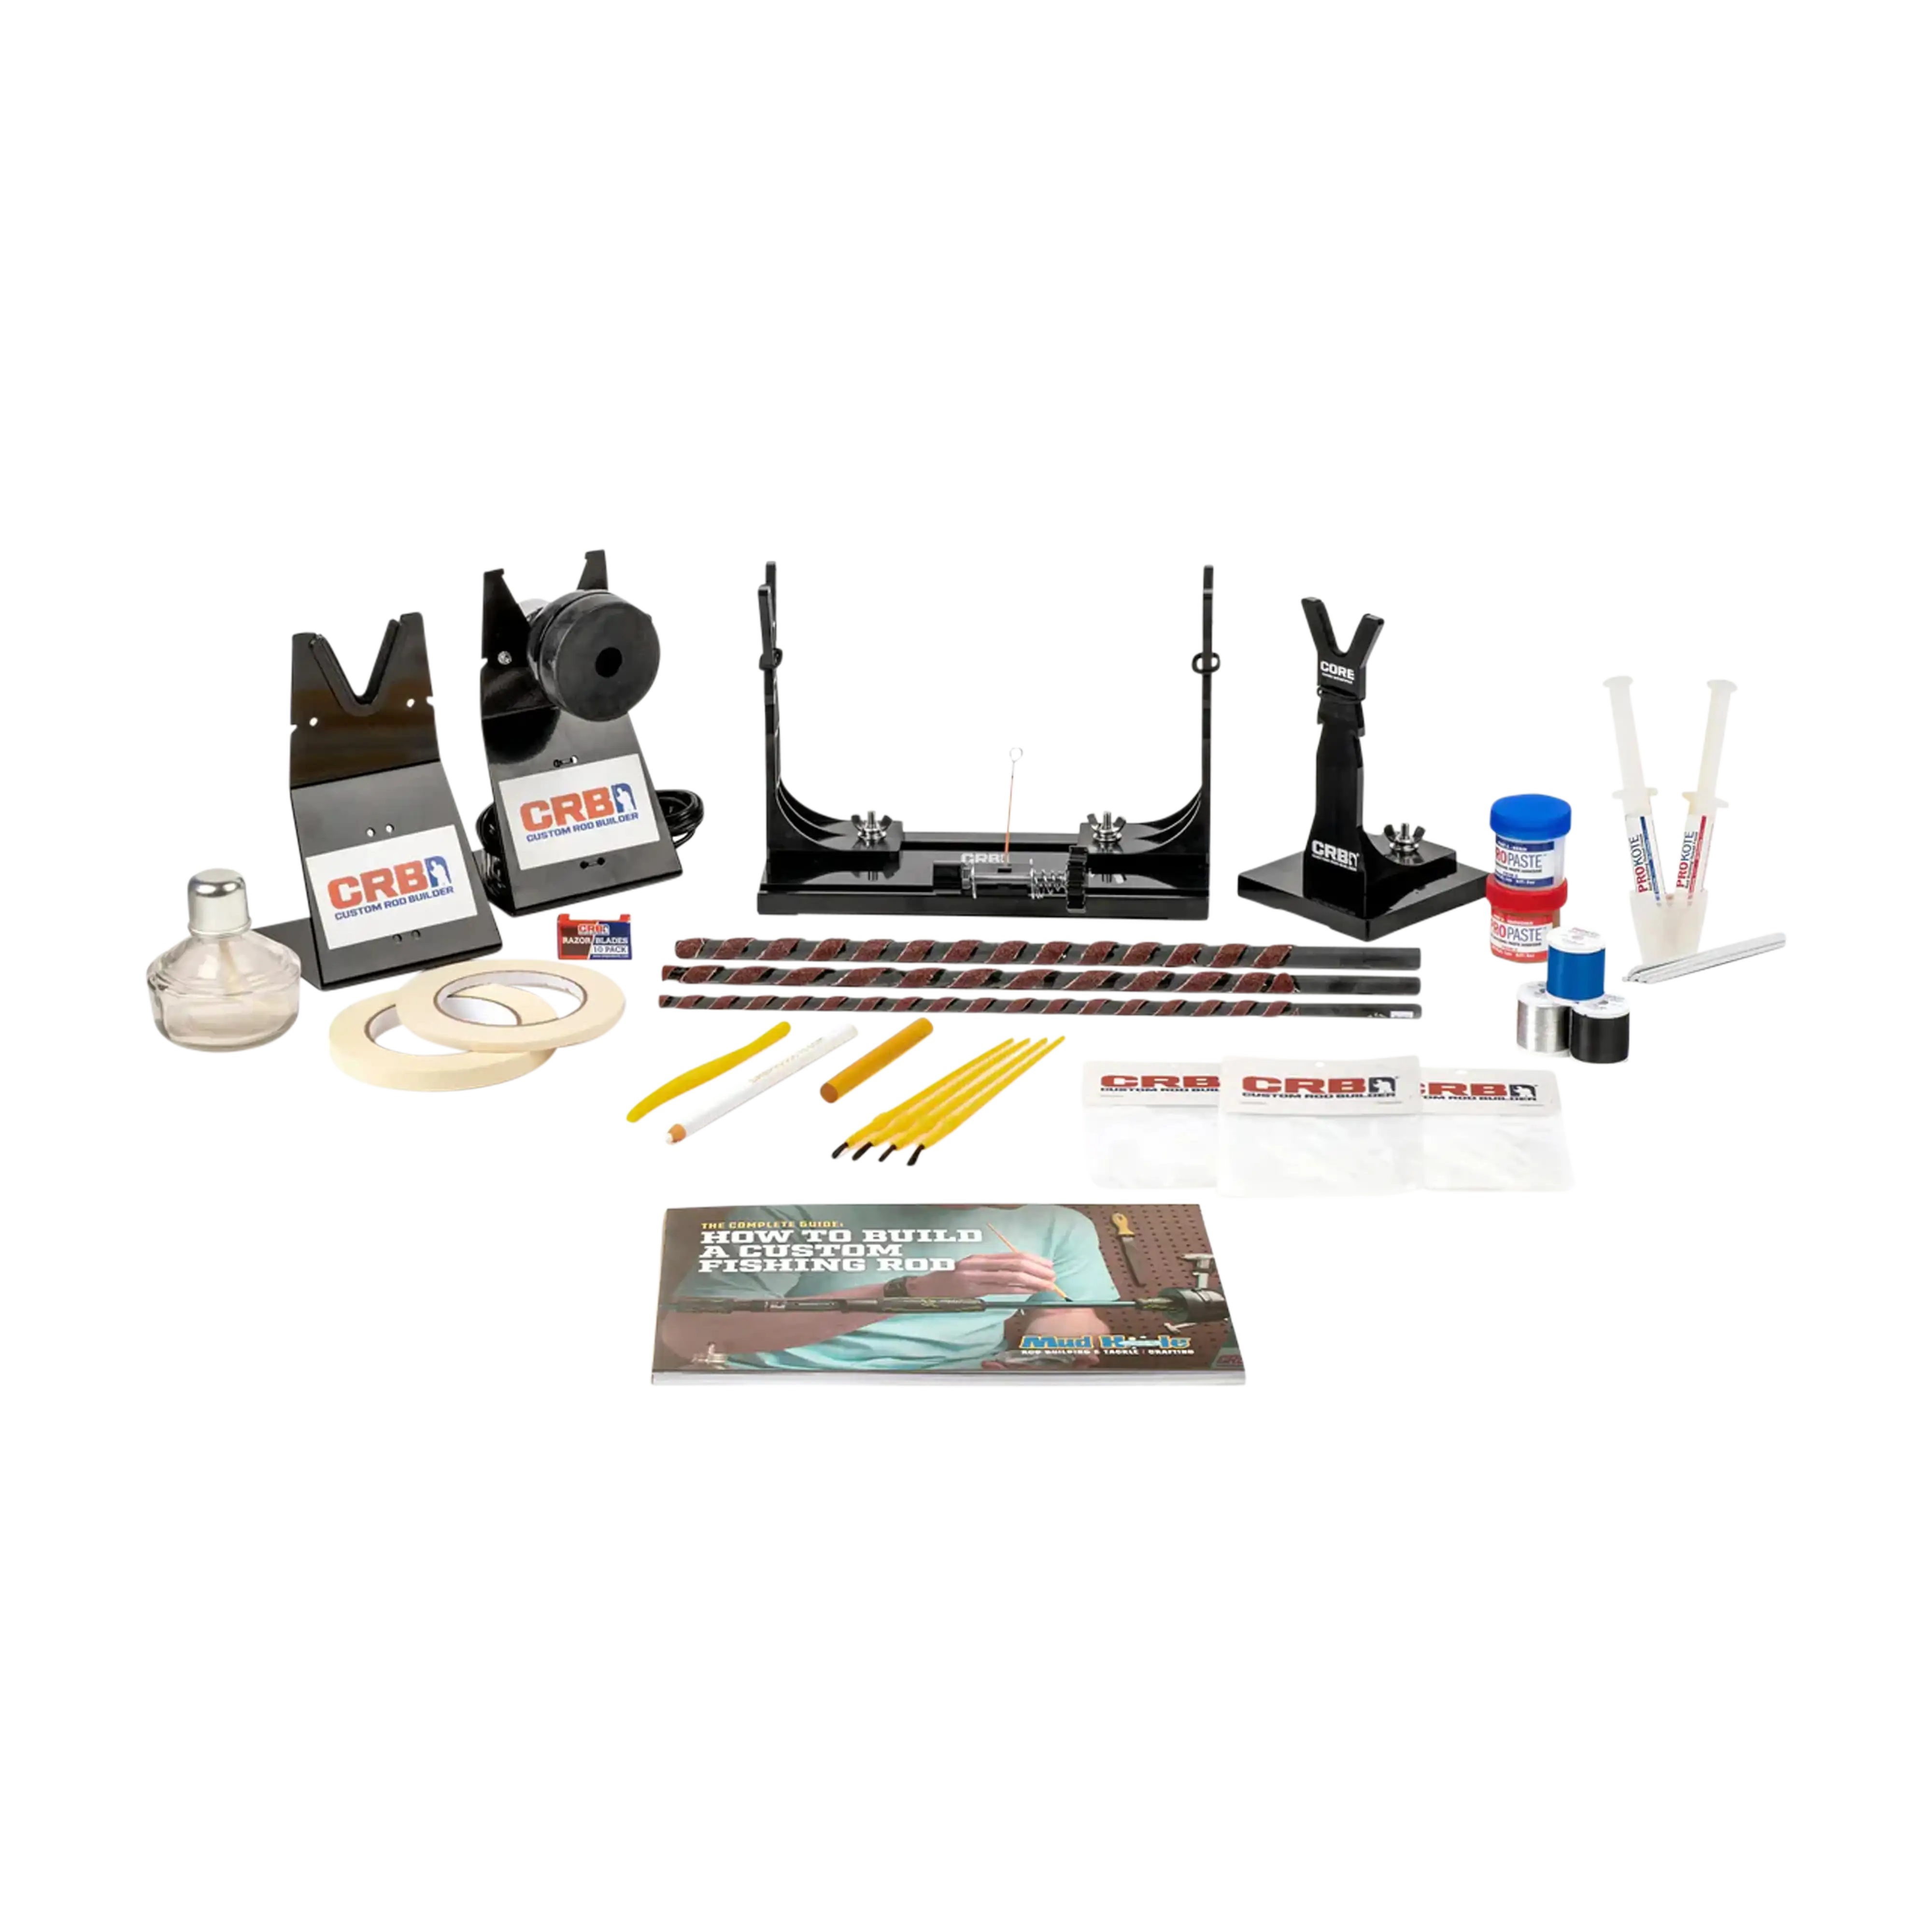
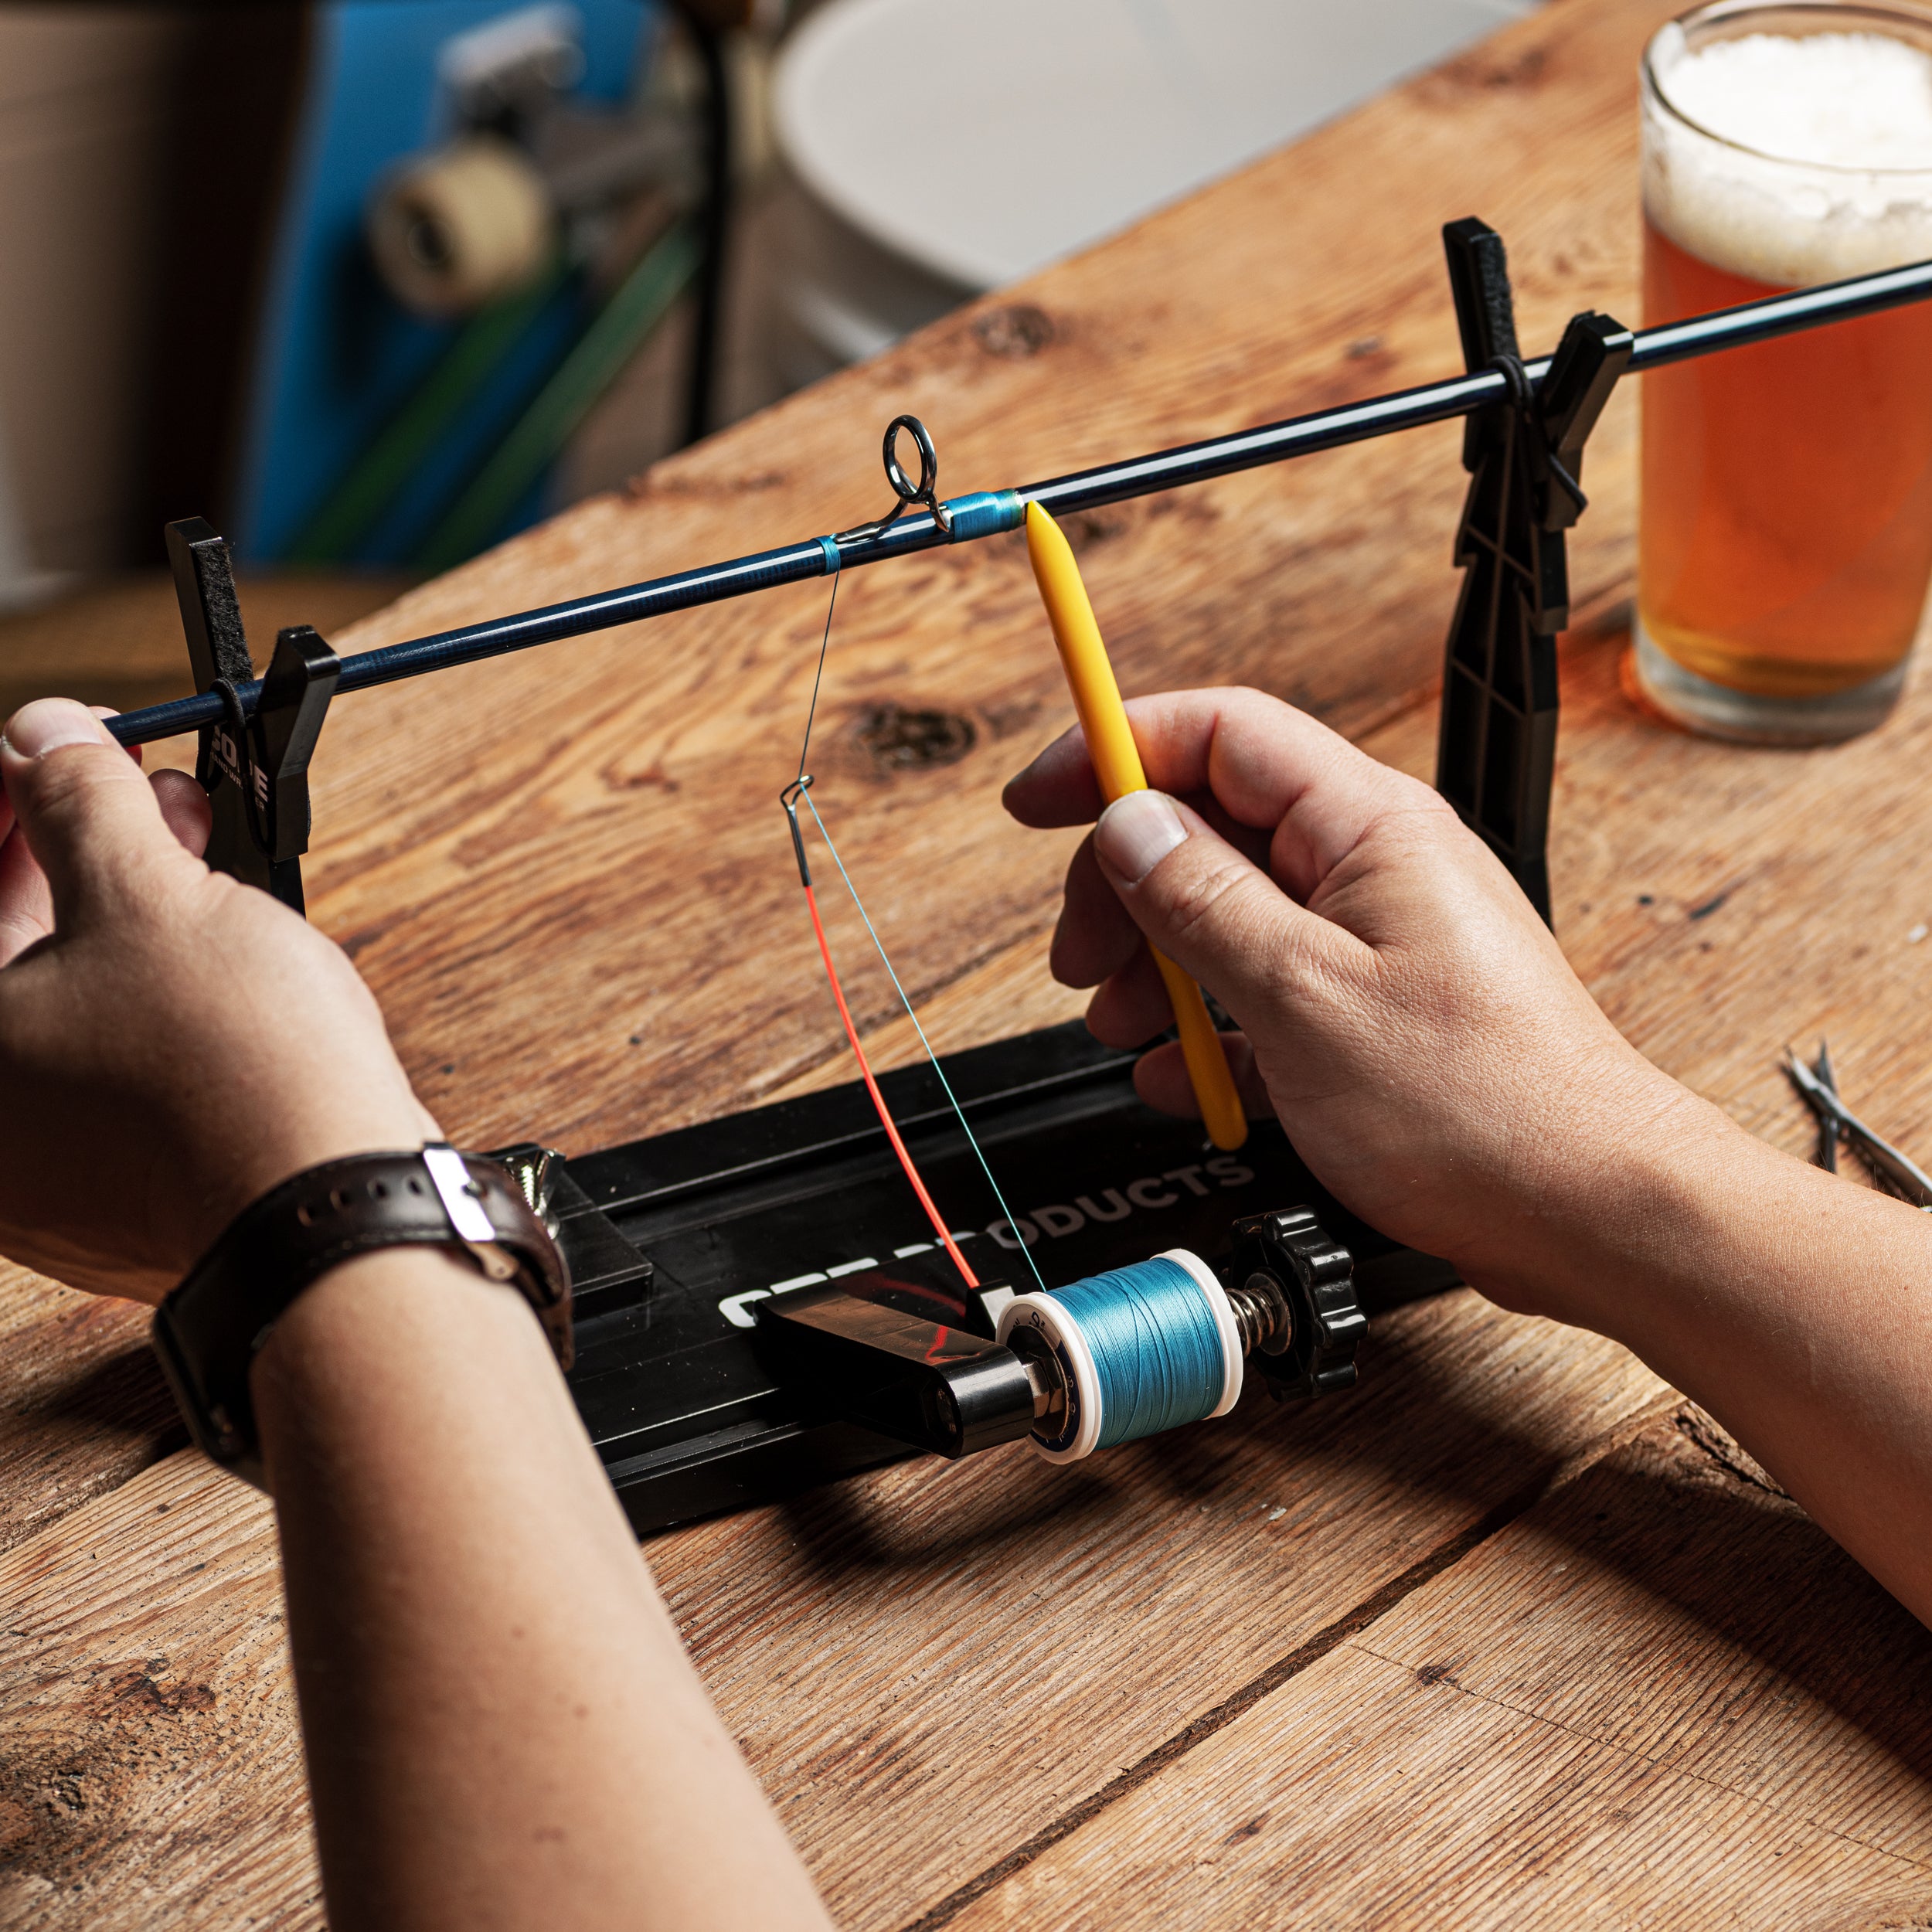
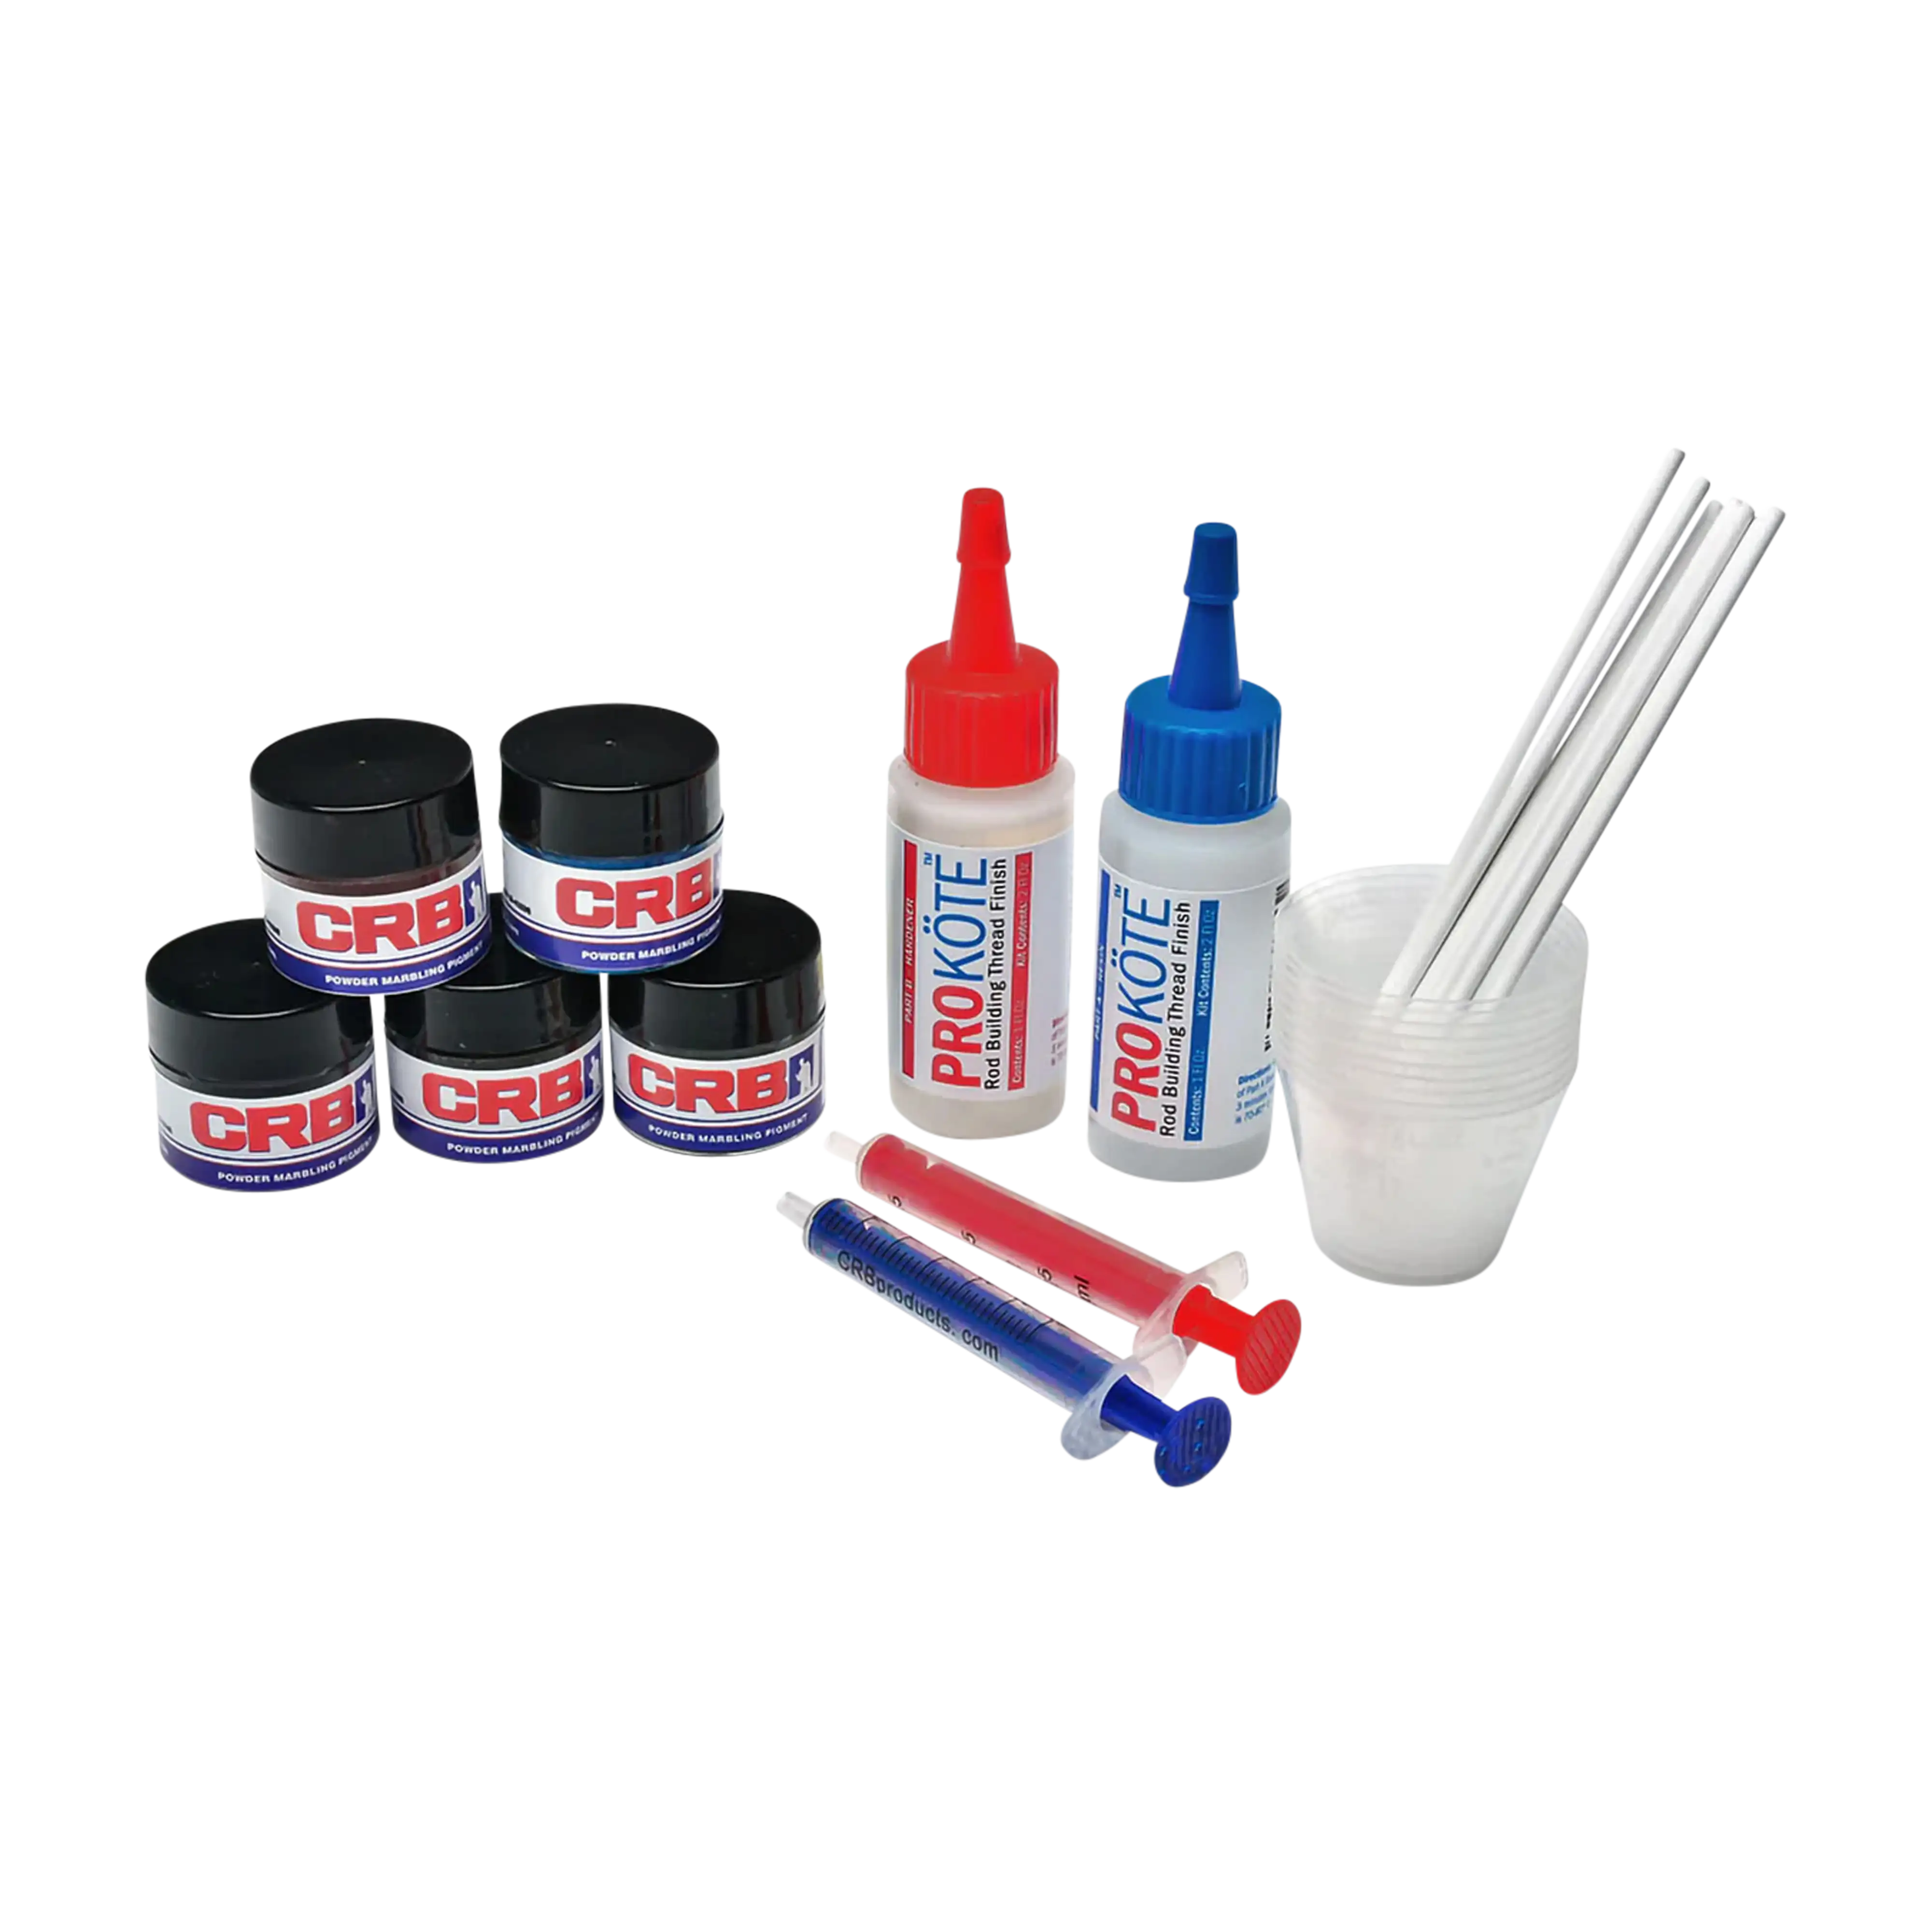
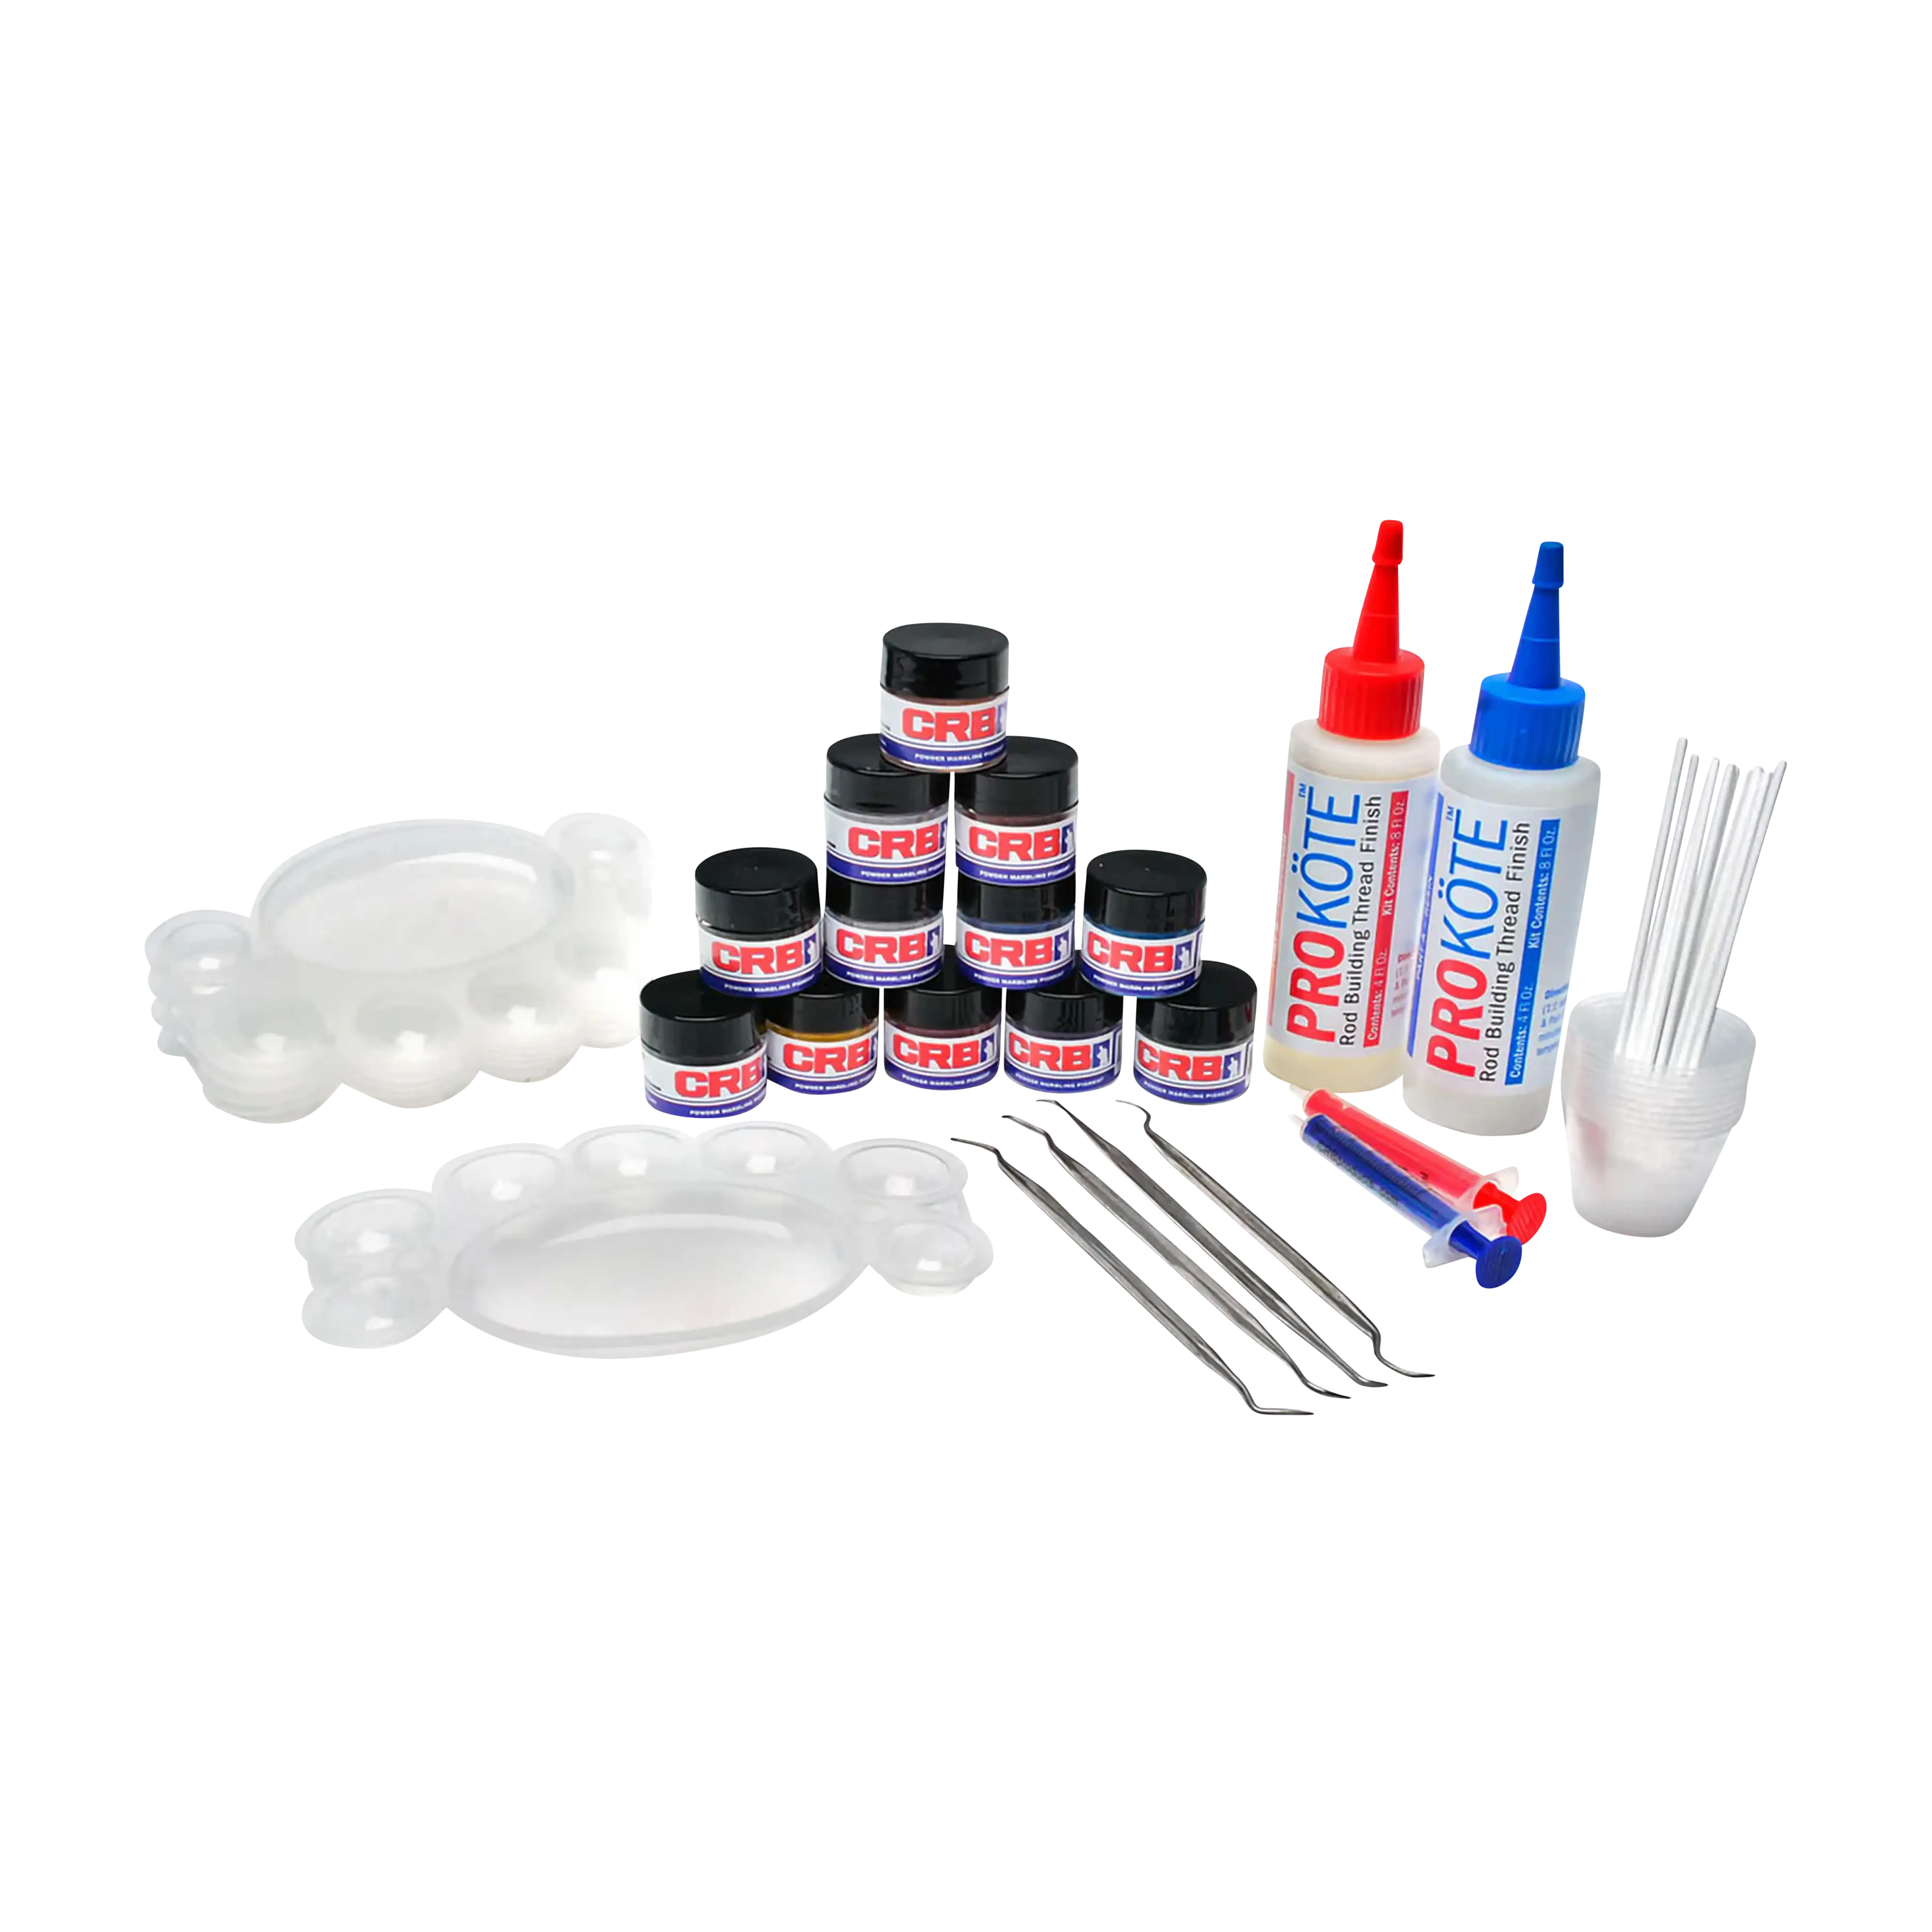
Best Reels for Snapper & Grouper Fishing
Now let’s find a reel for your custom rod.
Reels for red snapper and gag grouper fishing are built for control, drag strength, and reliability under sustained load in deep-water structure fishing. The key requirement is consistent pressure and smooth drag performance when fish surge toward reefs, wrecks, ledges, and other heavy cover, where maintaining control is critical once a bite occurs.
Key Reel Features
Conventional Reels
Conventional reels are used for bottom fishing and vertical jigging where torque, drag strength, and direct line control are critical for working fish around structure. Instead of a strict “class system,” they are best understood by frame size and intended load range. Compact lever drag reels (roughly 12–20 size range, depending on brand) are commonly used for lighter bottom fishing, jigging, and moderate-depth red snapper applications. Mid-frame reels (roughly 20–30 size range) are the most versatile offshore option, covering deeper water, heavier sinkers, stronger current, and applications where both red snapper and gag grouper are encountered around structure. Large offshore lever drag reels (30+ size class and above) are used for extreme depth, heavy current, and maximum structure pressure where high line capacity and sustained drag are required.
Across these sizes, the goal is consistent: maintain bottom contact and apply controlled lifting pressure in structure-heavy environments for both red snapper and gag grouper, rather than focusing on casting or finesse presentations.
Spinning Reels
Spinning reels are used for jigheads, soft plastics, and lighter bait presentations where casting, line management, and controlled sink are important. Most red snapper and gag grouper spinning setups use 5000–8000 sizes, with 6000–8000 being most common offshore due to line capacity and control with 30–65 lb braid. Smaller 4000–5000 sizes are used for lighter rigs or shallower structure.
While primarily used for red snapper in suspended or mid-water presentations, spinning reels can also be applied to gag grouper when fish are positioned slightly off structure or along edges where more open presentations are possible.
Gear Ratio
Gear ratio controls how quickly line is recovered and how efficiently slack is managed after the drop or bite. For snapper and grouper applications, conventional reels typically range from 4.8:1 to 6.3:1, prioritizing torque and control for bottom fishing and vertical presentations. Spinning reels generally fall in the 5.2:1 to 6.5:1 range, balancing steady retrieval with enough speed to manage slack and maintain contact when fish move toward structure.
Drag System
A smooth, consistent drag system is essential for absorbing sudden strikes and maintaining steady pressure during deep-water fights, with most snapper and grouper setups requiring roughly 15–20+ lb of usable drag depending on line class and application. Conventional reels manage sustained load well through direct mechanical leverage under pressure, while spinning reels emphasize smooth startup and consistent drag flow during runs and direction changes.
Corrosion Resistance & Durability
Because offshore snapper and grouper fishing involves repeated saltwater exposure, heavy load, and frequent bottom contact, corrosion resistance and internal durability are critical across all reel types. Conventional reels are typically built around rigid frames and gear systems designed for sustained torque under load, while spinning reels rely heavily on sealing, rotor stability, and smooth operation through repeated casting and retrieval cycles.
Reel Specs by Application
Reel selection for red snapper and gag grouper is driven by depth, structure, and presentation style, with every setup focused on maintaining control, drag performance, and efficient fish handling around cover. Differences in technique mainly affect reel size, retrieve speed, and line capacity rather than changing the core requirements of the reel. In deeper water and heavy structure, two-speed conventional reels are often used to balance fast line pickup with added torque under load.
Here are recommended reel specifications based on common red snapper and gag grouper fishing applications.
Natural Baits & Rigs
A strong, high-torque reel with reliable drag and solid line capacity is needed to manage immediate pressure after the bite and control fish in heavy structure during deep bottom presentations. Smooth drag under load is critical for keeping fish pinned without surging back into cover.
Reel Type: Casting (Conventional) primarily, some spinning in lighter applications
Gear Ratio: 4.8:1 – 6.3:1 (conventional) / 5.2:1 – 6.2:1 (spinning)
Drag: 15–30+ lb smooth usable drag
Line: 30–65 lb braid (often paired with 40–80 lb leader)
Vertical Jigging (Speed Jigging)
A fast-recovery reel with strong, consistent drag is important for maintaining contact with the jig, reacting to strikes on the fall, and controlling fish during rapid lifts through the water column.
Reel Type: Casting (Conventional) or spinning, depending on angler preference and jig style
Gear Ratio: 5.2:1 – 6.3:1 (conventional) / 5.4:1 – 6.5:1 (spinning)
Drag: 15–25+ lb smooth drag
Line: 30–50 lb braid
Slow Pitch Jigging
A balanced, compact, smooth-retrieving reel with controlled drag is essential for maintaining cadence, managing slack during the fall, and keeping steady tension through the lift-and-drop rhythm.
Reel Type: Casting (Conventional) primarily, spinning in lighter applications or preference setups
Gear Ratio: 4.8:1 – 5.8:1 (conventional)
Drag: 12–25 lb smooth drag
Line: 20–50 lb braid
Jigheads & Baits
A smooth, responsive reel with balanced drag and efficient line management is needed for working lighter lures through the water column and maintaining natural presentation on suspended or roaming fish.
Reel Type: Spinning primarily (light casting setups also used)
Gear Ratio: 5.2:1 – 6.5:1 (spinning) / 5.3:1 – 6.3:1 (casting)
Drag: 10–20+ lb smooth drag
Line: 20–40 lb braid (often with 20–50 lb fluorocarbon leader)
Key Takeaways
- Conventional reels are often used for bottom control and vertical pressure due to torque and load handling.
- Spinning reels are often used for jigheads, soft plastics, and suspended presentations.
- Smooth, consistent drag performance matters more than peak drag numbers.
- Gear ratios should balance recovery speed with control under load.
Best Reels for Snapper & Grouper Fishing
Now let’s find a reel for your custom rod.
Reels for red snapper and gag grouper fishing are built for control, drag strength, and reliability under sustained load in deep-water structure fishing. The key requirement is consistent pressure and smooth drag performance when fish surge toward reefs, wrecks, ledges, and other heavy cover, where maintaining control is critical once a bite occurs.
Key Reel Features
Conventional Reels
Conventional reels are used for bottom fishing and vertical jigging where torque, drag strength, and direct line control are critical for working fish around structure. Instead of a strict “class system,” they are best understood by frame size and intended load range. Compact lever drag reels (roughly 12–20 size range, depending on brand) are commonly used for lighter bottom fishing, jigging, and moderate-depth red snapper applications. Mid-frame reels (roughly 20–30 size range) are the most versatile offshore option, covering deeper water, heavier sinkers, stronger current, and applications where both red snapper and gag grouper are encountered around structure. Large offshore lever drag reels (30+ size class and above) are used for extreme depth, heavy current, and maximum structure pressure where high line capacity and sustained drag are required.
Across these sizes, the goal is consistent: maintain bottom contact and apply controlled lifting pressure in structure-heavy environments for both red snapper and gag grouper, rather than focusing on casting or finesse presentations.
Spinning Reels
Spinning reels are used for jigheads, soft plastics, and lighter bait presentations where casting, line management, and controlled sink are important. Most red snapper and gag grouper spinning setups use 5000–8000 sizes, with 6000–8000 being most common offshore due to line capacity and control with 30–65 lb braid. Smaller 4000–5000 sizes are used for lighter rigs or shallower structure.
While primarily used for red snapper in suspended or mid-water presentations, spinning reels can also be applied to gag grouper when fish are positioned slightly off structure or along edges where more open presentations are possible.
Gear Ratio
Gear ratio controls how quickly line is recovered and how efficiently slack is managed after the drop or bite. For snapper and grouper applications, conventional reels typically range from 4.8:1 to 6.3:1, prioritizing torque and control for bottom fishing and vertical presentations. Spinning reels generally fall in the 5.2:1 to 6.5:1 range, balancing steady retrieval with enough speed to manage slack and maintain contact when fish move toward structure.
Drag System
A smooth, consistent drag system is essential for absorbing sudden strikes and maintaining steady pressure during deep-water fights, with most snapper and grouper setups requiring roughly 15–20+ lb of usable drag depending on line class and application. Conventional reels manage sustained load well through direct mechanical leverage under pressure, while spinning reels emphasize smooth startup and consistent drag flow during runs and direction changes.
Corrosion Resistance & Durability
Because offshore snapper and grouper fishing involves repeated saltwater exposure, heavy load, and frequent bottom contact, corrosion resistance and internal durability are critical across all reel types. Conventional reels are typically built around rigid frames and gear systems designed for sustained torque under load, while spinning reels rely heavily on sealing, rotor stability, and smooth operation through repeated casting and retrieval cycles.
Reel Specs by Application
Reel selection for red snapper and gag grouper is driven by depth, structure, and presentation style, with every setup focused on maintaining control, drag performance, and efficient fish handling around cover. Differences in technique mainly affect reel size, retrieve speed, and line capacity rather than changing the core requirements of the reel. In deeper water and heavy structure, two-speed conventional reels are often used to balance fast line pickup with added torque under load.
Here are recommended reel specifications based on common red snapper and gag grouper fishing applications.
Natural Baits & Rigs
A strong, high-torque reel with reliable drag and solid line capacity is needed to manage immediate pressure after the bite and control fish in heavy structure during deep bottom presentations. Smooth drag under load is critical for keeping fish pinned without surging back into cover.
Reel Type: Casting (Conventional) primarily, some spinning in lighter applications
Gear Ratio: 4.8:1 – 6.3:1 (conventional) / 5.2:1 – 6.2:1 (spinning)
Drag: 15–30+ lb smooth usable drag
Line: 30–65 lb braid (often paired with 40–80 lb leader)
Vertical Jigging (Speed Jigging)
A fast-recovery reel with strong, consistent drag is important for maintaining contact with the jig, reacting to strikes on the fall, and controlling fish during rapid lifts through the water column.
Reel Type: Casting (Conventional) or spinning, depending on angler preference and jig style
Gear Ratio: 5.2:1 – 6.3:1 (conventional) / 5.4:1 – 6.5:1 (spinning)
Drag: 15–25+ lb smooth drag
Line: 30–50 lb braid
Slow Pitch Jigging
A balanced, compact, smooth-retrieving reel with controlled drag is essential for maintaining cadence, managing slack during the fall, and keeping steady tension through the lift-and-drop rhythm.
Reel Type: Casting (Conventional) primarily, spinning in lighter applications or preference setups
Gear Ratio: 4.8:1 – 5.8:1 (conventional)
Drag: 12–25 lb smooth drag
Line: 20–50 lb braid
Jigheads & Baits
A smooth, responsive reel with balanced drag and efficient line management is needed for working lighter lures through the water column and maintaining natural presentation on suspended or roaming fish.
Reel Type: Spinning primarily (light casting setups also used)
Gear Ratio: 5.2:1 – 6.5:1 (spinning) / 5.3:1 – 6.3:1 (casting)
Drag: 10–20+ lb smooth drag
Line: 20–40 lb braid (often with 20–50 lb fluorocarbon leader)
Key Takeaways
- Conventional reels are often used for bottom control and vertical pressure due to torque and load handling.
- Spinning reels are often used for jigheads, soft plastics, and suspended presentations.
- Smooth, consistent drag performance matters more than peak drag numbers.
- Gear ratios should balance recovery speed with control under load.
Reels for Red Snapper & Gag Grouper Fishing
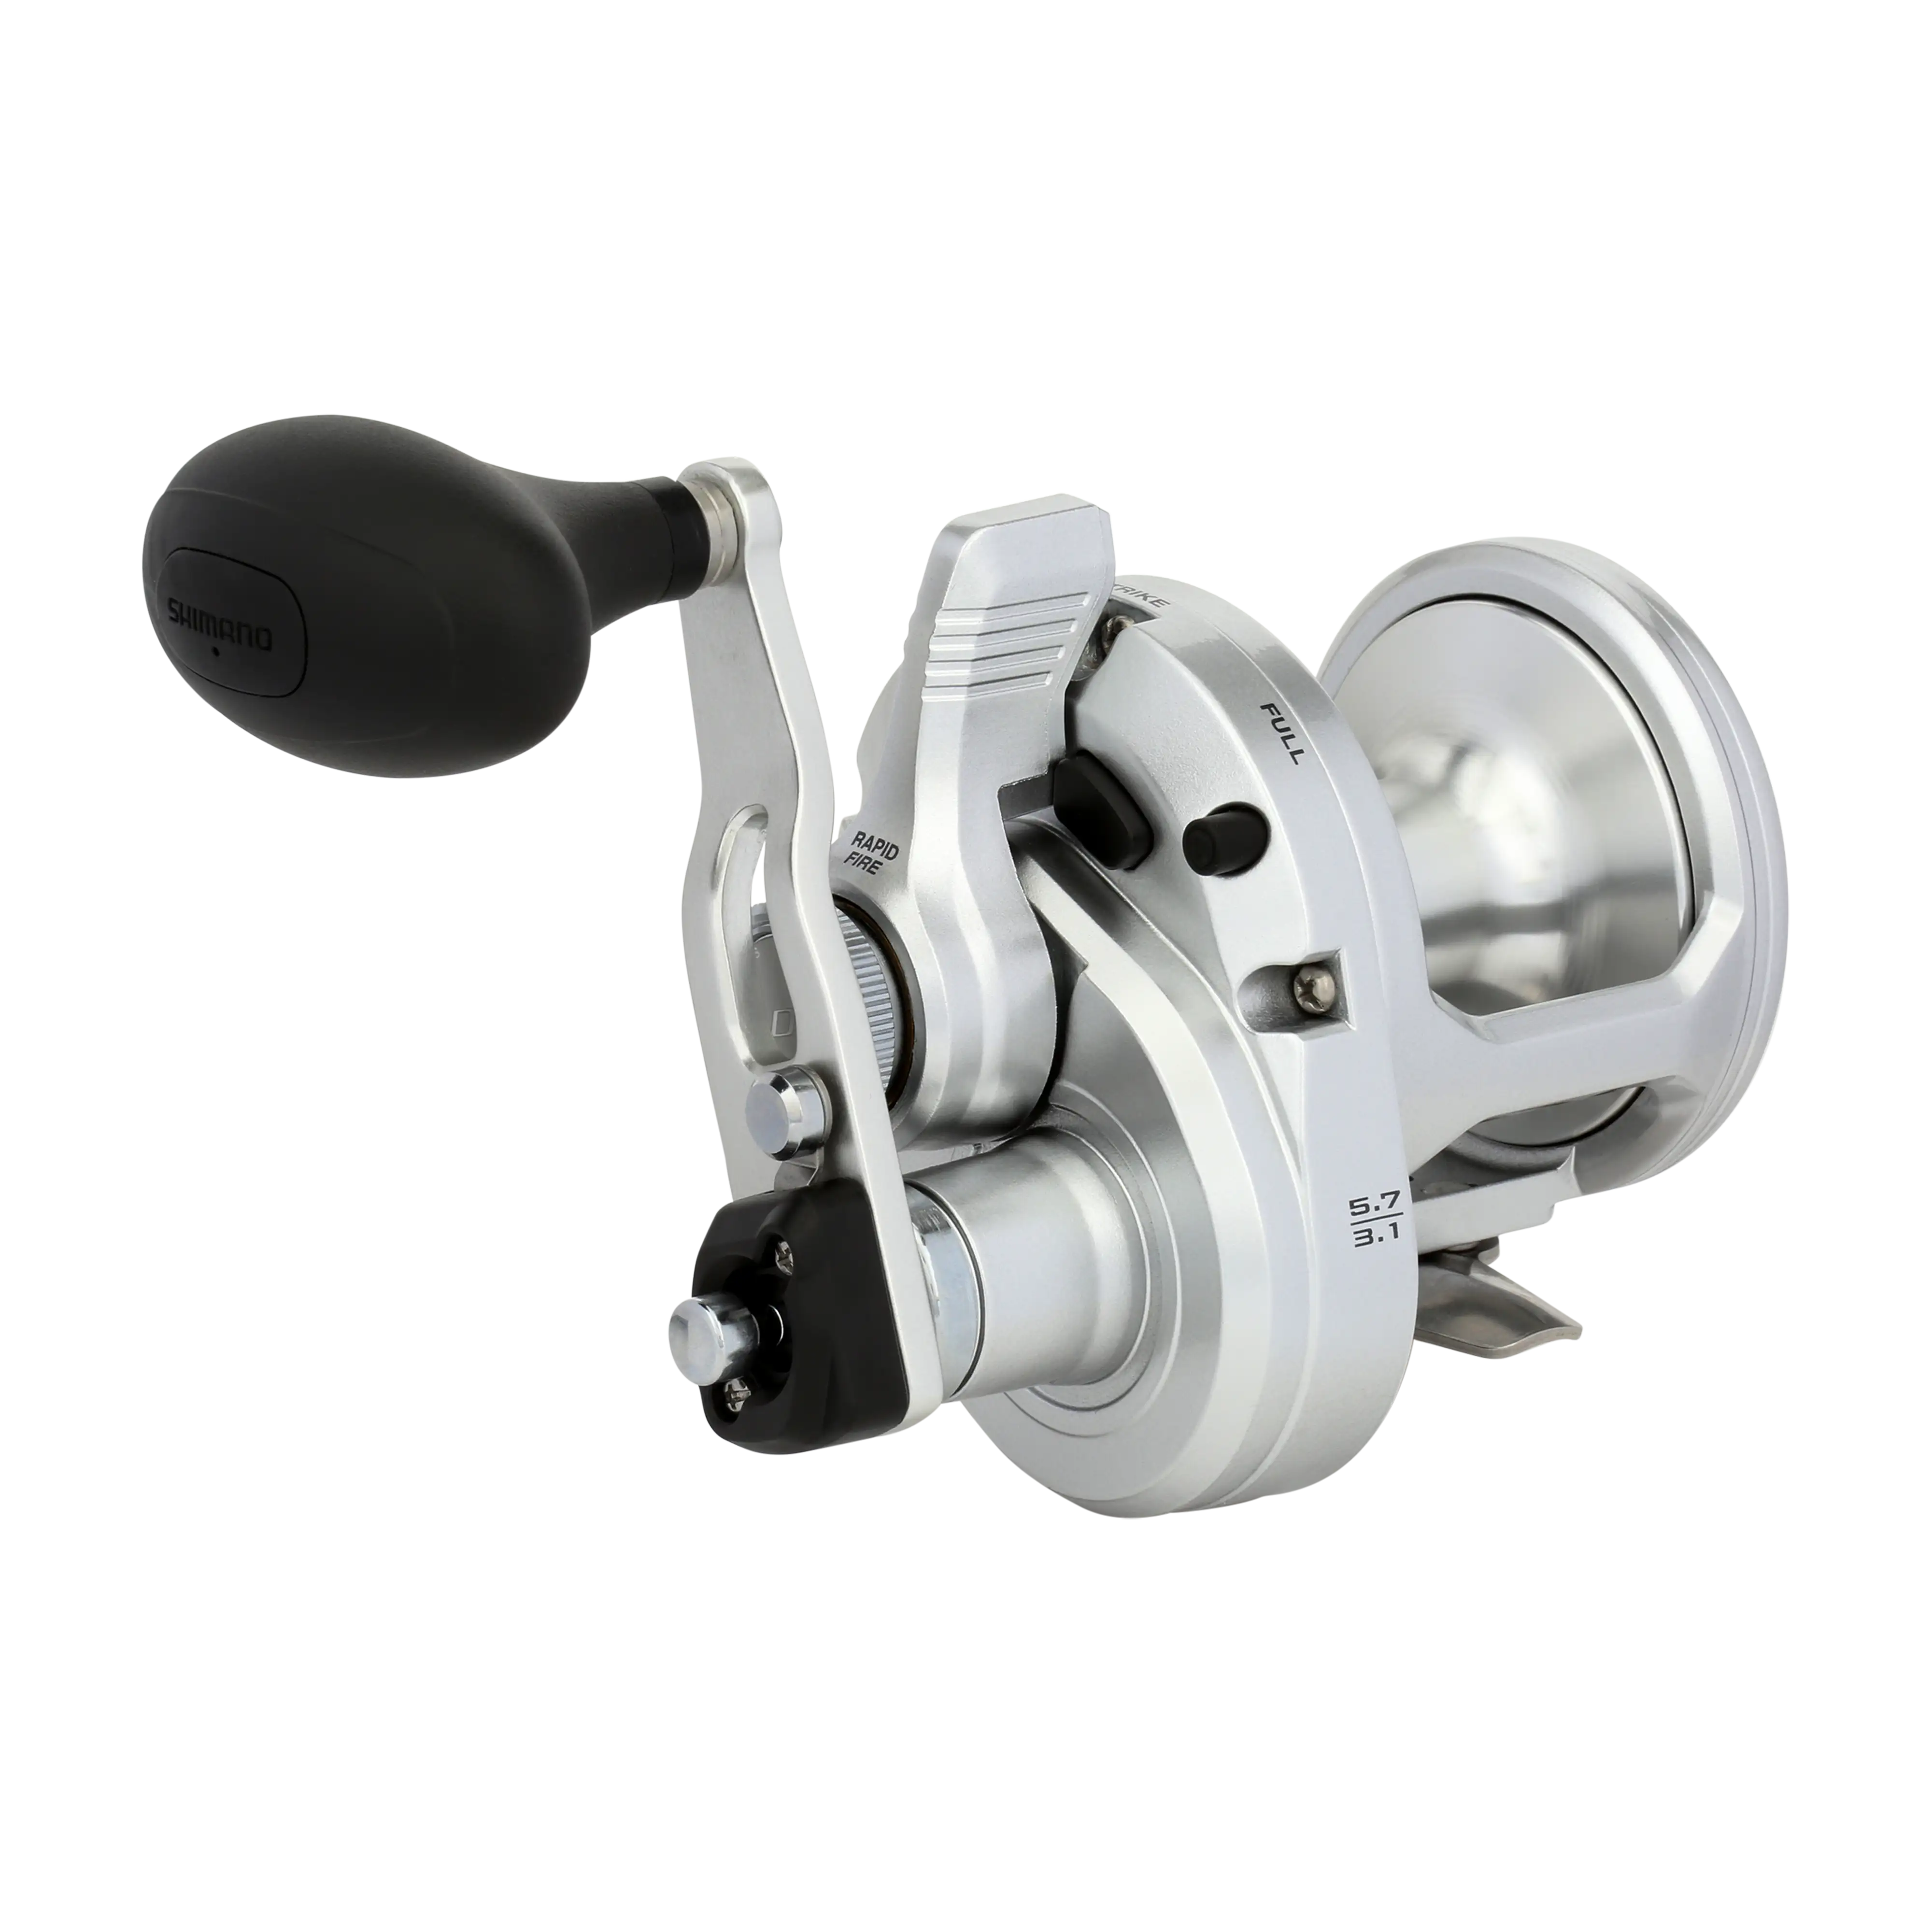
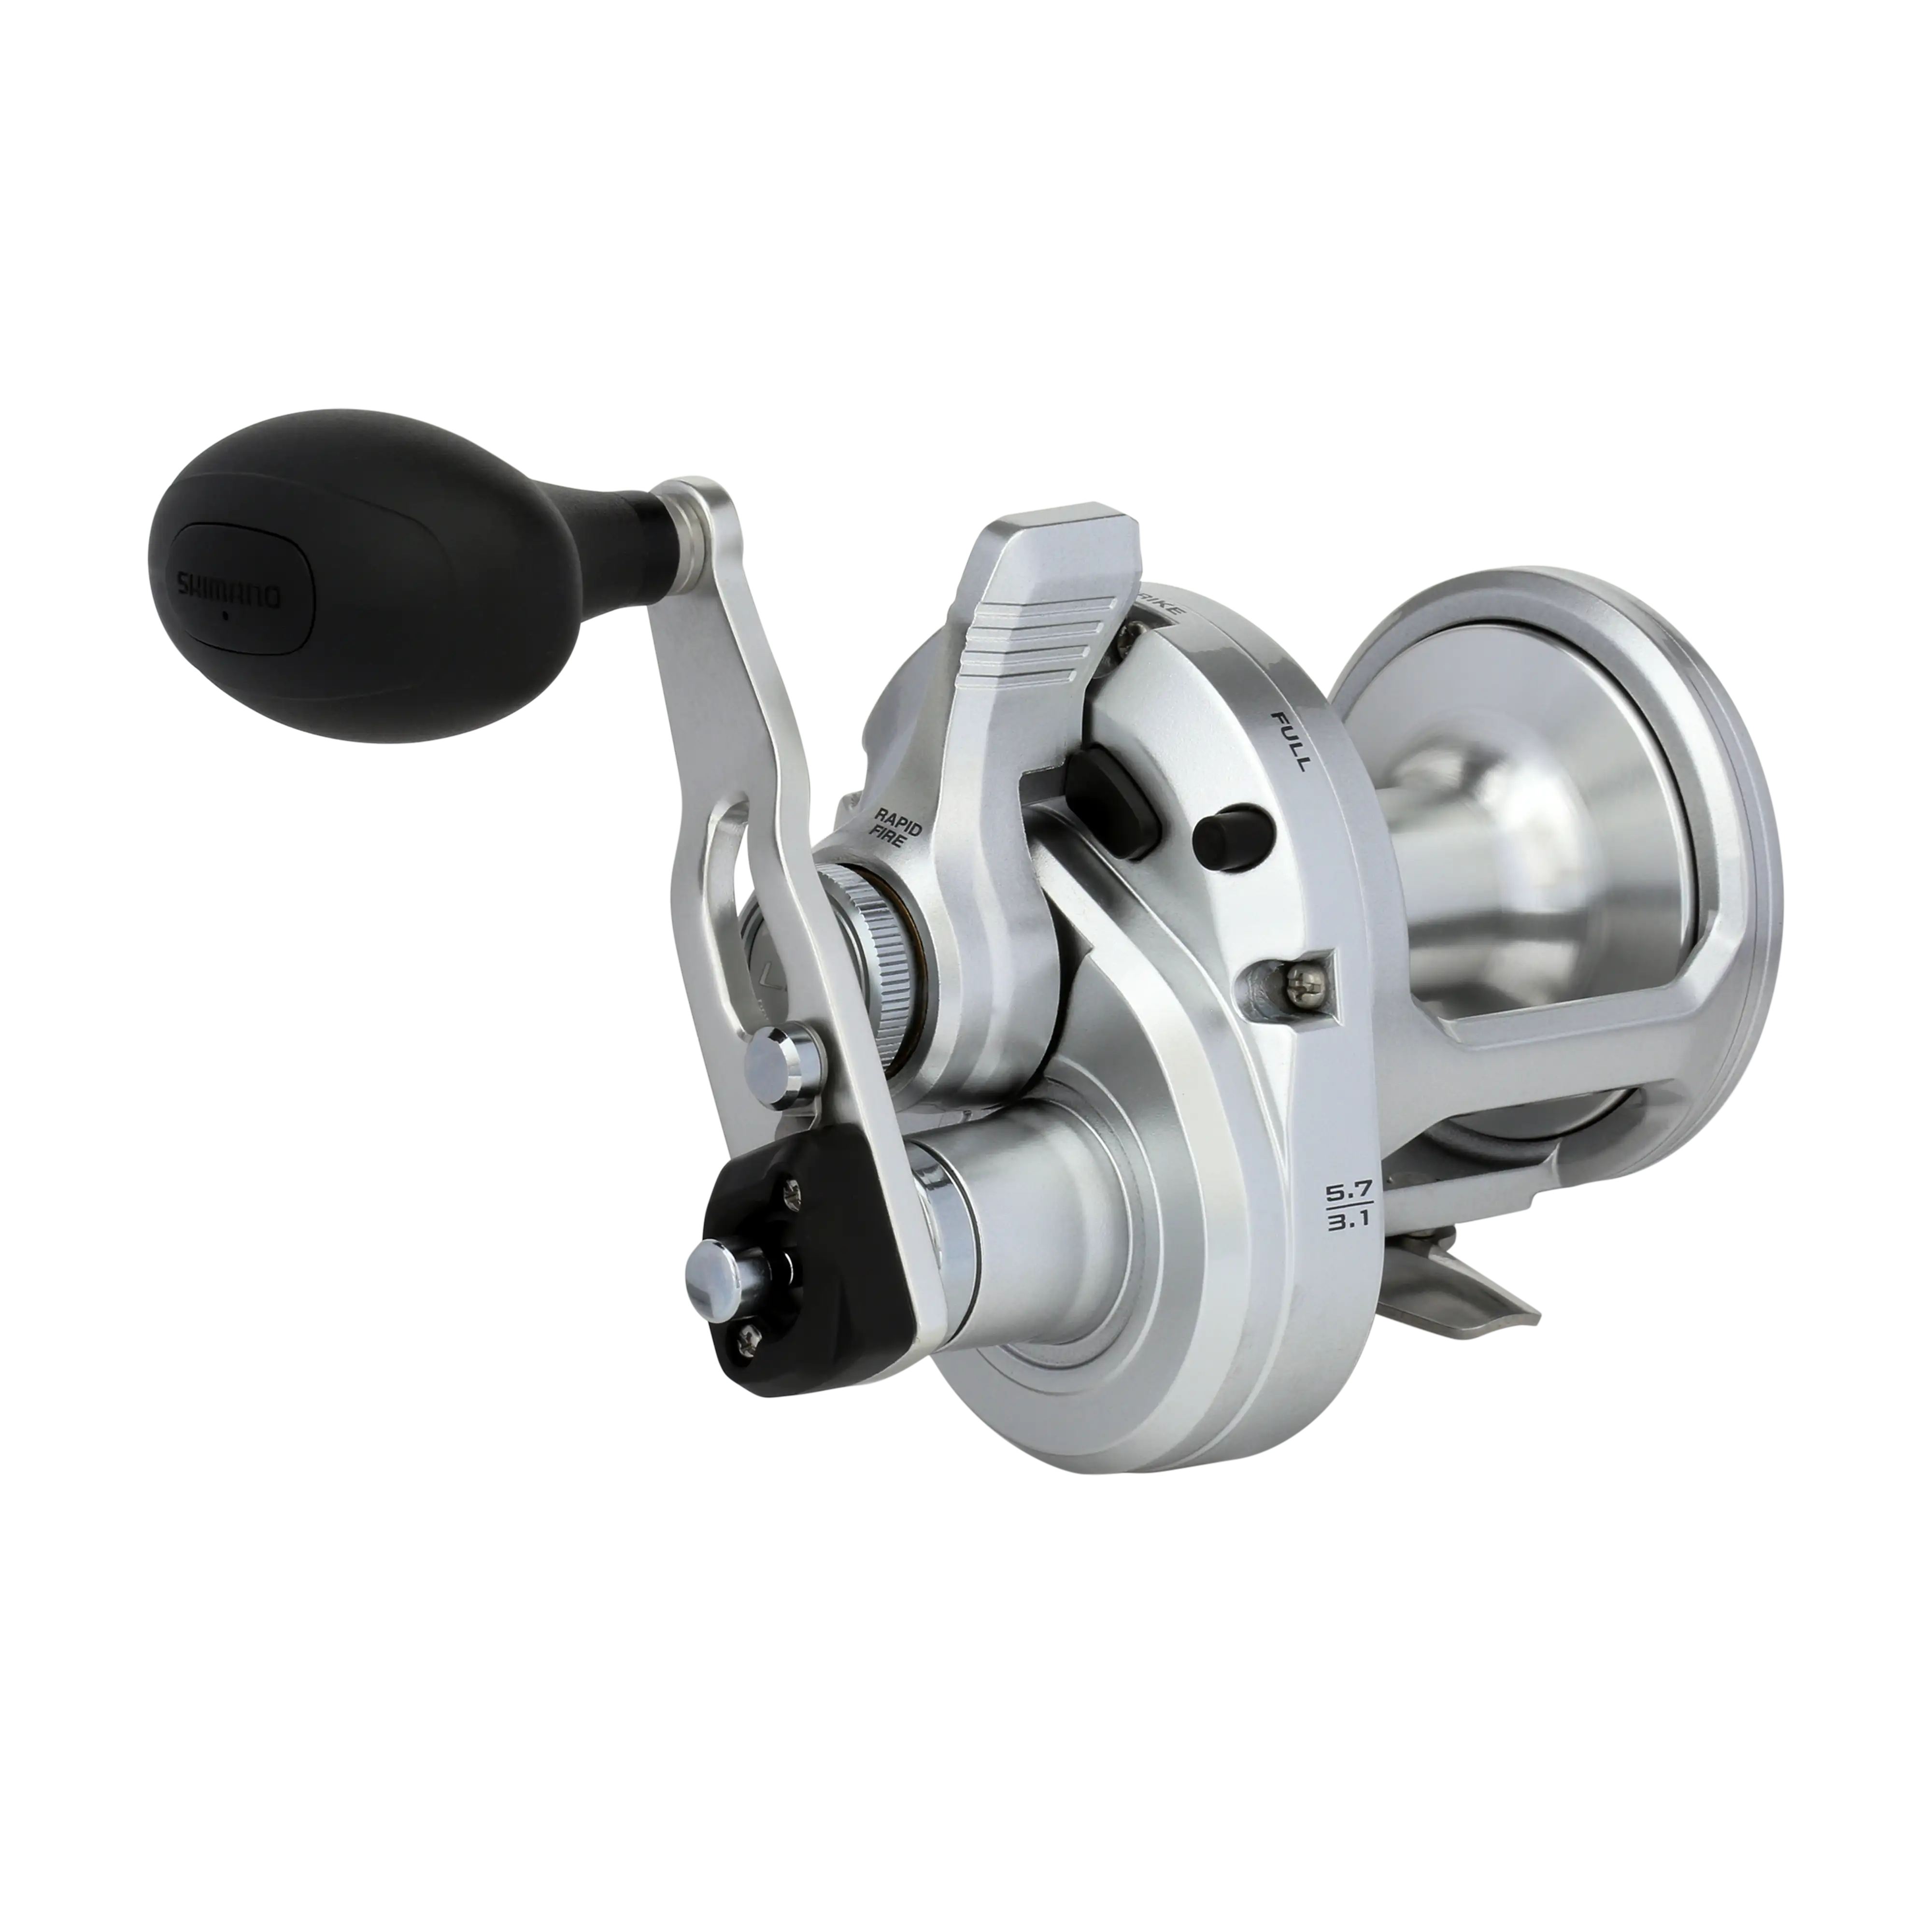
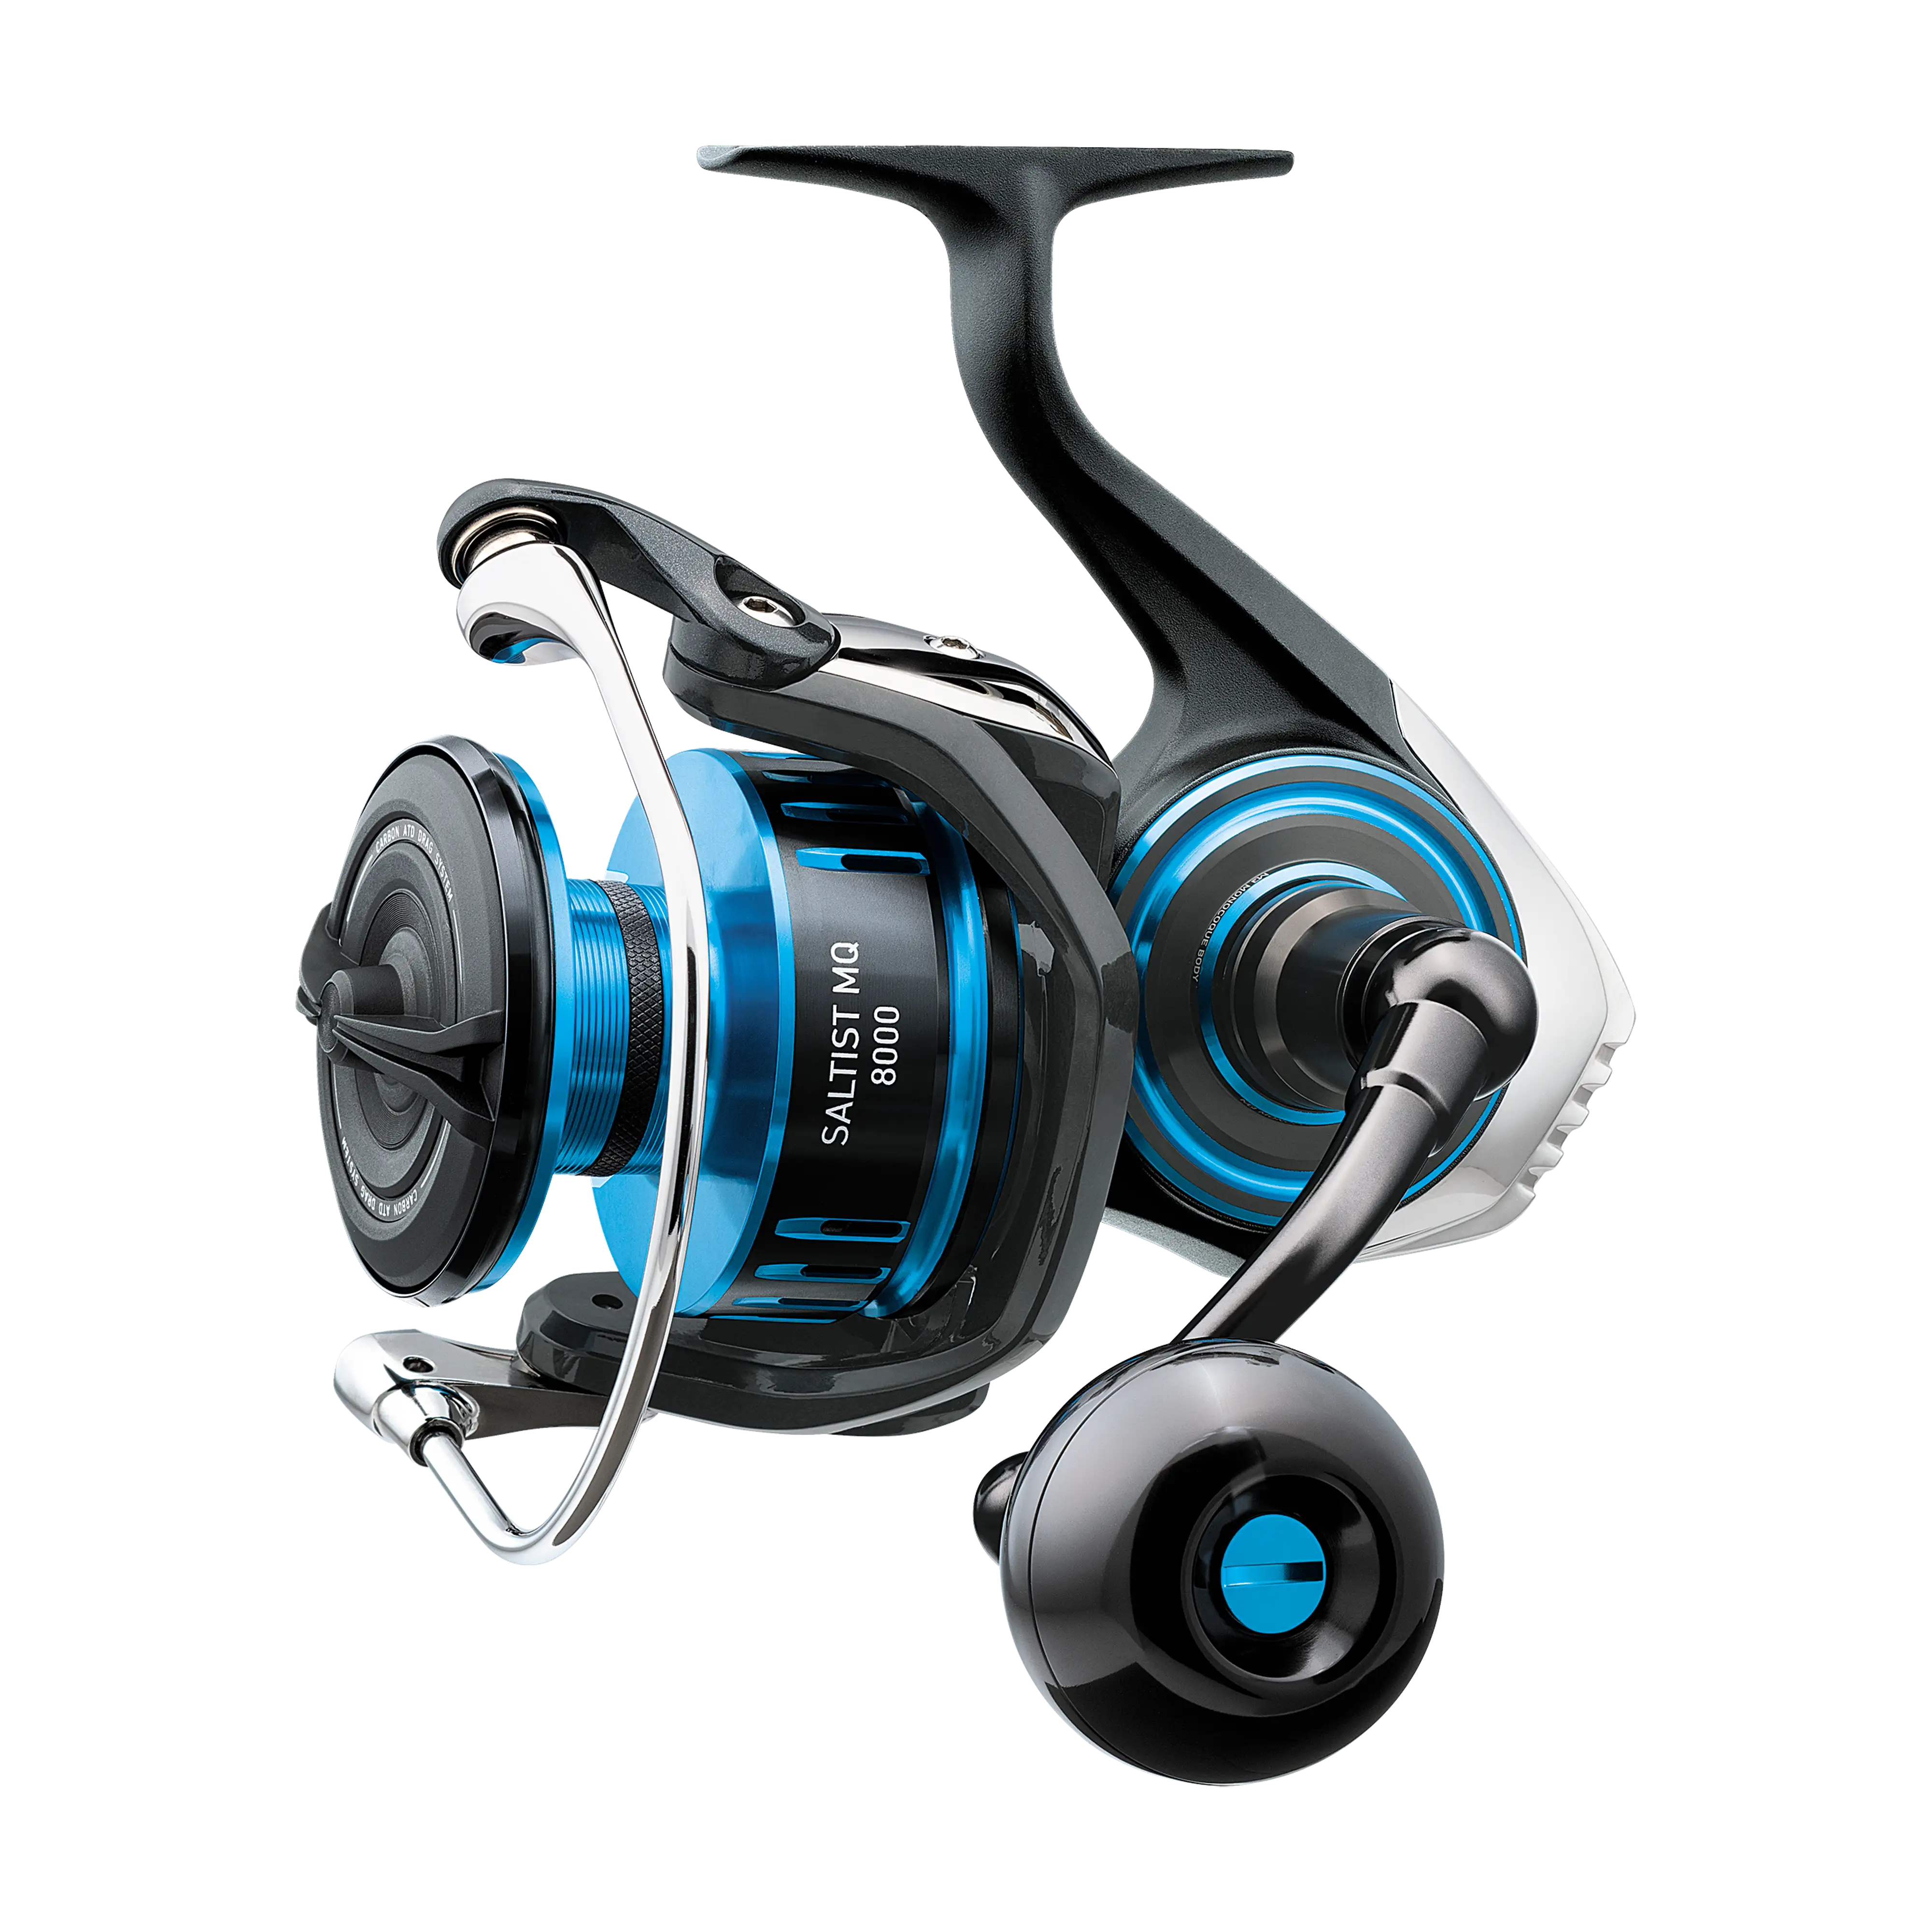
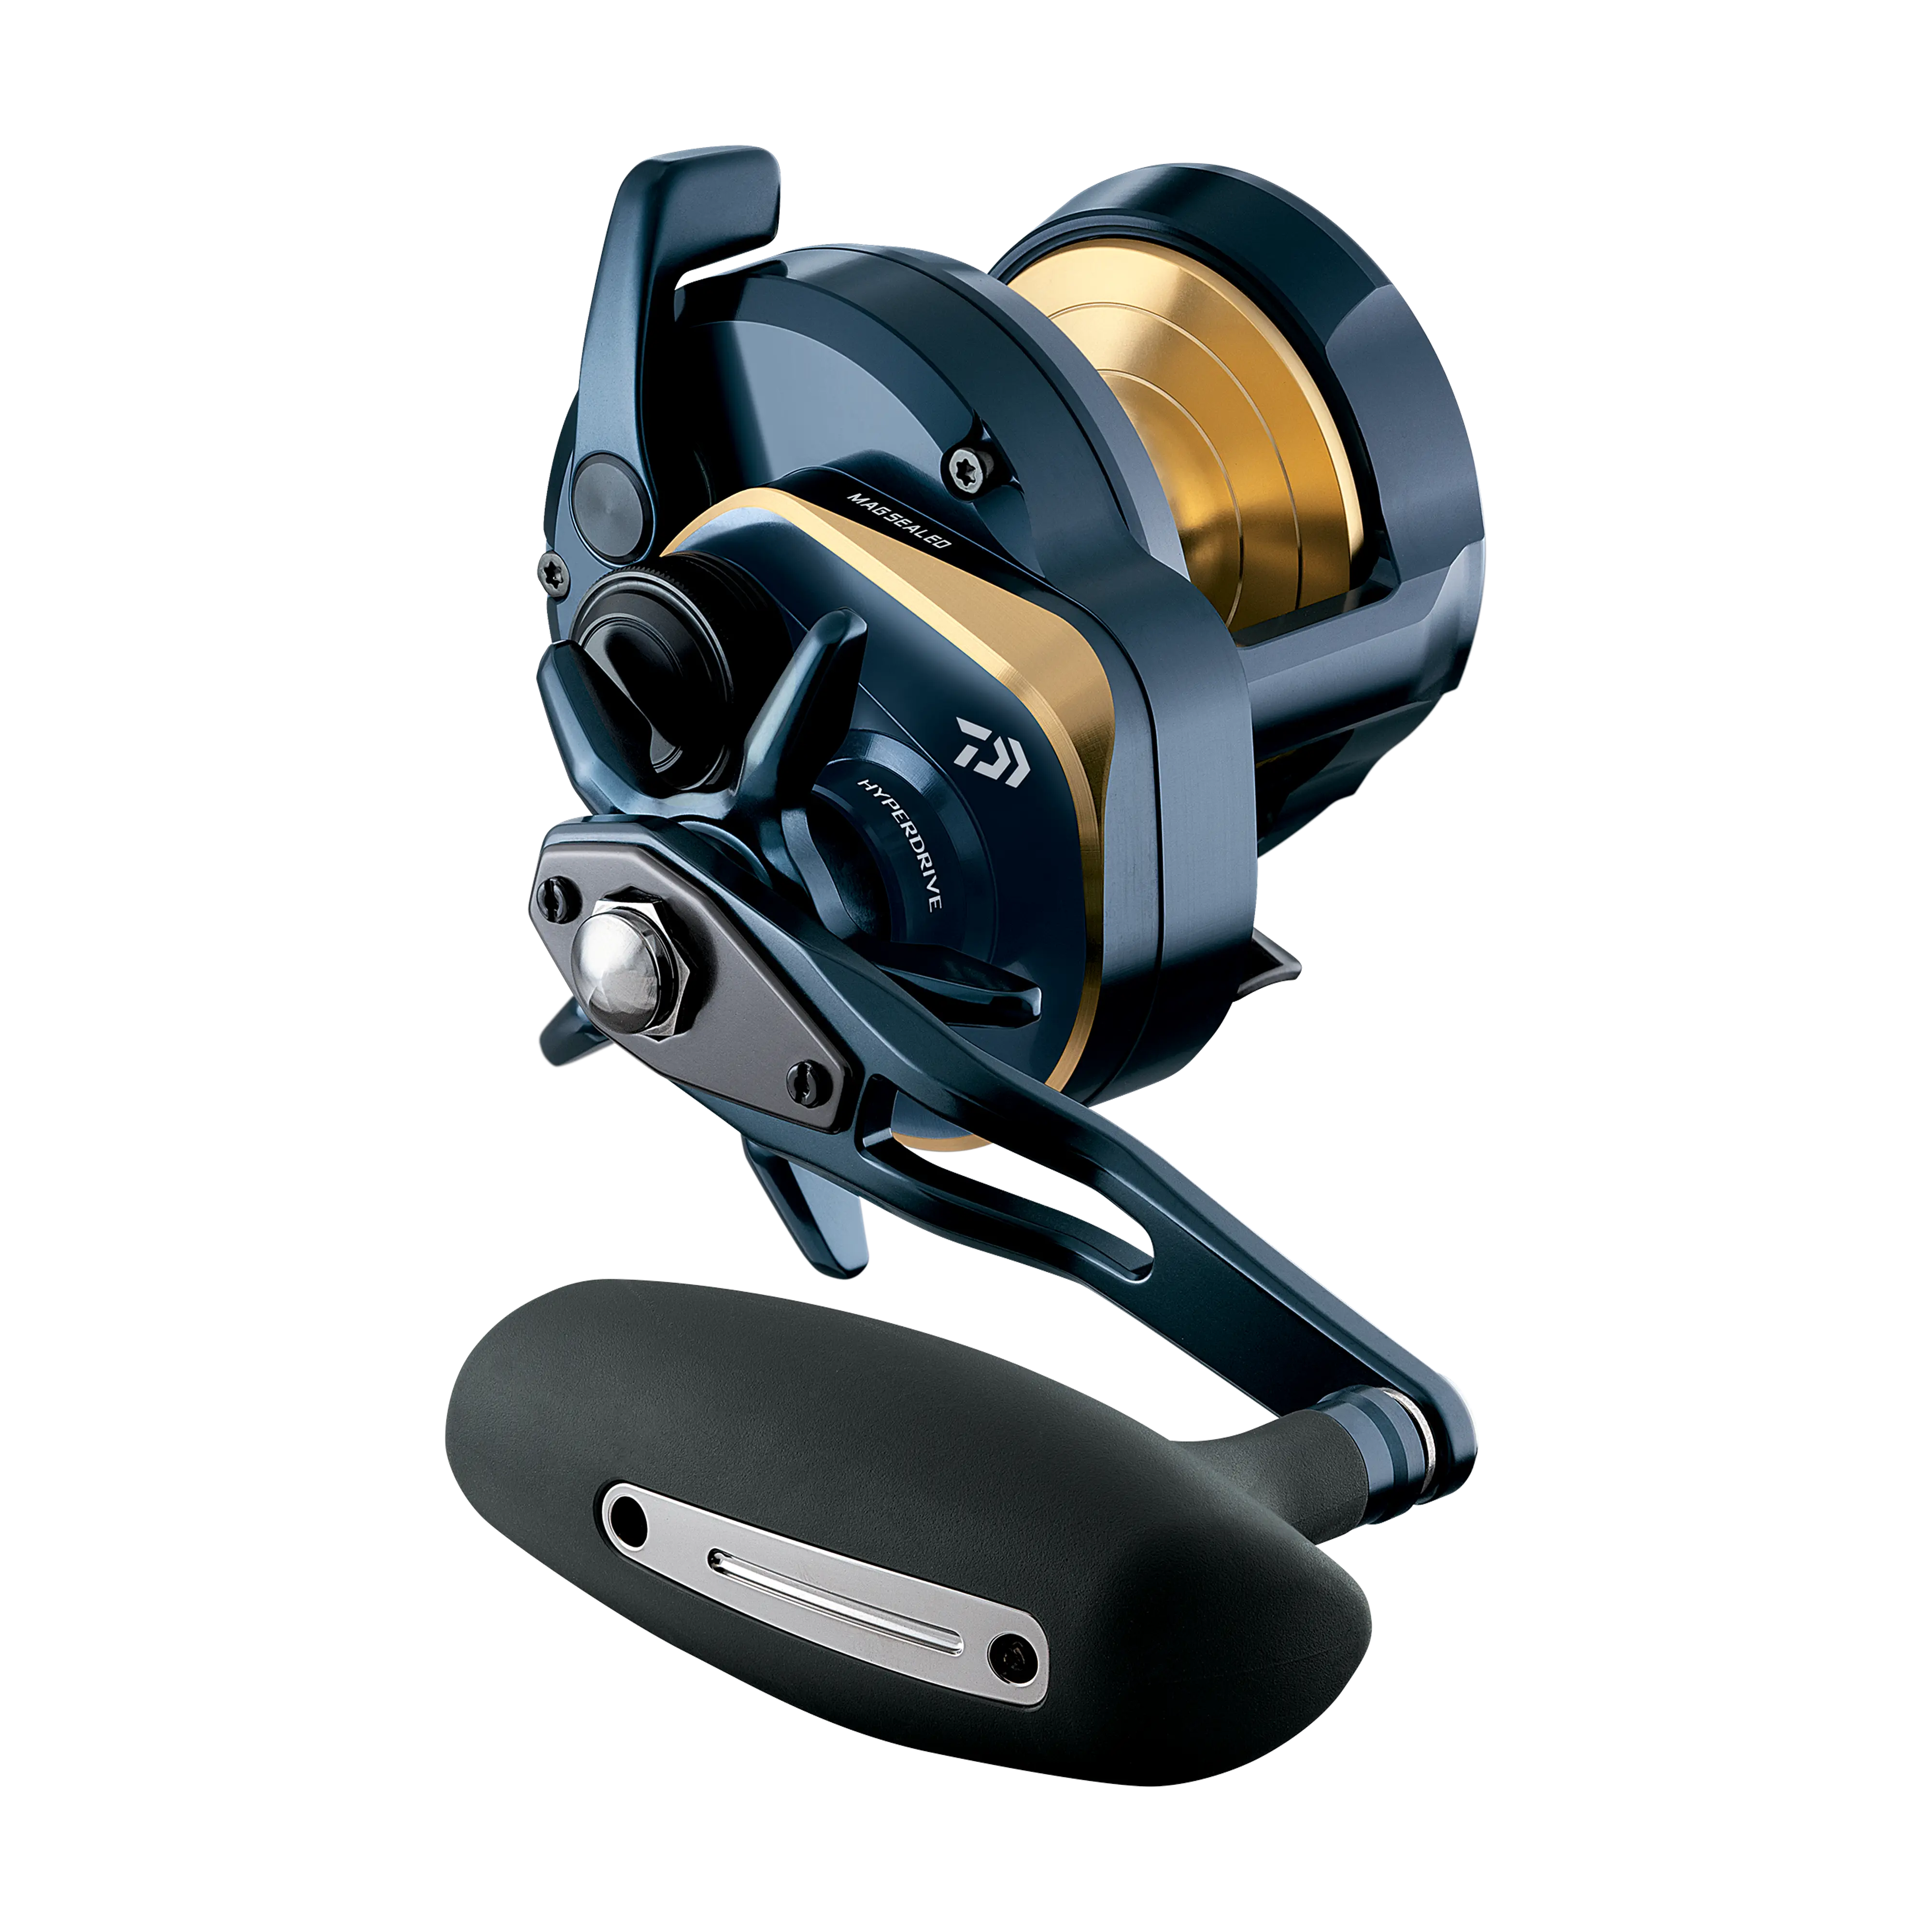
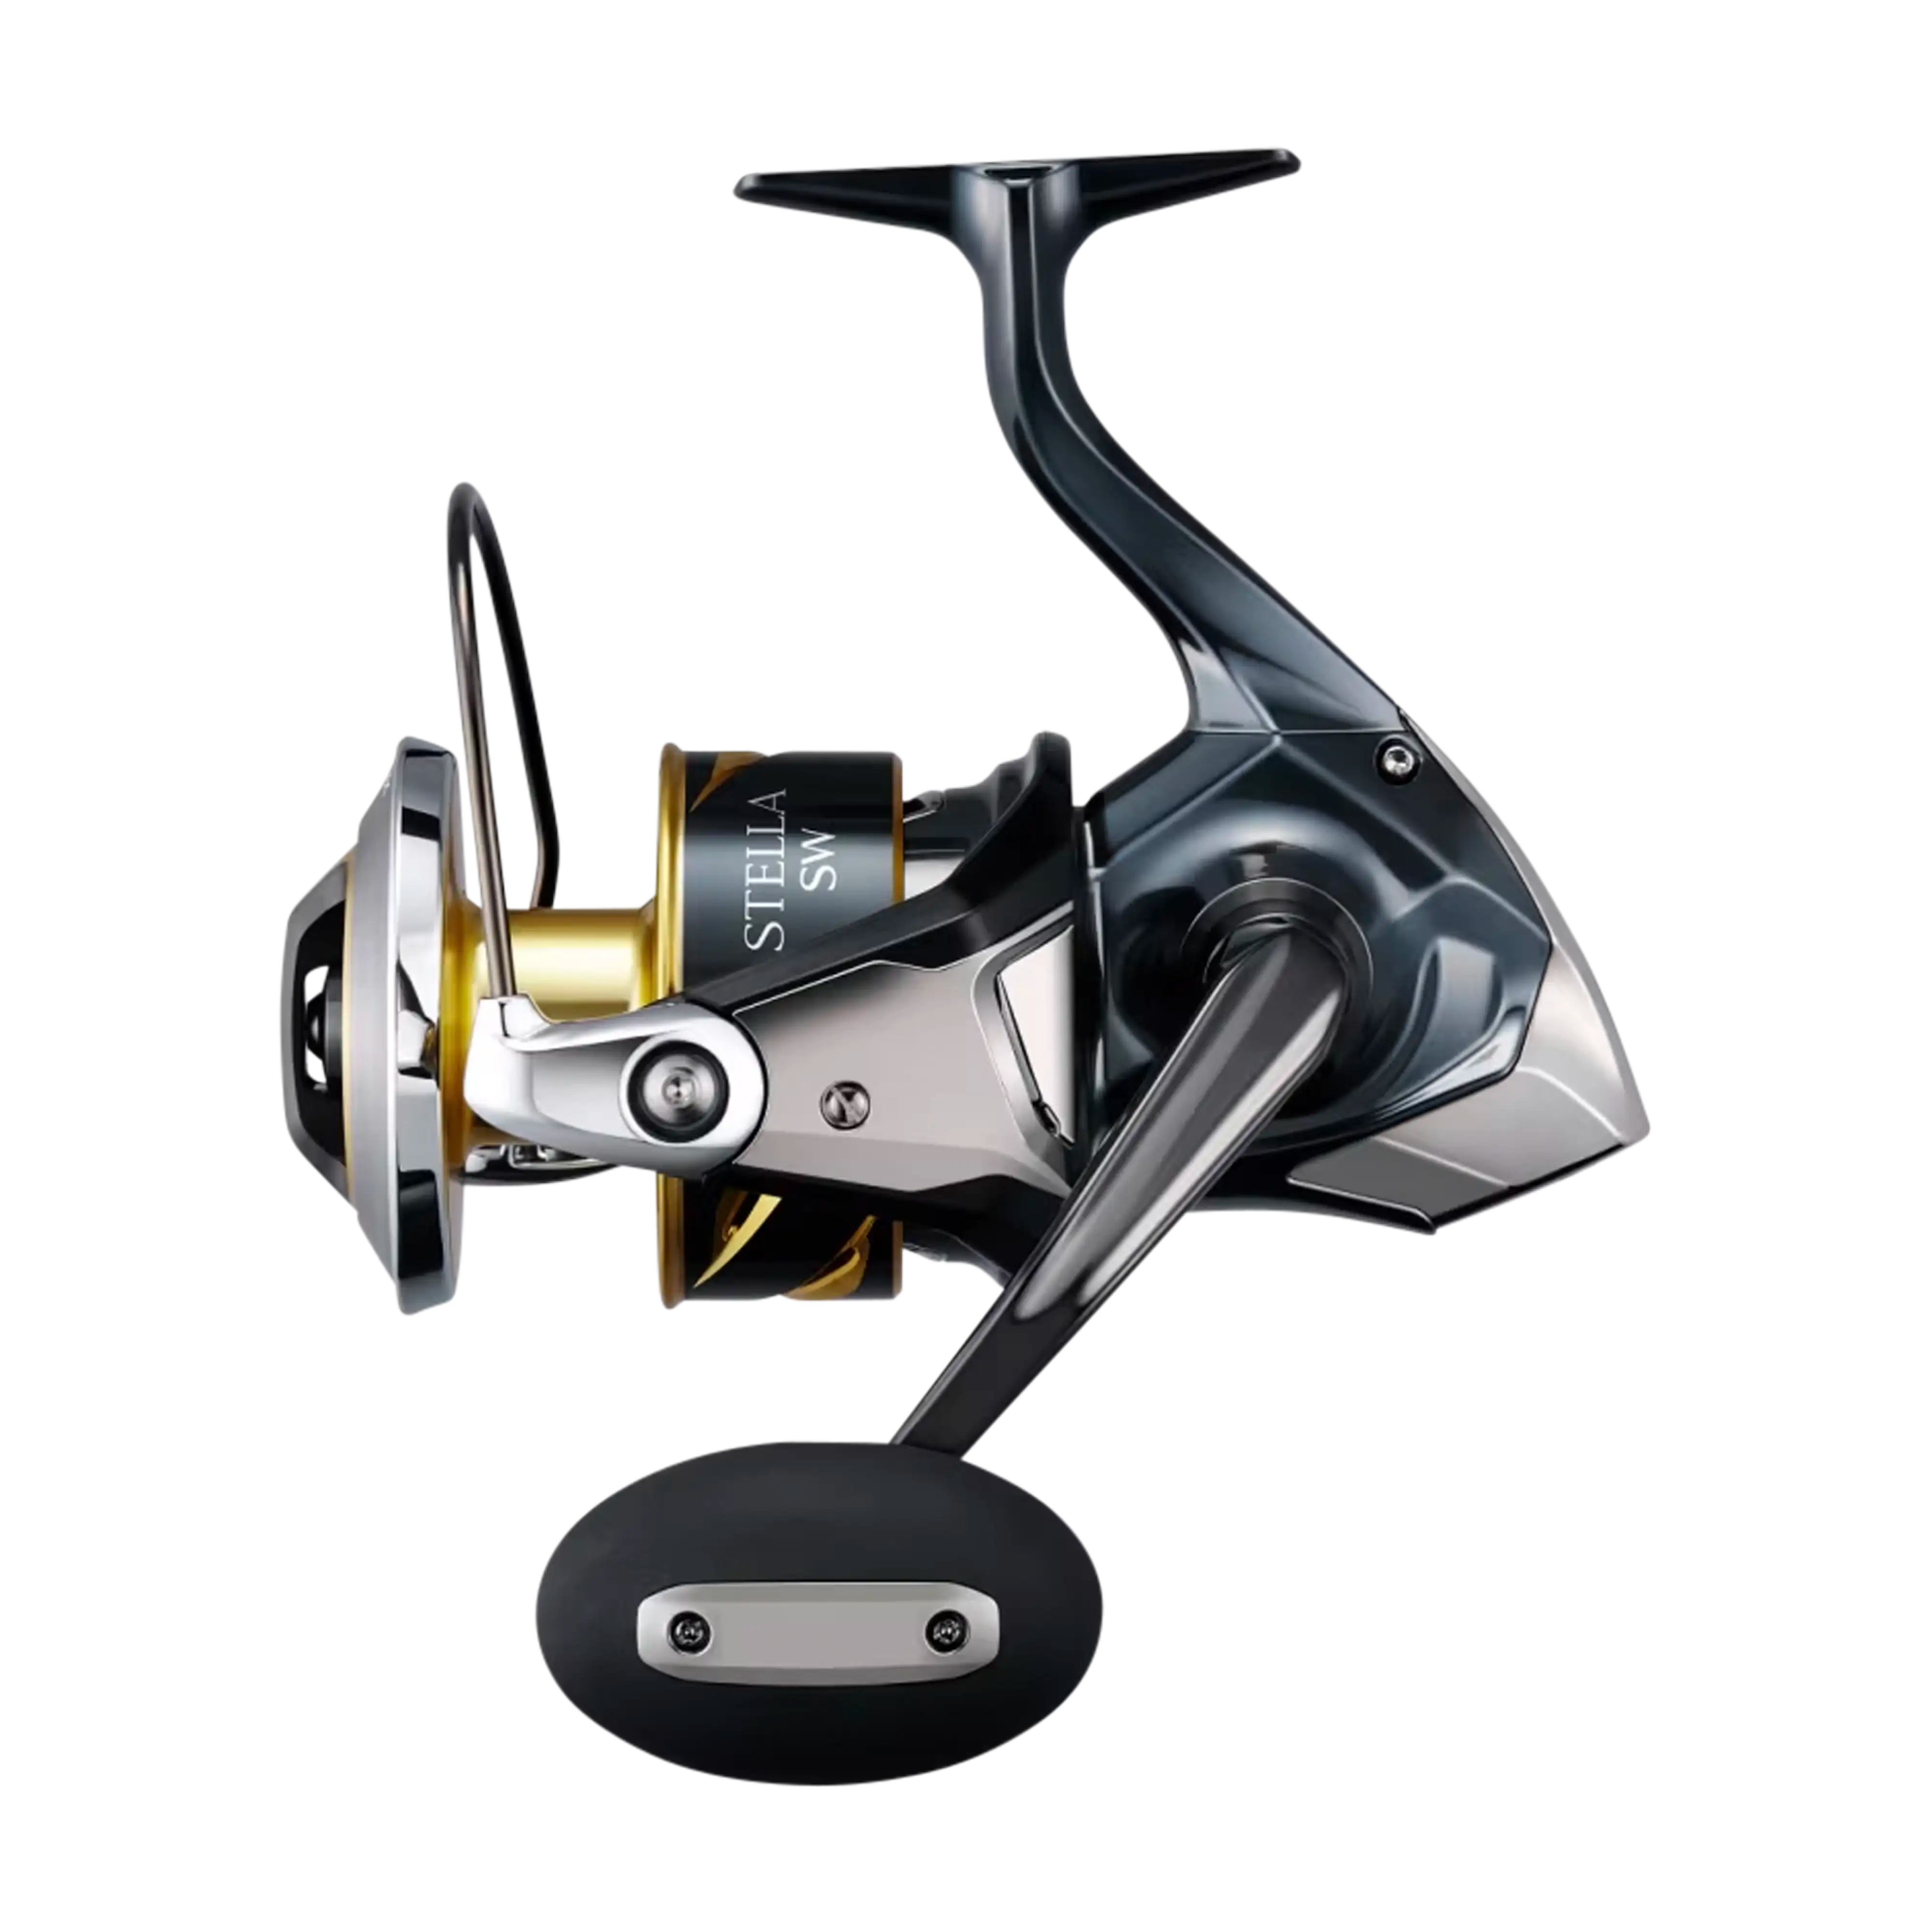
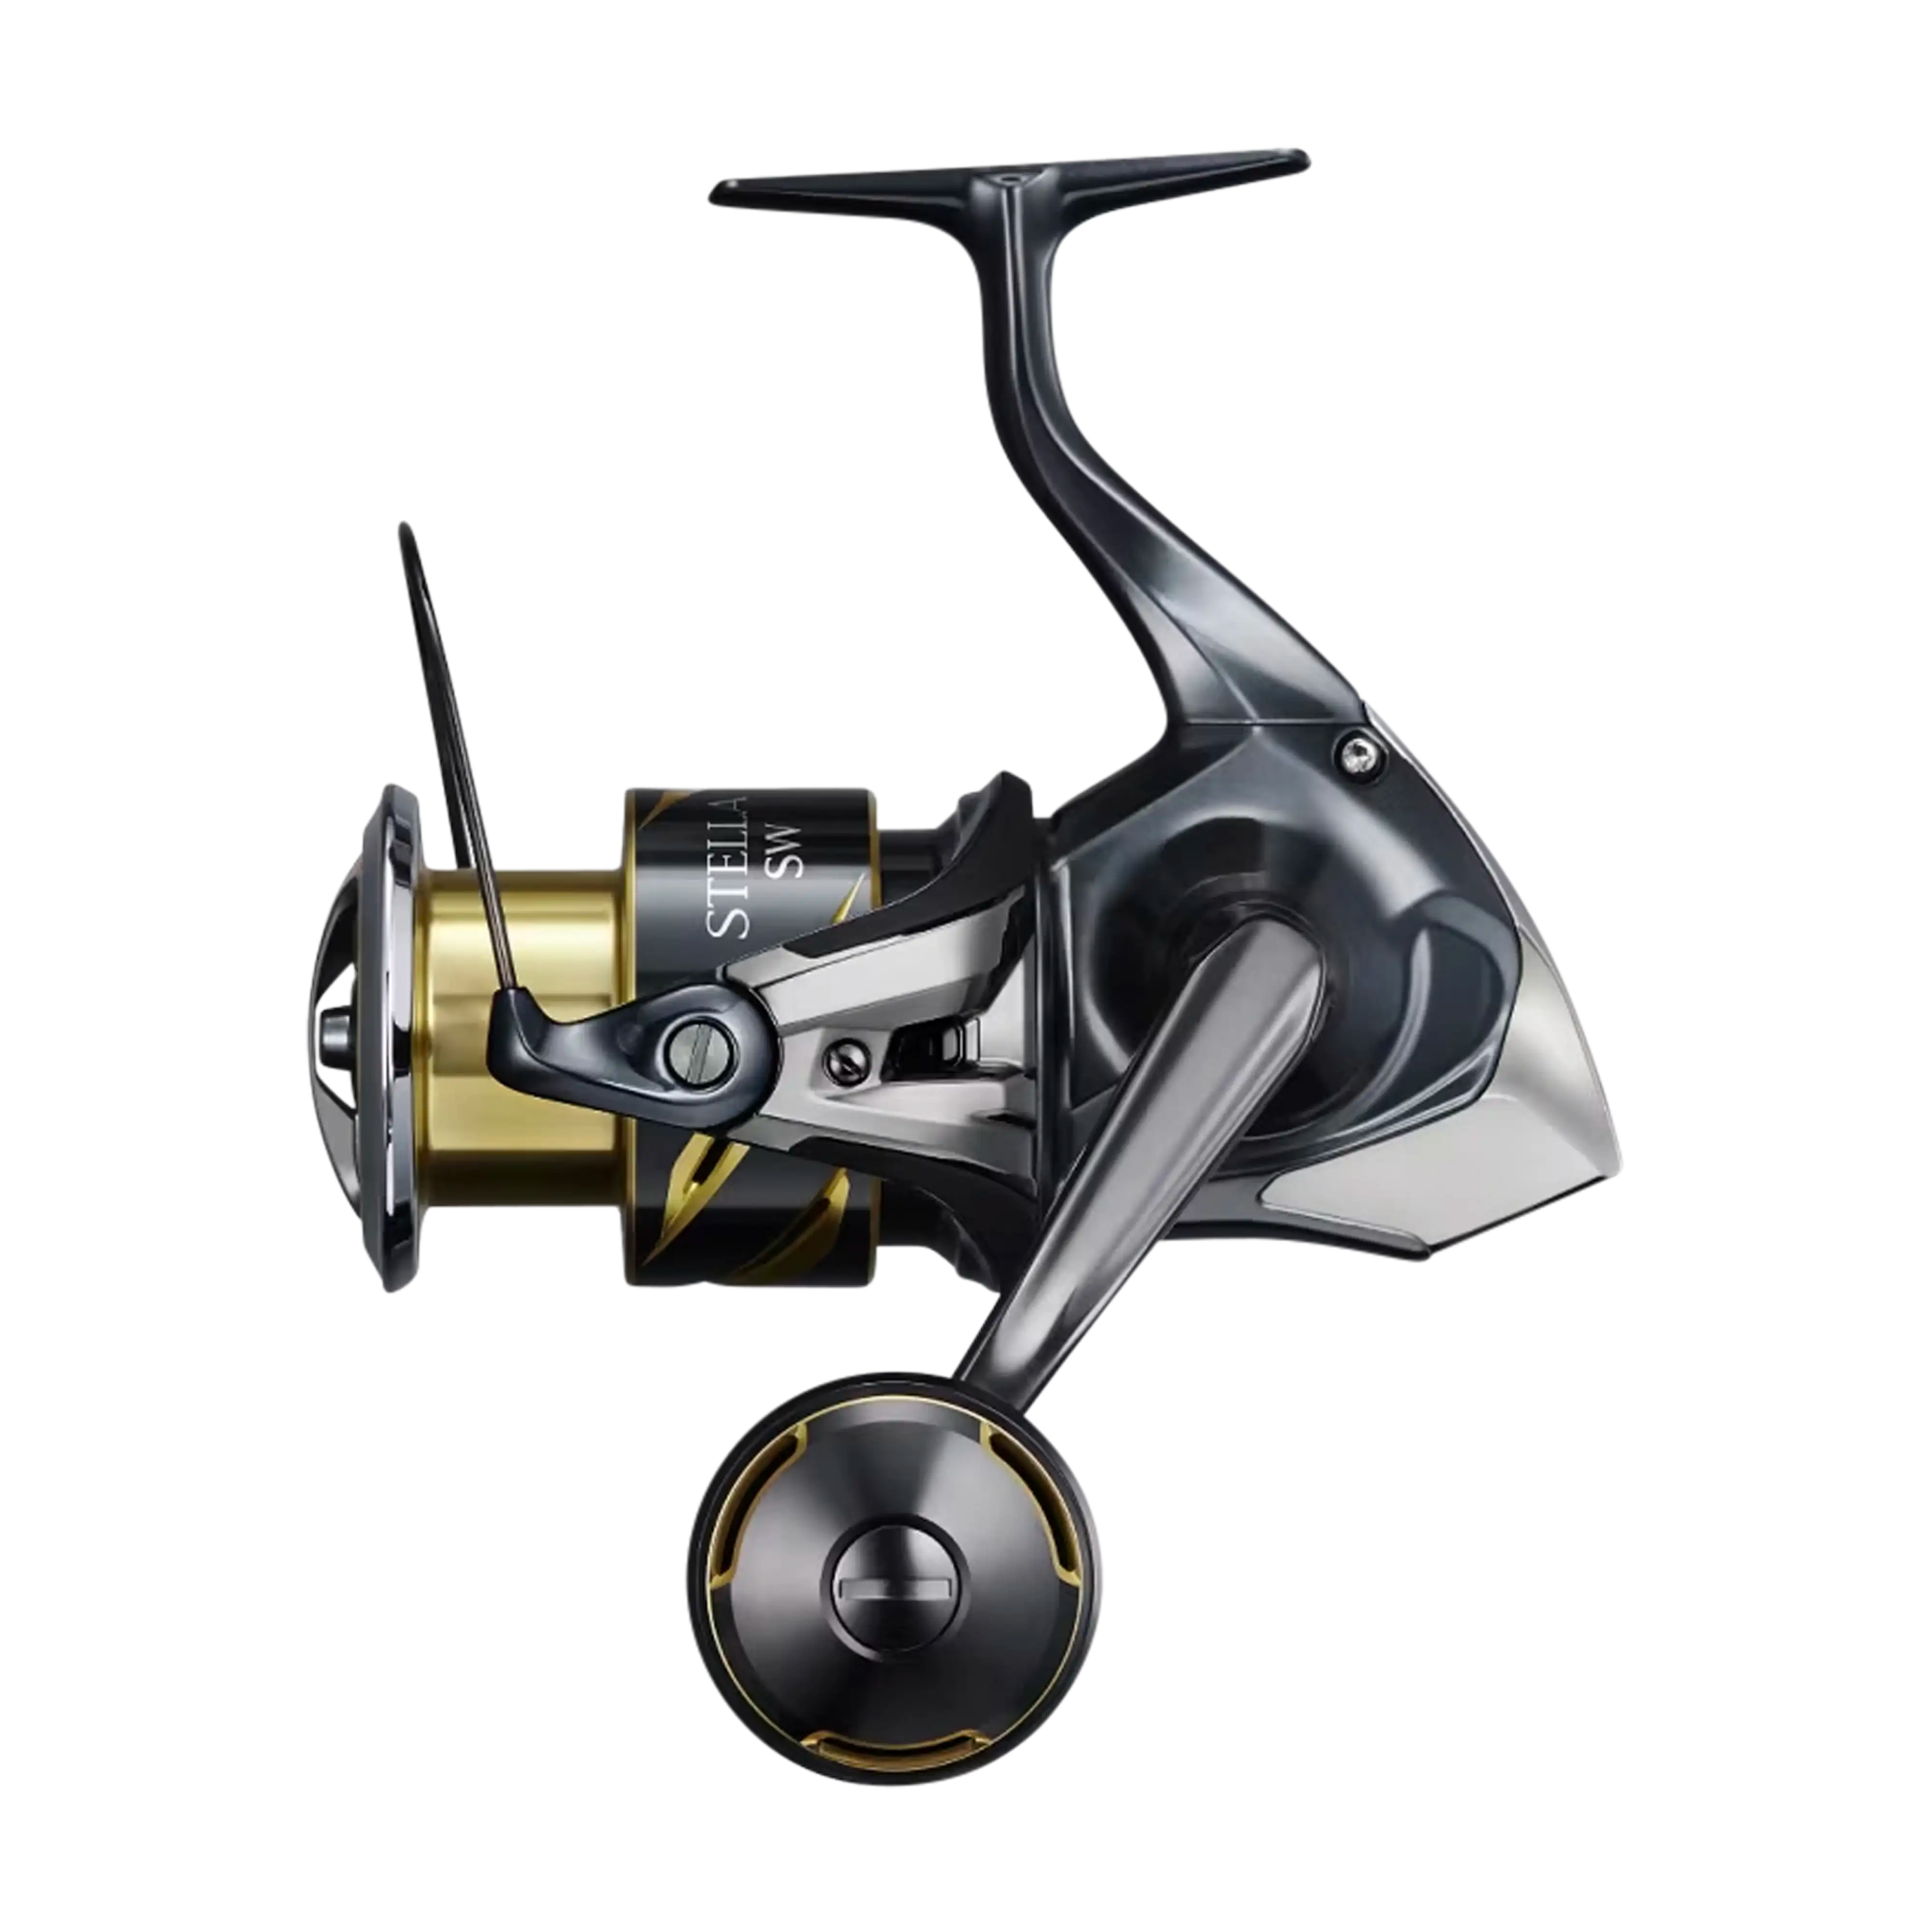
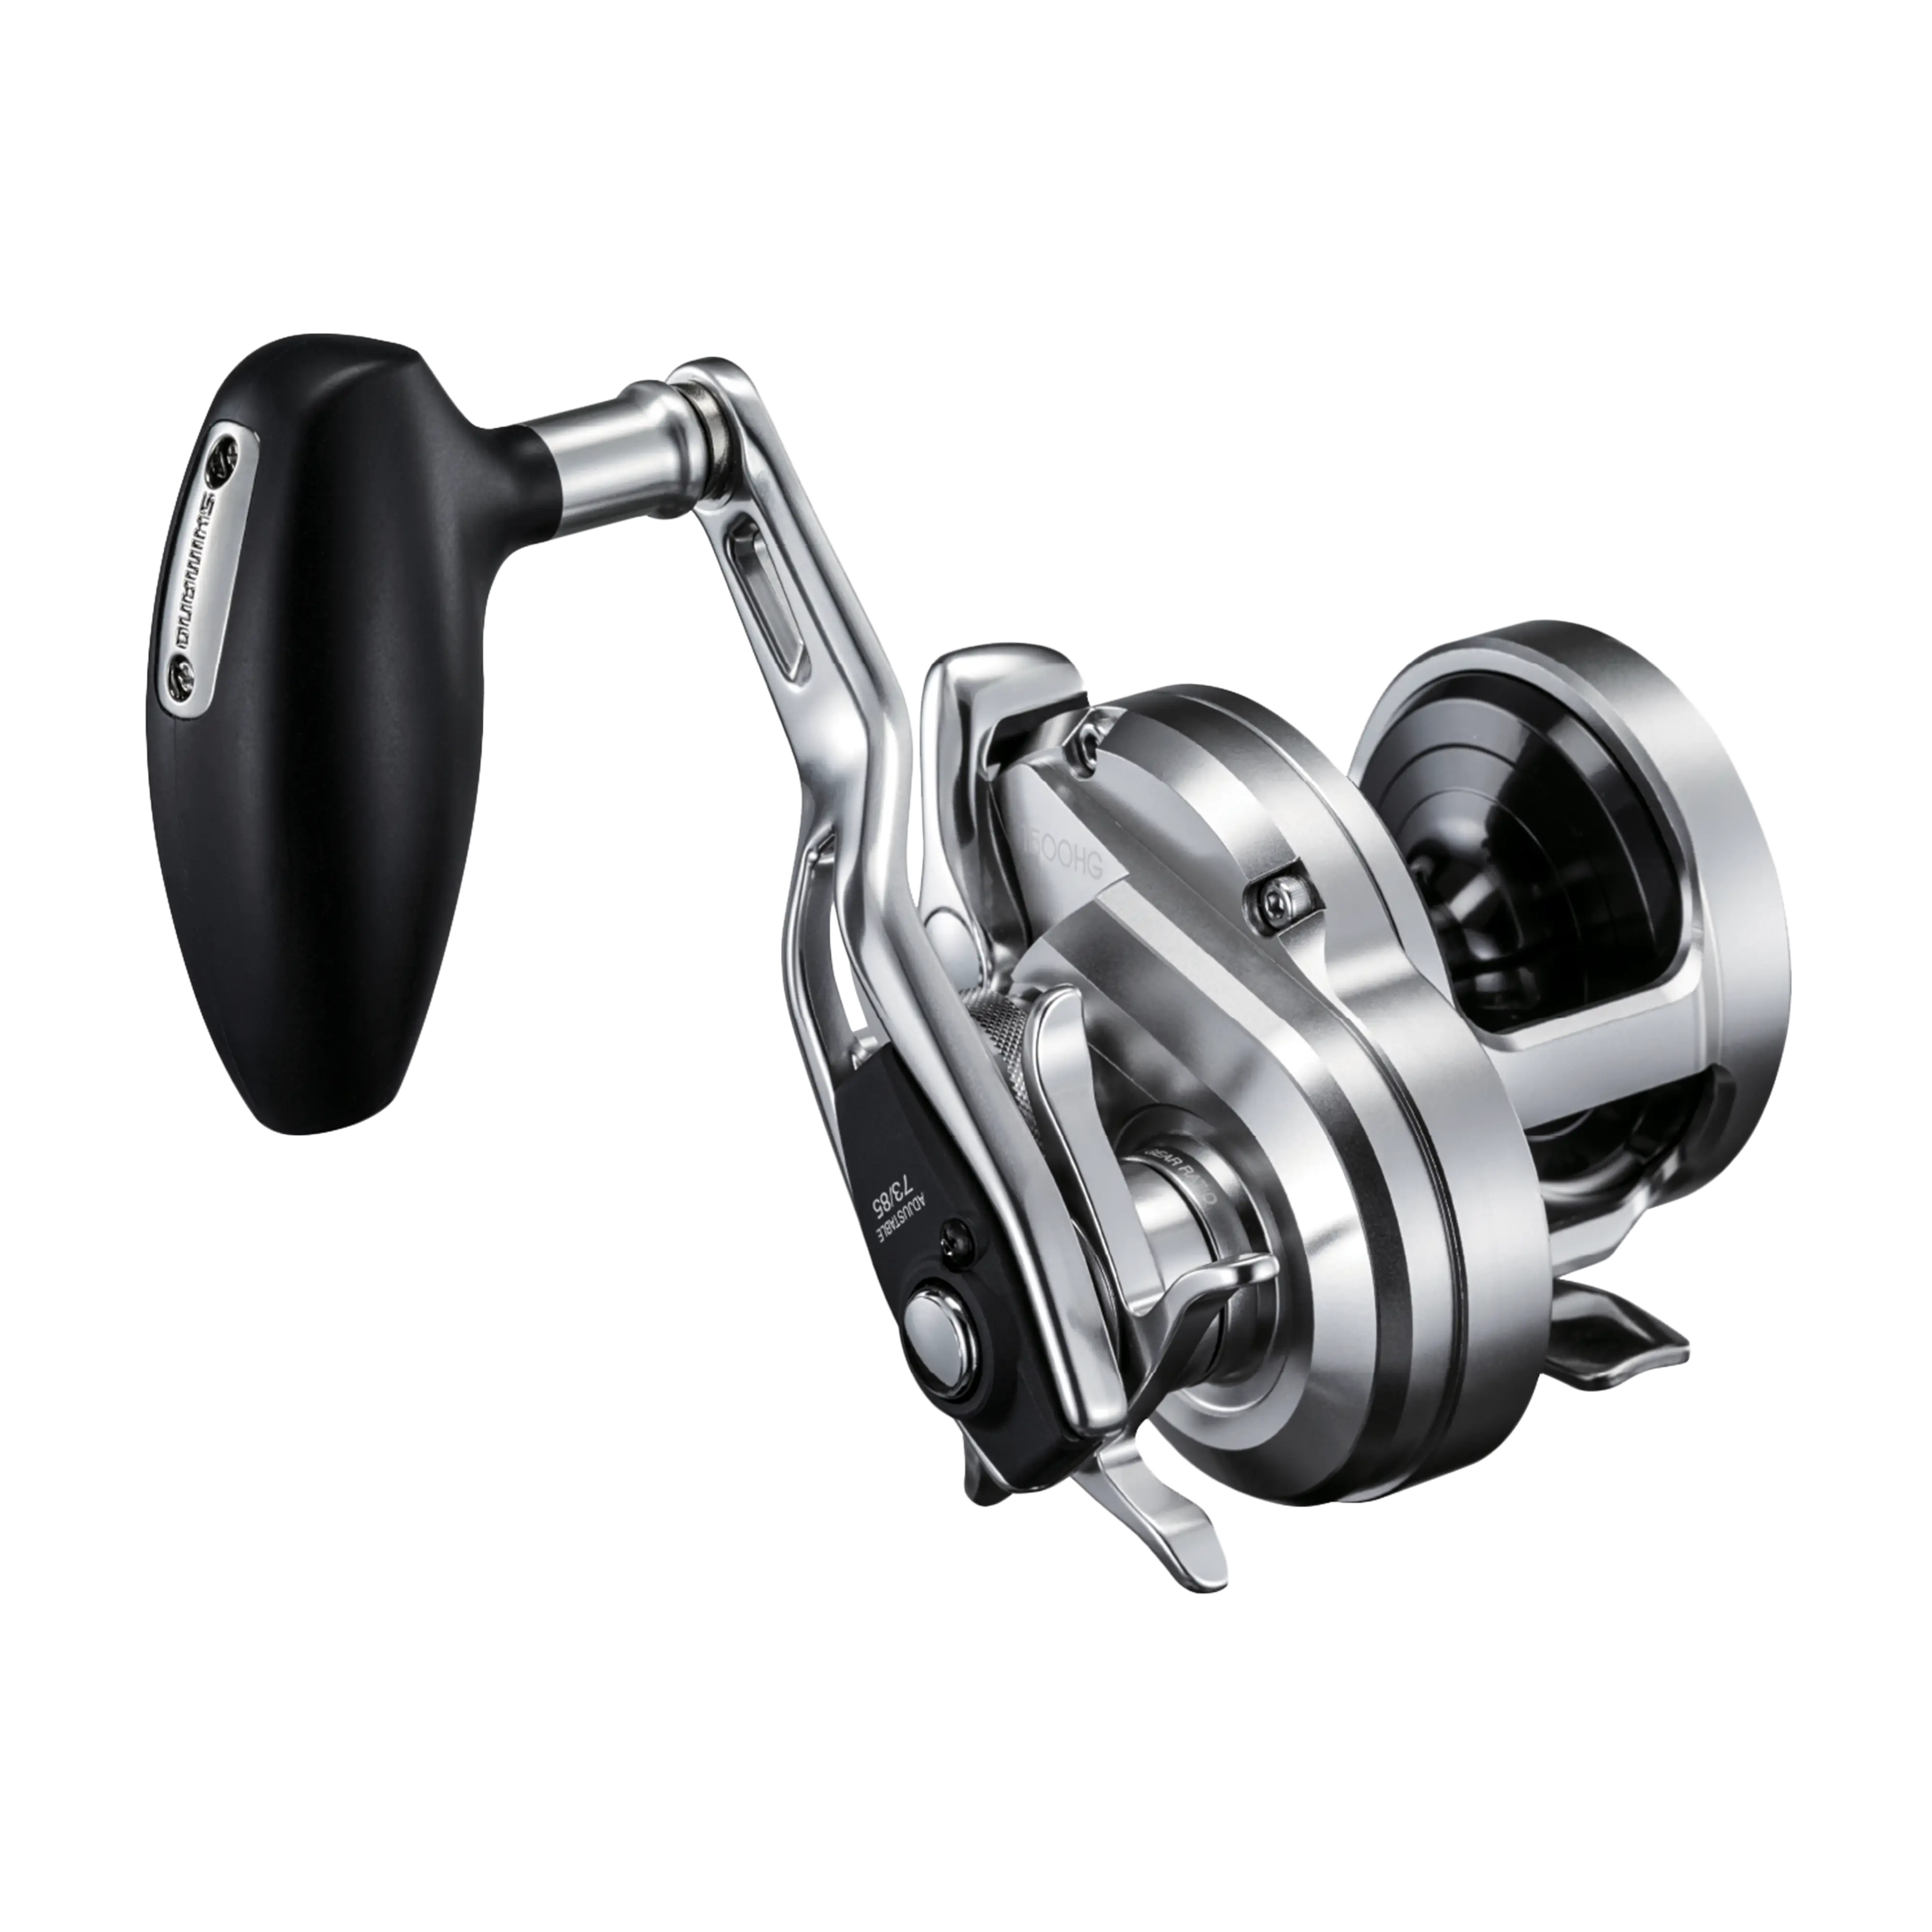
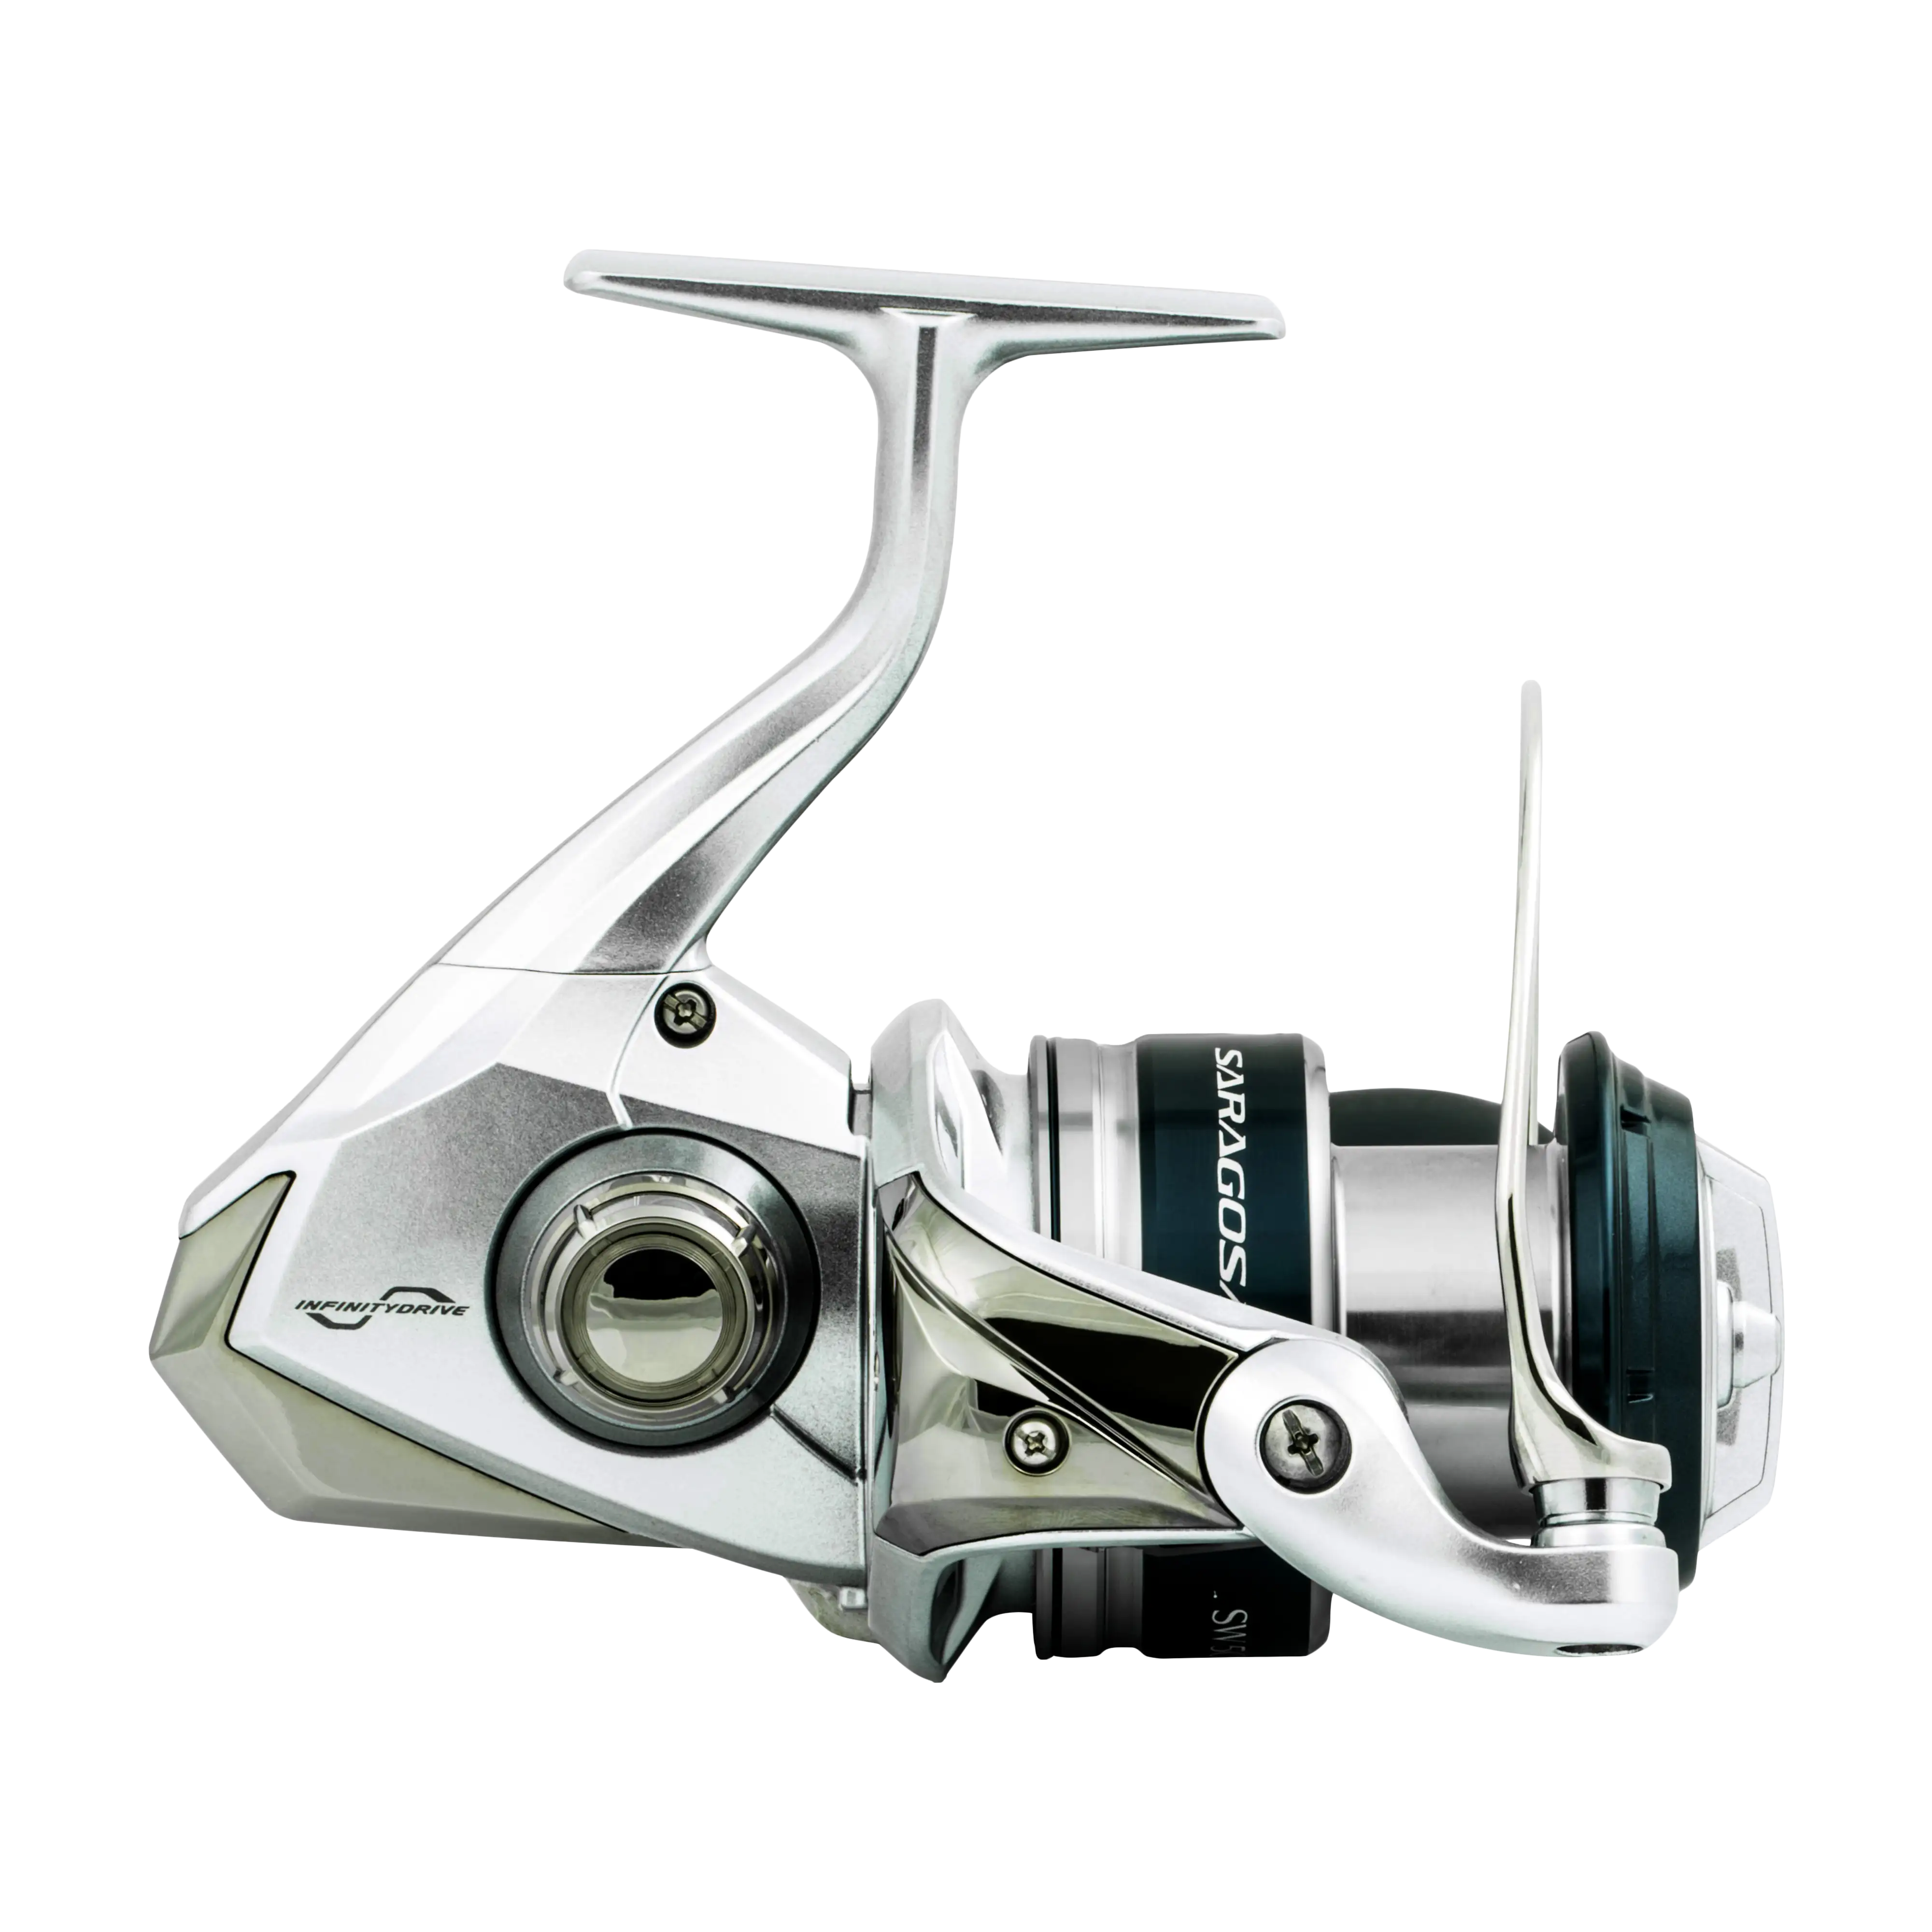
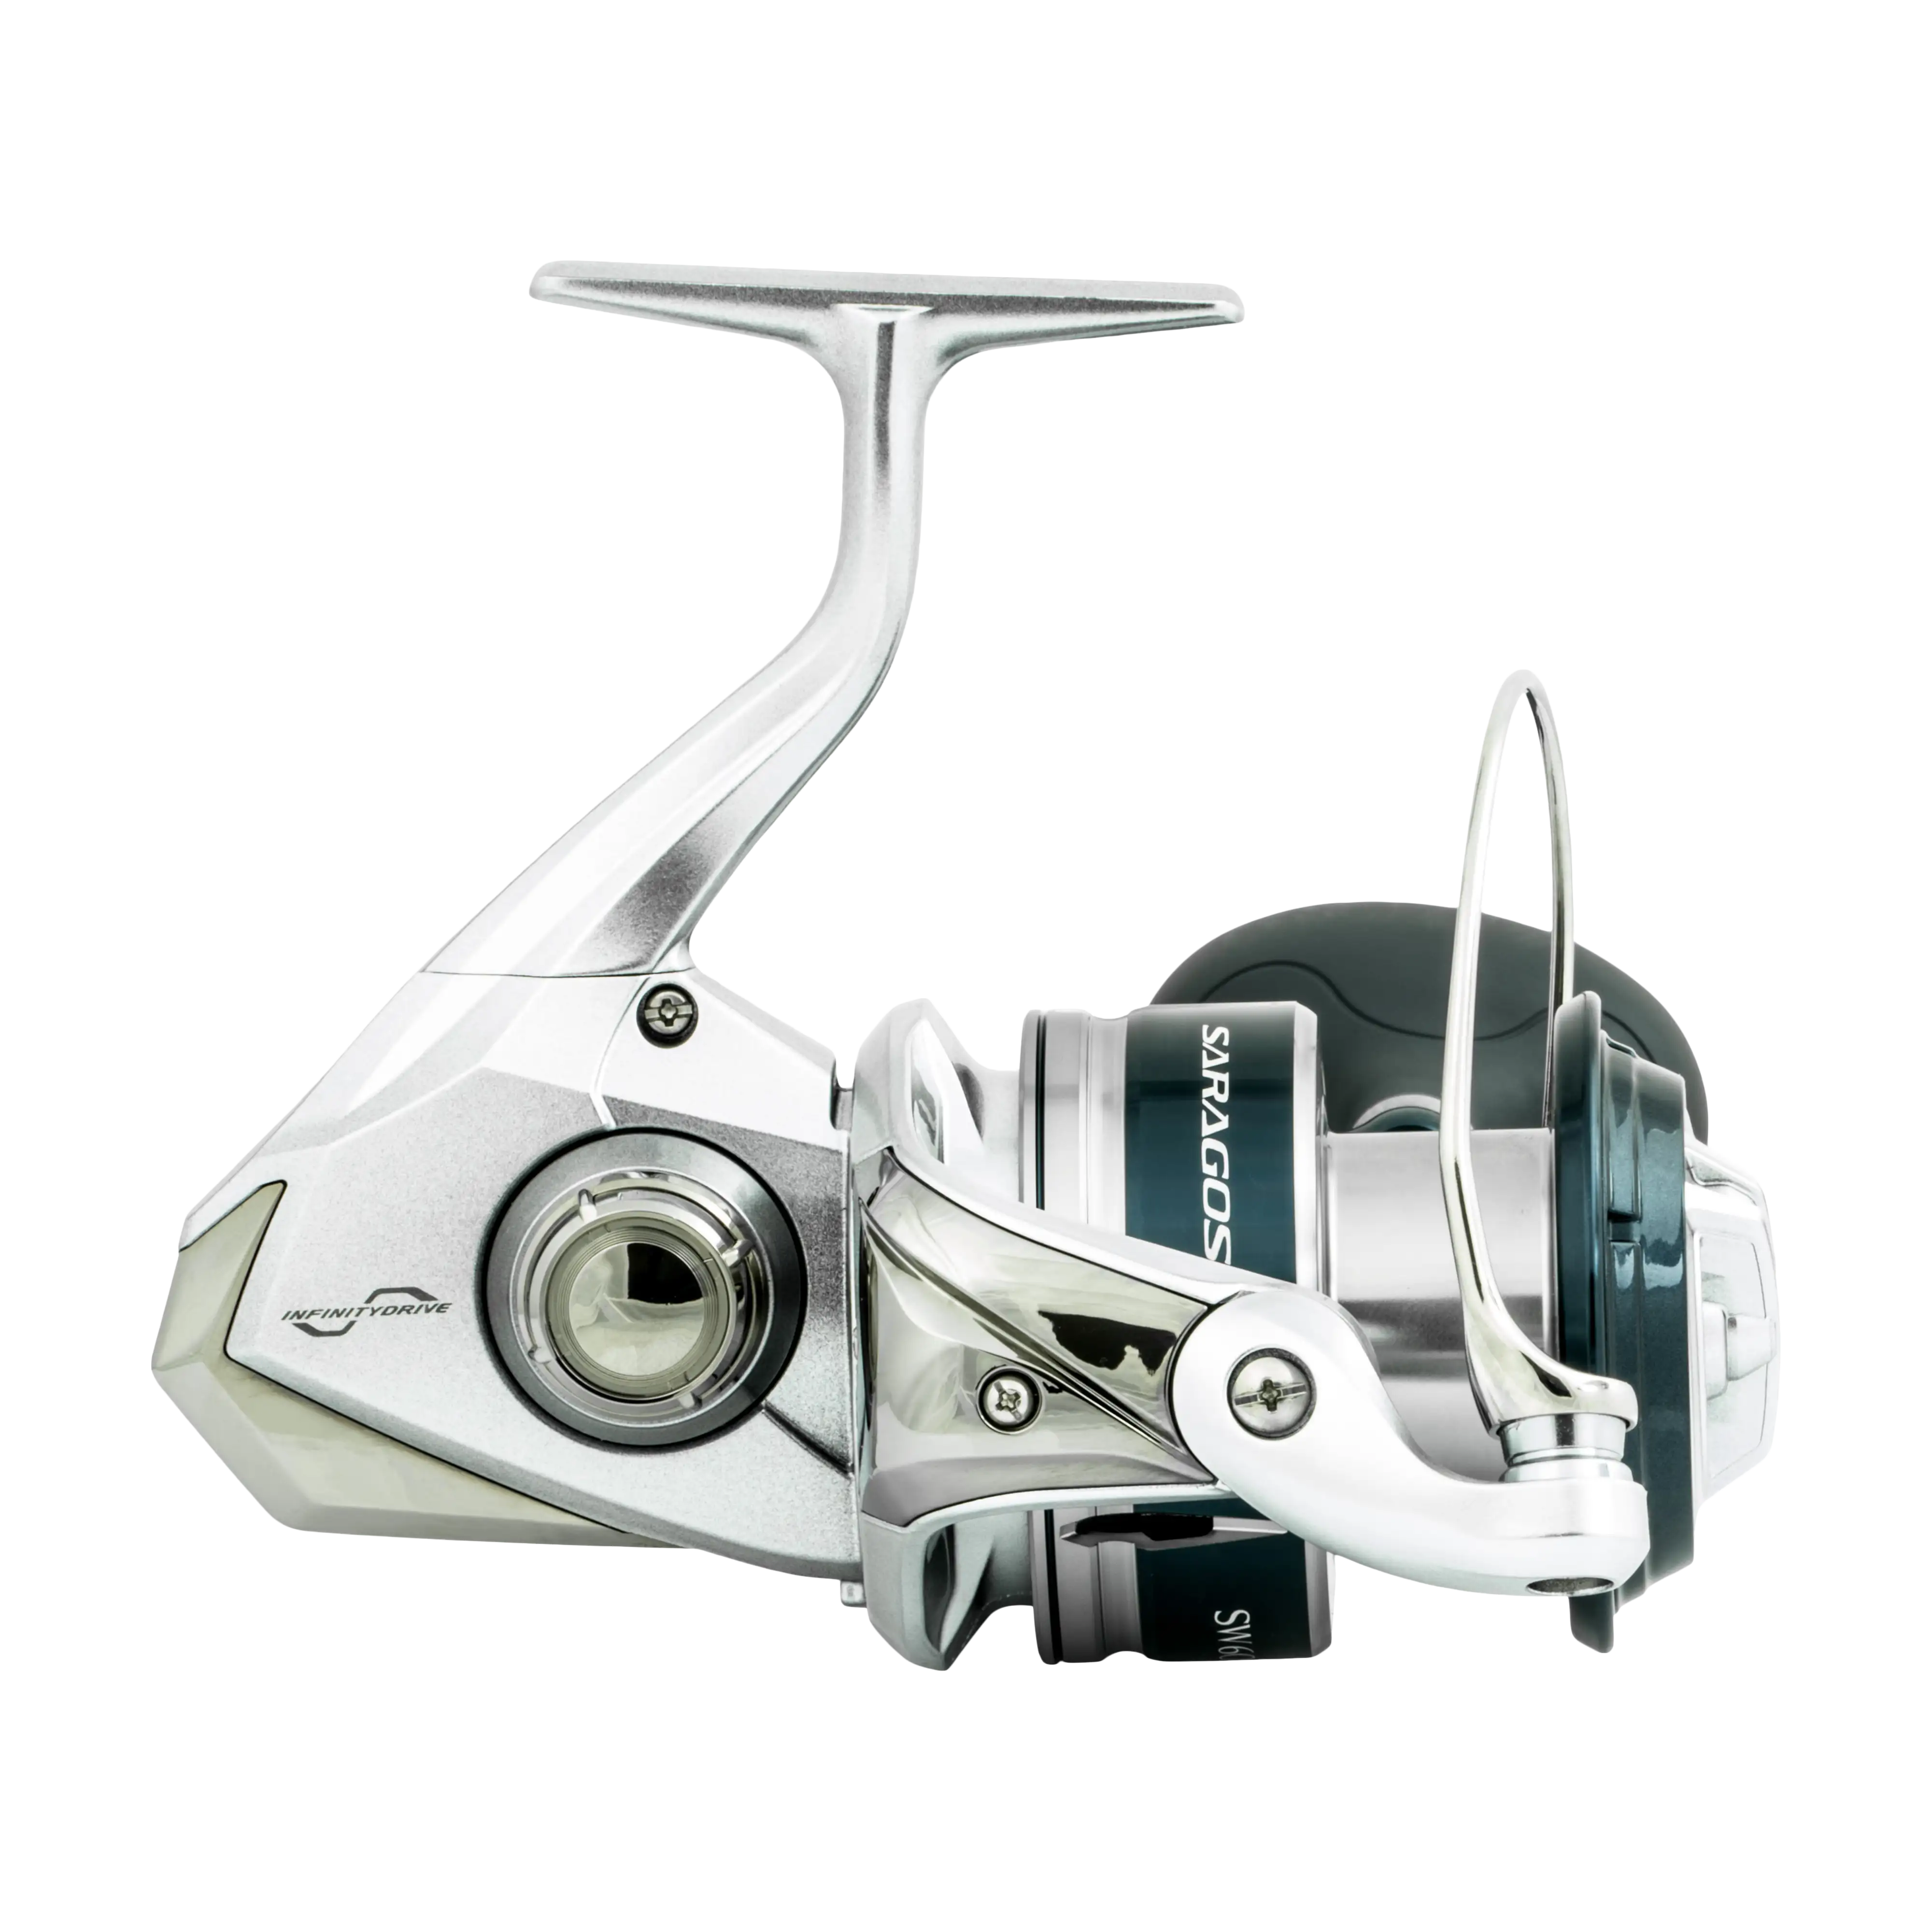
Build a Red Snapper & Gag Grouper Rod
FAQ - Custom Red Snapper & Gag Grouper Rods
What rod blank power is most common for snapper and grouper builds?
Medium-heavy to heavy power rod blanks are most commonly used for both red snapper and gag grouper applications. These provide the lifting strength needed to turn fish away from structure while maintaining control under heavy sinker loads, vertical pressure, and deep-water conditions where fish immediately surge back toward cover.
What action should I choose for a snapper and grouper rod blank?
Fast action blanks are the most common choice, offering strong bottom sensitivity, quick hook-setting power, and efficient load transfer when lifting fish from structure. Moderate-fast actions are also used when added forgiveness is needed during close-quarters fights, while moderate actions are typically reserved for slow pitch jigging applications where a deeper bend improves lure movement and fall control.
What length rod blank works best for snapper and grouper fishing?
Most offshore rod blanks fall in the 6’0” to 7’6” range. Shorter blanks provide maximum leverage and direct control for vertical fishing tight to structure, especially when turning gag grouper. Mid-length options offer the best all-around balance for bottom fishing and jigging, while longer blanks are used when improved line angle, drift control, or more vertical separation through the water column is needed.
Should I build a spinning or casting rod blank for snapper and grouper?
Both spinning and casting setups are used, but casting (conventional) builds are most common for bottom fishing and vertical jigging due to their strength, direct line control, and load handling under pressure. Spinning setups are typically used for lighter applications such as jigheads, soft plastics, or lighter vertical presentations where finesse and line management are prioritized. Angler preference and fishing style also play a major role in the final choice.
How important is blank sensitivity in snapper and grouper builds?
Sensitivity is important for detecting bottom composition, identifying subtle bites, and maintaining contact with structure, but it must be balanced with power and lifting strength. In snapper and grouper fishing, overall control under load and the ability to immediately move fish away from structure are just as critical as feel, especially when fish are hooked in tight, structure-heavy environments.
From the Mud Hole Journal
Further Reading
Article
Write text about your blog post.