


Learn 7 simple steps to size your custom winding checks and build custom fishing rods with the sleek, professional style you really want!
7 Steps for Measuring Custom Winding Checks
When measured correctly, winding checks are an easy way to upgrade the final look of any custom fishing rod. Here’s how to give your rod the extra WOW factor with winding checks… let’s get started:
All rod blanks are tapered from the butt to the tip. This means blanks are wider at the butt end, but then become thinner towards the tip. This tapered feature is important for performance, but it also makes accurate blank measurements harder to find.
For example, although rubber winding checks can stretch to fit various tapers (within reason), aluminum and other solid material winding checks are not as forgiving and require the exact size of the location where you intend to install it. Since winding checks serve as decorative and professional accent, you want each one to fit on the rod blank with precision to accentuate the handle assembly.

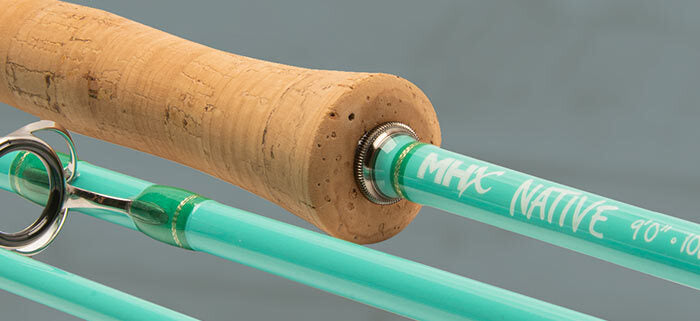
Whether resting against your fighting butt, reel seat, or foregrip, winding checks come in precise sizes to fit and enhance the flow of the custom fishing rod.
Here are the 7 simple steps for sizing and installing custom winding checks:
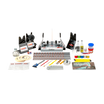
1. Organize Rod Building Materials and Tools
Rod builders, especially those just starting the craft, have more success and satisfaction in rod building when it’s done with a patient and methodical mindset. This not only means planning your custom fishing rod, but also keeping your materials and tools organized.
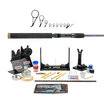
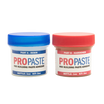
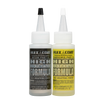
Maintaining an organized work station keeps your rod building resources easily accessible, while facilitating a faster, more successful rod building experience. For measuring and installing winding checks, you will need your handle materials, some epoxy, a china marker, and a tool to measure the rod blank.

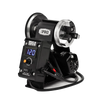
Although there are few ways to measure rod blanks, we recommend the precision of Digital Calipers. Whether measuring in millimeters or inches, these Digital Calipers give you the exact measurement you need to accurately fit your winding checks.

2. Plan Custom Rod Handle Assembly
Next, take your rod blank and lay it down on your work table. This helps to decide where you want to mount the reel seat, then just rest the reel seat next to the blank where it will be placed.
Once you know where the reel seats going, move on to the other handle components.

Fitting the remaining parts of the handle to the reel seat alongside the rod blank creates an accurate blueprint of what your handle assembly and its spacing will look like when it’s done.
3. Mark Rod Blank for Winding Checks
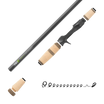
Then, with the grips and reel seat organized along the rod blank, see where your custom fishing rod could use a winding check. Popular spots for winding checks are areas up against grips that could benefit from the slope of the winding check back down to the rod blank.
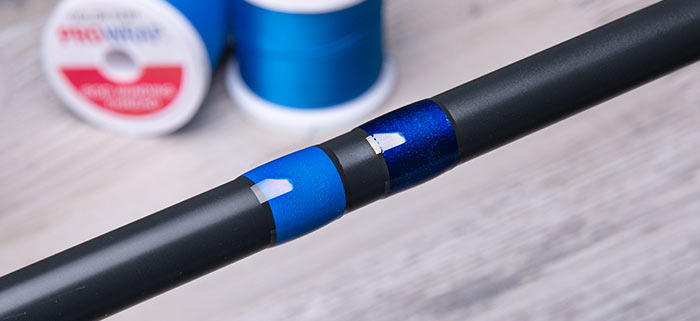
To identify and later measure the spots for winding checks, start by taking a china marker and labeling each spot where you want to add a winding check. China markers are a great resource for marking rod blanks because they are as easy to see as they are to erase.
![]()
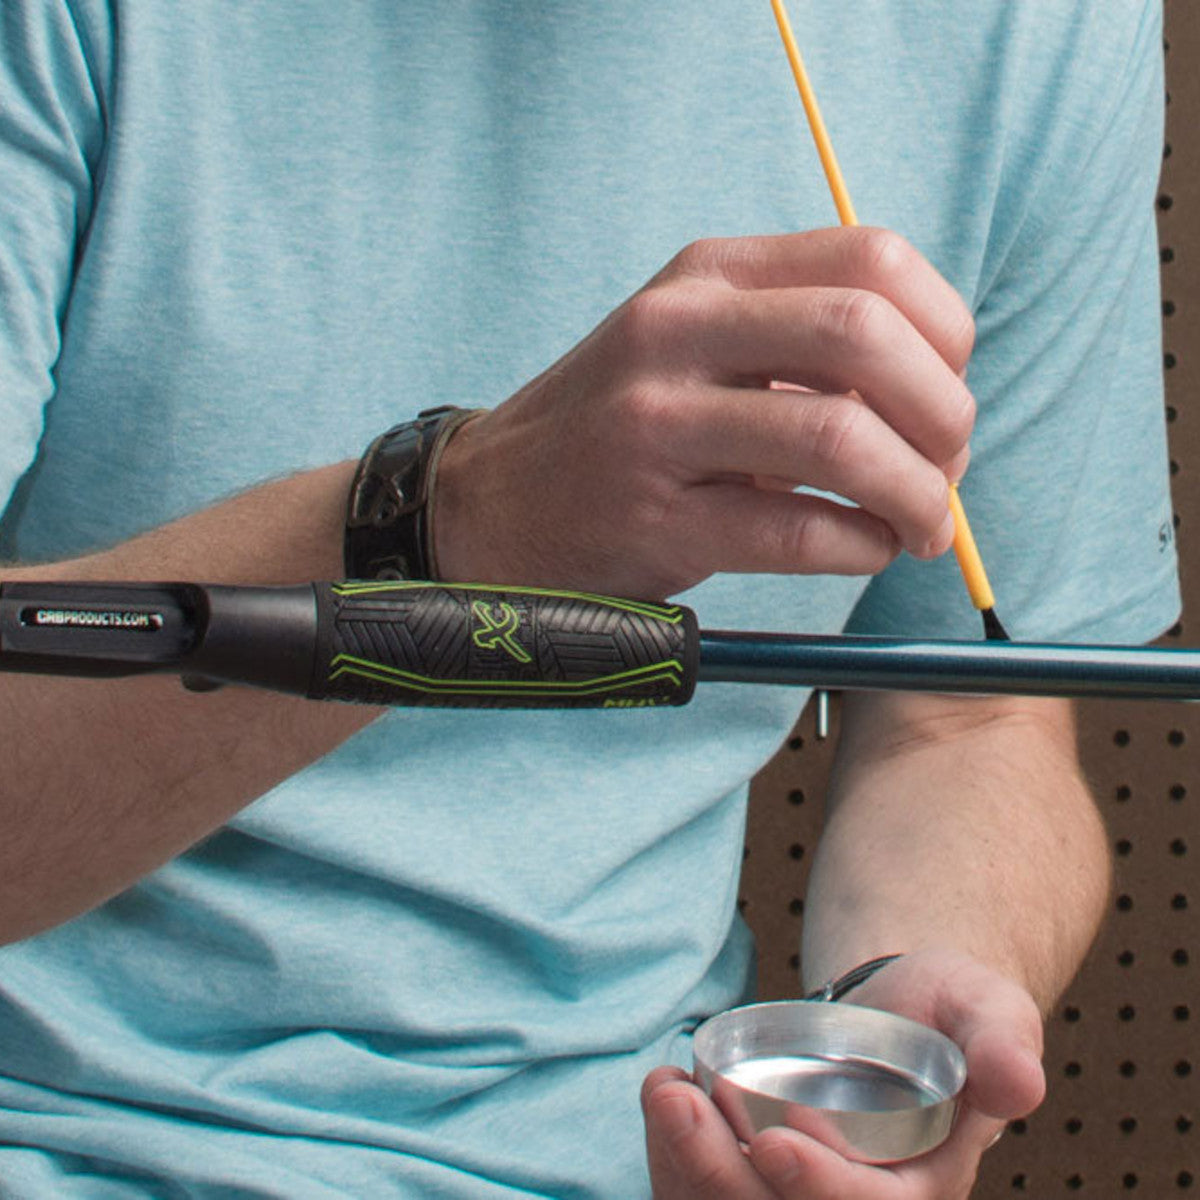
4. Measure the Rod Blank with a Caliper
Digital Calipers gather precise readings, making them perfect for measuring the many components of custom rod building. Among these custom components are winding checks, so use the precision of digital calipers to measure the rod blank at each marked location.

To best fit your winding checks, record the location and measurement of each winding check together. Recording this information and keeping it organized helps when the time comes to select and order the individual winding checks.
5. Order and Install Custom Winding Checks
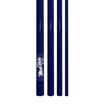
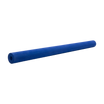
Now with the measurements for each winding check, go to Mud Hole’s Winding Check category and see what material and style best fit your custom rod.
When it comes to style, you can select winding check that range from subtle to bold in design. Most winding checks are available in an assortment of colors. For example, Dimpled Aluminum Winding Checks come in many colors as well as your choice of matte or metallic finish.

This level of customization from winding checks helps to match and accentuate the overall color theme of your custom fishing rod. Whether the theme is based on your alma mater or just your favorite color, one of the coolest parts of custom rod building is personalizing the rod to make it your own.
Take the theme of your custom fishing rod even further with Fishing Rod Decals & Stickers!
6. Choose The Correct Size
As you decide what winding checks will look the best, some are made of metal, which may not come in the exact measurement you have on the blank. But that’s OK!
When this happens for aluminum winding checks, etc., order the size above your measurement and the end result will look the same.
For example, let’s say the measurement for your winding check is like the one above: 11.76 millimeters, yet the only sizes online are 11.5 or 12. Simply select the size 12 winding check because it will give you the most adequate fit.
TIP: If you want more wiggle room with winding check sizes, try these winding check materials that stretch more to fit!
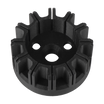
7. Install Winding Checks
The first thing to remember is you need to install the winding checks as you build your handle assembly. For example, if you are building a split grip, you typically install the butt end first.
Once the butt end has been glued, you then need to slide the two winding checks down the rod blank prior to gluing your rear grip, (one goes about the butt end, the other below the rear grip as pictured below).

Be sure to place the winding checks so the ends are aligned correctly before gluing the rear grip.
Then continue with the reel seat and foregrip installation, and finish the top of the foregrip with another winding check.
DIY Tip: Patch up Over-Reamed Grips
Adding the perfect professional decoration isn’t the only plus of winding checks, you can also patch an over-reamed grip with a well placed winding check.
Let’s say I got a little carried away with reaming my cork fore grip…
Well that’s an easy fix, just size your winding check, add a touch of epoxy, and slide it on down!

Start Adding Your Own Winding Checks
Winding checks are an awesome upgrade that really puts the “custom” in custom rod building. Now that you know how to measure and install the winding checks – give them a try on your next custom fishing rod!
