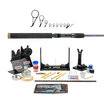
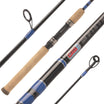
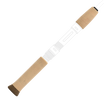
Most anglers make their way to rod building to choose the best components to achieve the highest level of performance, but we cannot overlook the decorative side of rod building. A gamefish decal or a custom decal with the anglers name can really add a personal touch that factory rods will never be able to replicate.
There are so many options for a custom decal, you will be able to tie in the theme of each rod build with your decal. Between Customizable Text Decal to Designer Custom Rod Decals, we are sure you will find decal perfect for you.
Plus, in just a few steps you will be ready to fish your new rod.
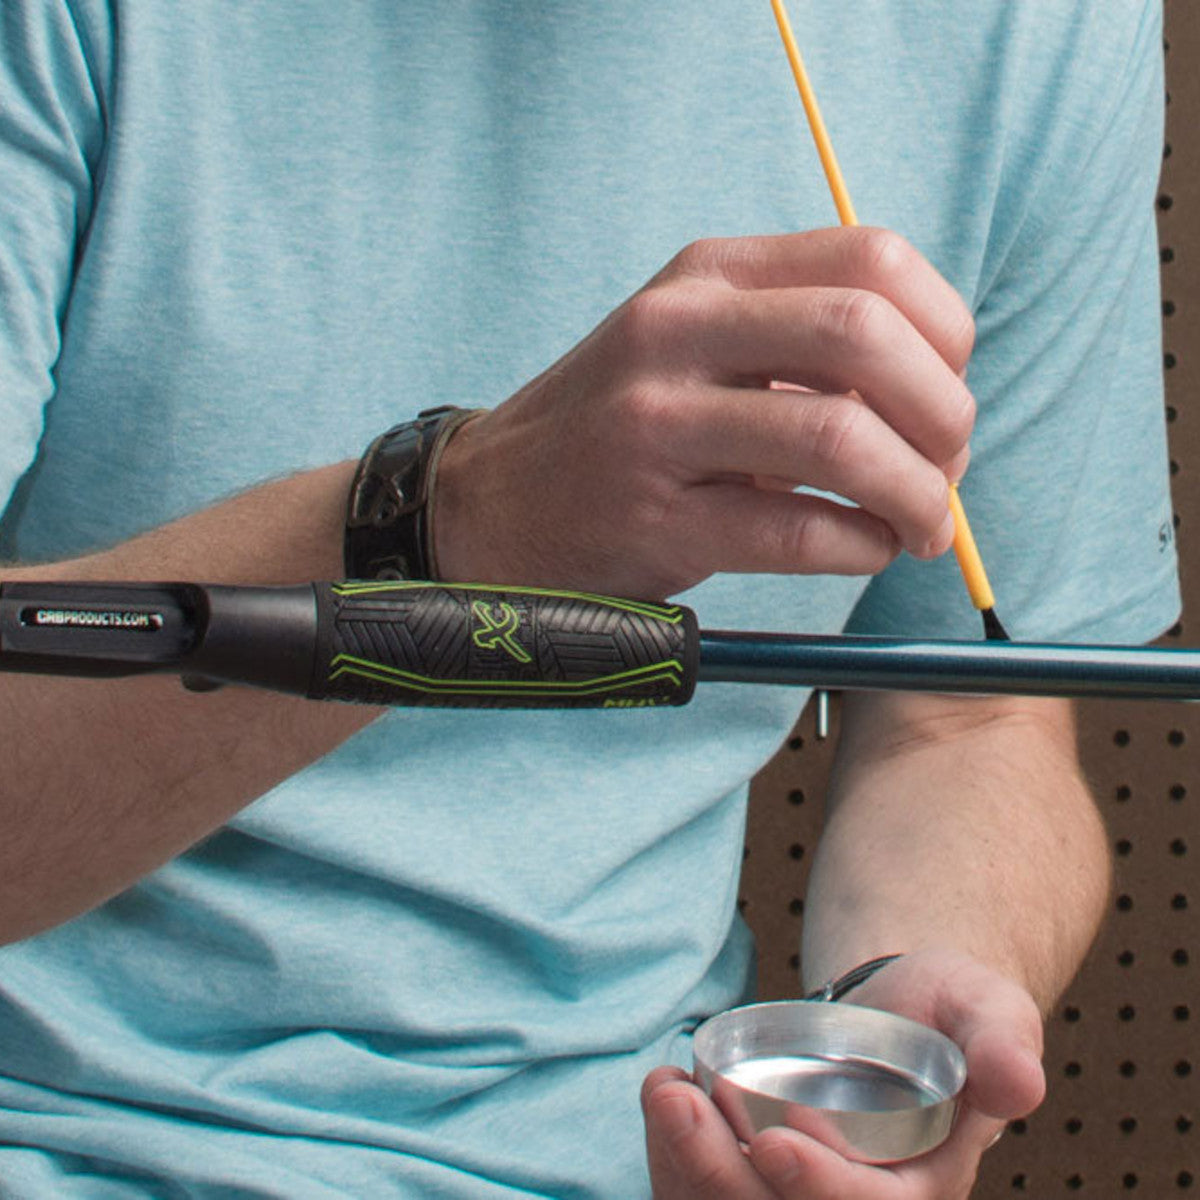
How to Improve a Custom Decal’s Finished Look
To say you have options is an understatement. Favorite college team? Got it. Are you a rod building and want your logo on decals? We got you covered.
A finished decal, when done right, will wow your buddies, and give you the confidence on the water a custom rod builder deserves.
1. Trim Excess Material from the Decal’s Edges
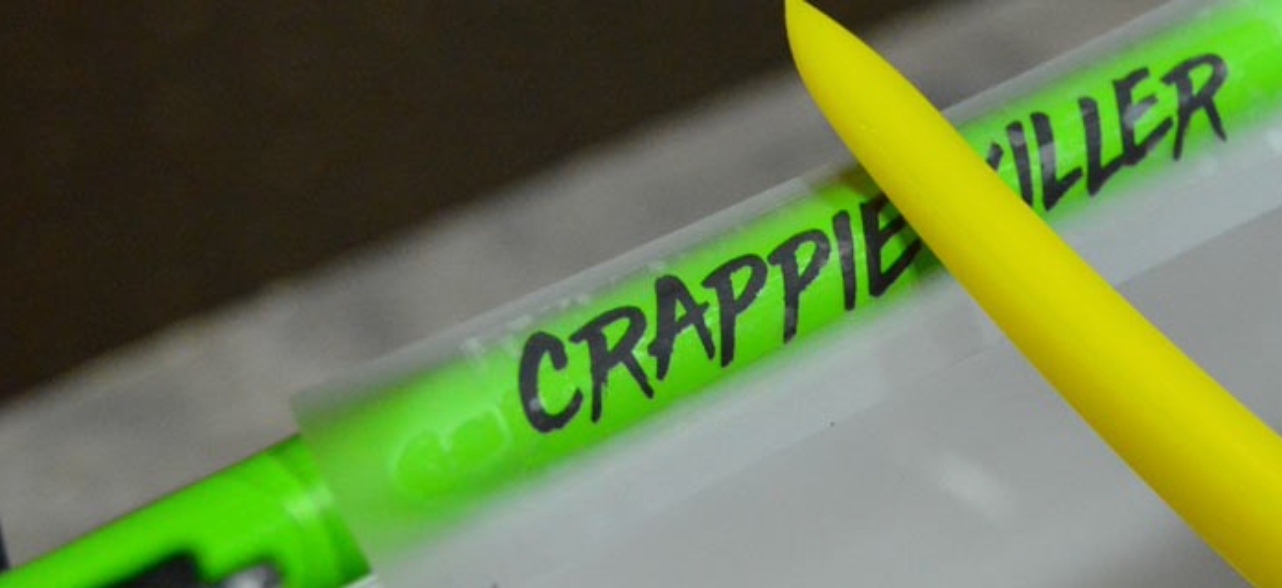
To get started, you can improve the appearance of your rod decals by simply removing the amount of excess material around the image.
Rather than trying to use the extra space around the decal to center it, it will actually just cause more headaches in the long run.
For example, a text decal often comes with a lot of blank space around the words and this can be trimmed down to avoid some common issues while applying the decal.

Right off the bat, you will find larger decals tend to be more cumbersome during application. They can be difficult to work with, needing more epoxy to cover and taking extra time to keep the finish level. Large decals aren’t always avoidable, but by trimming down they can be easier to work with and look the best on the water.
While a decal with more surface area is tougher to apply, it also requires more epoxy to cover the surface area. The difference in epoxy is minimal, but as your build more and more often, it can add up and your supplies can suffer.
To keep operating costs low and avoid a butcher job, it is best to trim the decal down as much as possible. These small steps can help you become a more efficient builder and produce better looking builds.
2. Hide the Decal’s Seam Underneath the Rod Blank
The best rod builders in the business earn their stripes from a combination of practice, experience, and exposure. From turning custom handles and threadwork to applying decals, there are certain tips that seem common sense, but also deserve to be highlighted to help rod builders across the board.
As an example, it may seem as easy and obvious to hide the seam of a decal on the underside of the rod, however, it takes a keen sense of rod building to establish just how to do it.
Take a spinning rod for example, which means the guides line up with the reel on the underside of the rod blank. Conversely, if you are building a casting rod, then the reel and guides align along the top of the rod.
Since a spinning rod and a casting rod are built on opposite sides of the blank’s spine, you can relate this info to the top of the rod from the bottom. By keeping this top and bottom principle of rod building in mind, you can hide the decal’s seam on the underside where it will be virtually undetectable to an untrained eye.
Placing the seam of the decal along the underside of the rod blank perfectly hides this subtle imperfection for a more professional final appearance.
3. Try this Epoxy Process with Rod Decals
Along with hiding the decal’s seam on the underside of the rod, this is another tip that works to expertly conceal that unsightly seam on a rod decal.
Many veteran rod builders will recommend applying a light layer of epoxy before applying the decal. On certain rod blanks this can improve the final product but few explain why this is the case.

Applying a light coat of epoxy before laying down the decal will visually disguise the seams of the decal on the rod blank.

Not only will the decal’s adhesive stick better to epoxy layer, but the initial epoxy layer will hide the seams of the decal by keeping it just above the rod blank.
4. Let Mixed Epoxy Sit for 15 Minutes
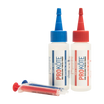
When using an epoxy rod finish like ProKöte’s, you must to mix together equal parts of a resin and a hardener for the finish to cure properly. Obviously the right mixing process is important, but there are a few more tips to get the perfect finish.
Namely, there is chemical reaction when epoxy is mixed that you need to take into account before you begin lathering it over the rod decal. Hot finish, as it’s referred to by rod builders, is when the finish is freshly mixed and the initial reaction between the resin and hardener produces a considerable amount of heat.
When applying finish over rod decals, hot finish can cause problem because the heat can interfere with the decal’s adhesion. Slowly causing the decal’s edges to peel back, and if not caught you will be left with a ruined decal.

To avoid this problem, simply let the mixed epoxy sit for about 15 minutes before you apply the finish over the rod decal.
Step 5:
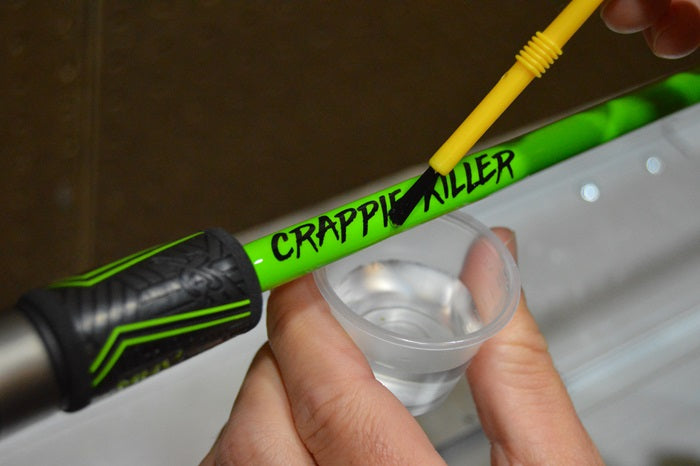
Finally, add epoxy over the decal and let the finish cure for an awesome custom rod decal.
Choose Your Rod’s Custom Decals
Whether you’re feeling patriotic, add your own logo, cheering on your favorite team, or built the rod for a specific species, there is an rod decal to add to your custom rod.

Check out the custom decal options below:
Designer Custom Rod Decals
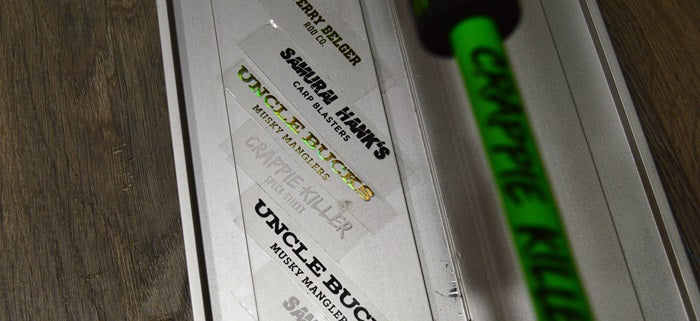
There’s no better way to show off your rod building skills than custom decals that reflect the hard work you put into each rod build. Check out the 12 font options in the designer rod decal family. Now, each custom rod can have a decal to match the professional look and lasting pride that customers want from a rod building brand.
Check out all the fonts offered in the blog below:
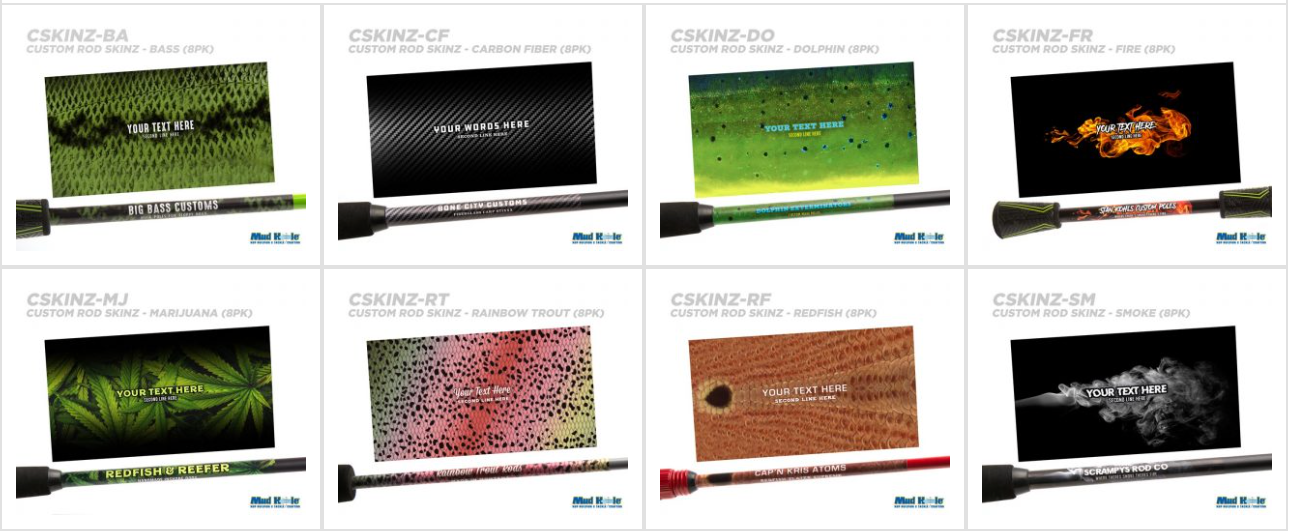
Custom Rodskinz with Text
Add a custom touch to your your fishing rod with species inspired rodskinz and incredible graphics that include TWO lines of custom text!

Installing Rod Skinz
Think of the Rod Skinz as larger decals. They look great above the foregrip, between the split grips, or even as underwraps for guides.
Even if you find yourself with a scuffed or scratched rod blank, the rod skinz are a cool way to conceal an imperfection and make that rod look as good as new!

Custom Rod Decals & Stickers:
Gamefish Rod Decals
Full color, laser cut gamefish rod decals are approximately 2″ x 1″ and can be placed directly on the rod blank and finished (decals are self-adhesive).
We have a vast selection of over 60+ types of freshwater and saltwater gamefish!

College Rod Decals
Now you can show your support for your favorite college team on your next custom rod. For those that like to match thread colors to their favorite team, finish it off with your teams logo! Choose from the most popular college teams from the ACC, Big 12, Big East, Big 10, CUSA, MAC, MWC, Pac 10, SEC, WAC, and independent schools.
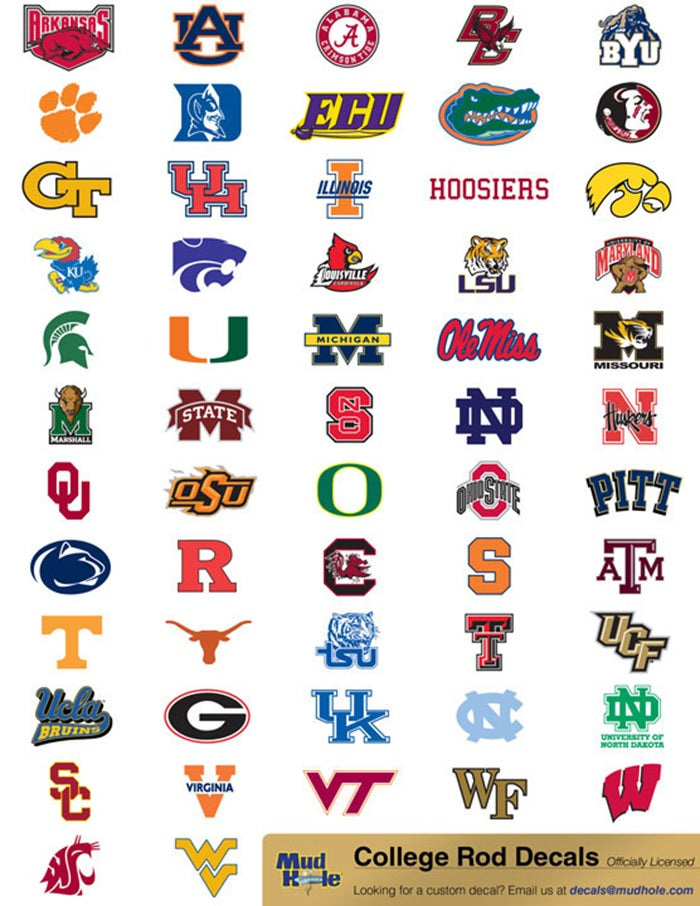
These are officially licensed full color college decals are printed with UV resistant inks and feature “laser cut” edges to provide a sharp and professional look.
Decals measure approximately 5/8″ and are suitable for any of your custom rod builds.
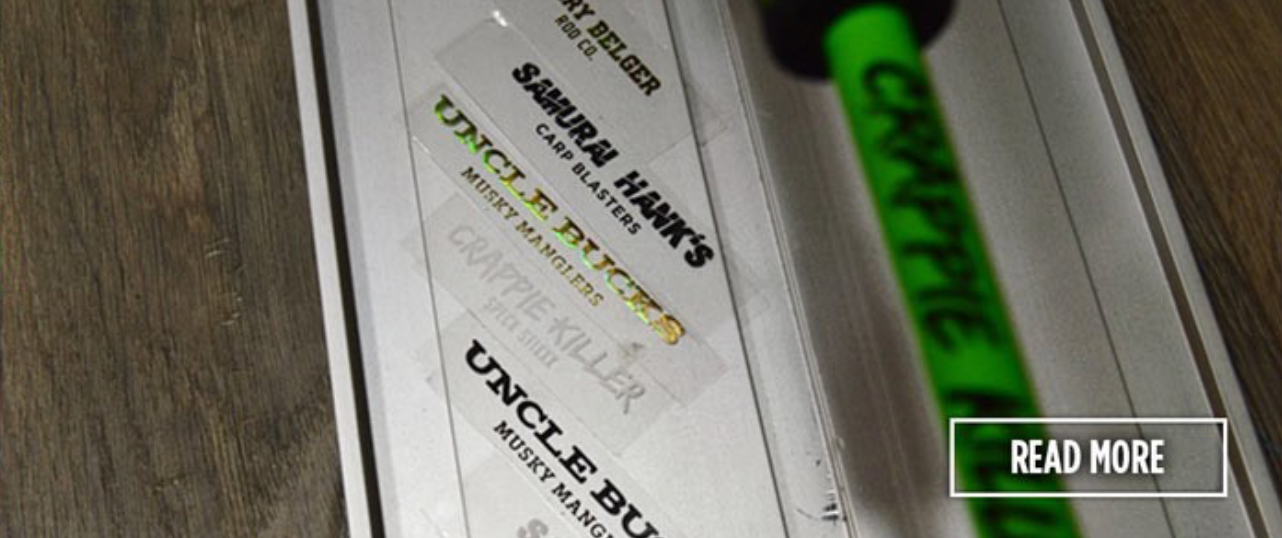
Custom Text Decals
A staple in any rod builder’s arsenal are custom text decals. They are a great way to personalize your fishing rod or one for your customer. You can add your contact information in case it is lost, your company info, or add any text you want.

The process is simple. All you need to do is select the size decal you want, and up to 3 lines of custom text with separate fonts for each line. These peel & stick decals are available in multiple colors and three sizes: Small, Medium, and Large.
See MORE Fishing Rod Decals at Mud Hole
Mud Hole is your one stop shop for everything custom rod building. From our expertise, to our inventory, we are proud to help you assemble your new favorite fishing rod.
Build the rod you always wanted—with the unique decals that suit your style now!


