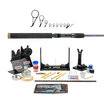
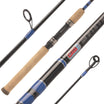
Panfish & Trout beware… Although light in power they are quite heavy in fun to fish. Let’s recap a Mud Hole Live favorite, the tips and tricks for building ultra-light rods!
Recap Mud Hole Live: Ultralight Builds
Be Sure to read to the bottom and check out the Episode… it’s Ultralight Builds with the best tips and tricks!
Featured Demos:
- How to Build Tennessee Spinning Handles
- Static Deflection Guide Spacing, Guide Foot Prep, & Guide Bands
- Step-by-Step SK2 Assembly with Tips & Tricks
Want more rod building tips?
Be sure to join the Mud Hole Live’s Rod Builders’ Workshop to stay in touch with builders and all their custom projects in between shows… Join the group now!
How to Build Tennessee Spinning Handles
Tennessee fishing rod handles are an old standby that many anglers grew up fishing. As a traditional setup, the Tennessee handle provides the angler a comfortable, lightweight performing handle that allows the balance of the rod to be adjusted to the reel.
Not only is building a Tennessee handle simple, but now with the latest innovations in rod components, anglers can customize this classic handle assembly to fit their equipment and style.
To build a Cork Tennessee Handle, follow these steps:

1. Mark the Center of the Cork & Cut in Half
Cutting the cork in half is necessary for two reasons.
First, the Tennessee grip is fluted on each end and the graphite slip rings that hold the reel won’t fit over the cork’s outside edges, and the second the reaming is easier with two shorter sections.
You can cut the cork with a Razor Blade, or the Cork Jig Saw.

2. Ream the Grips to Fit the Rod Blank
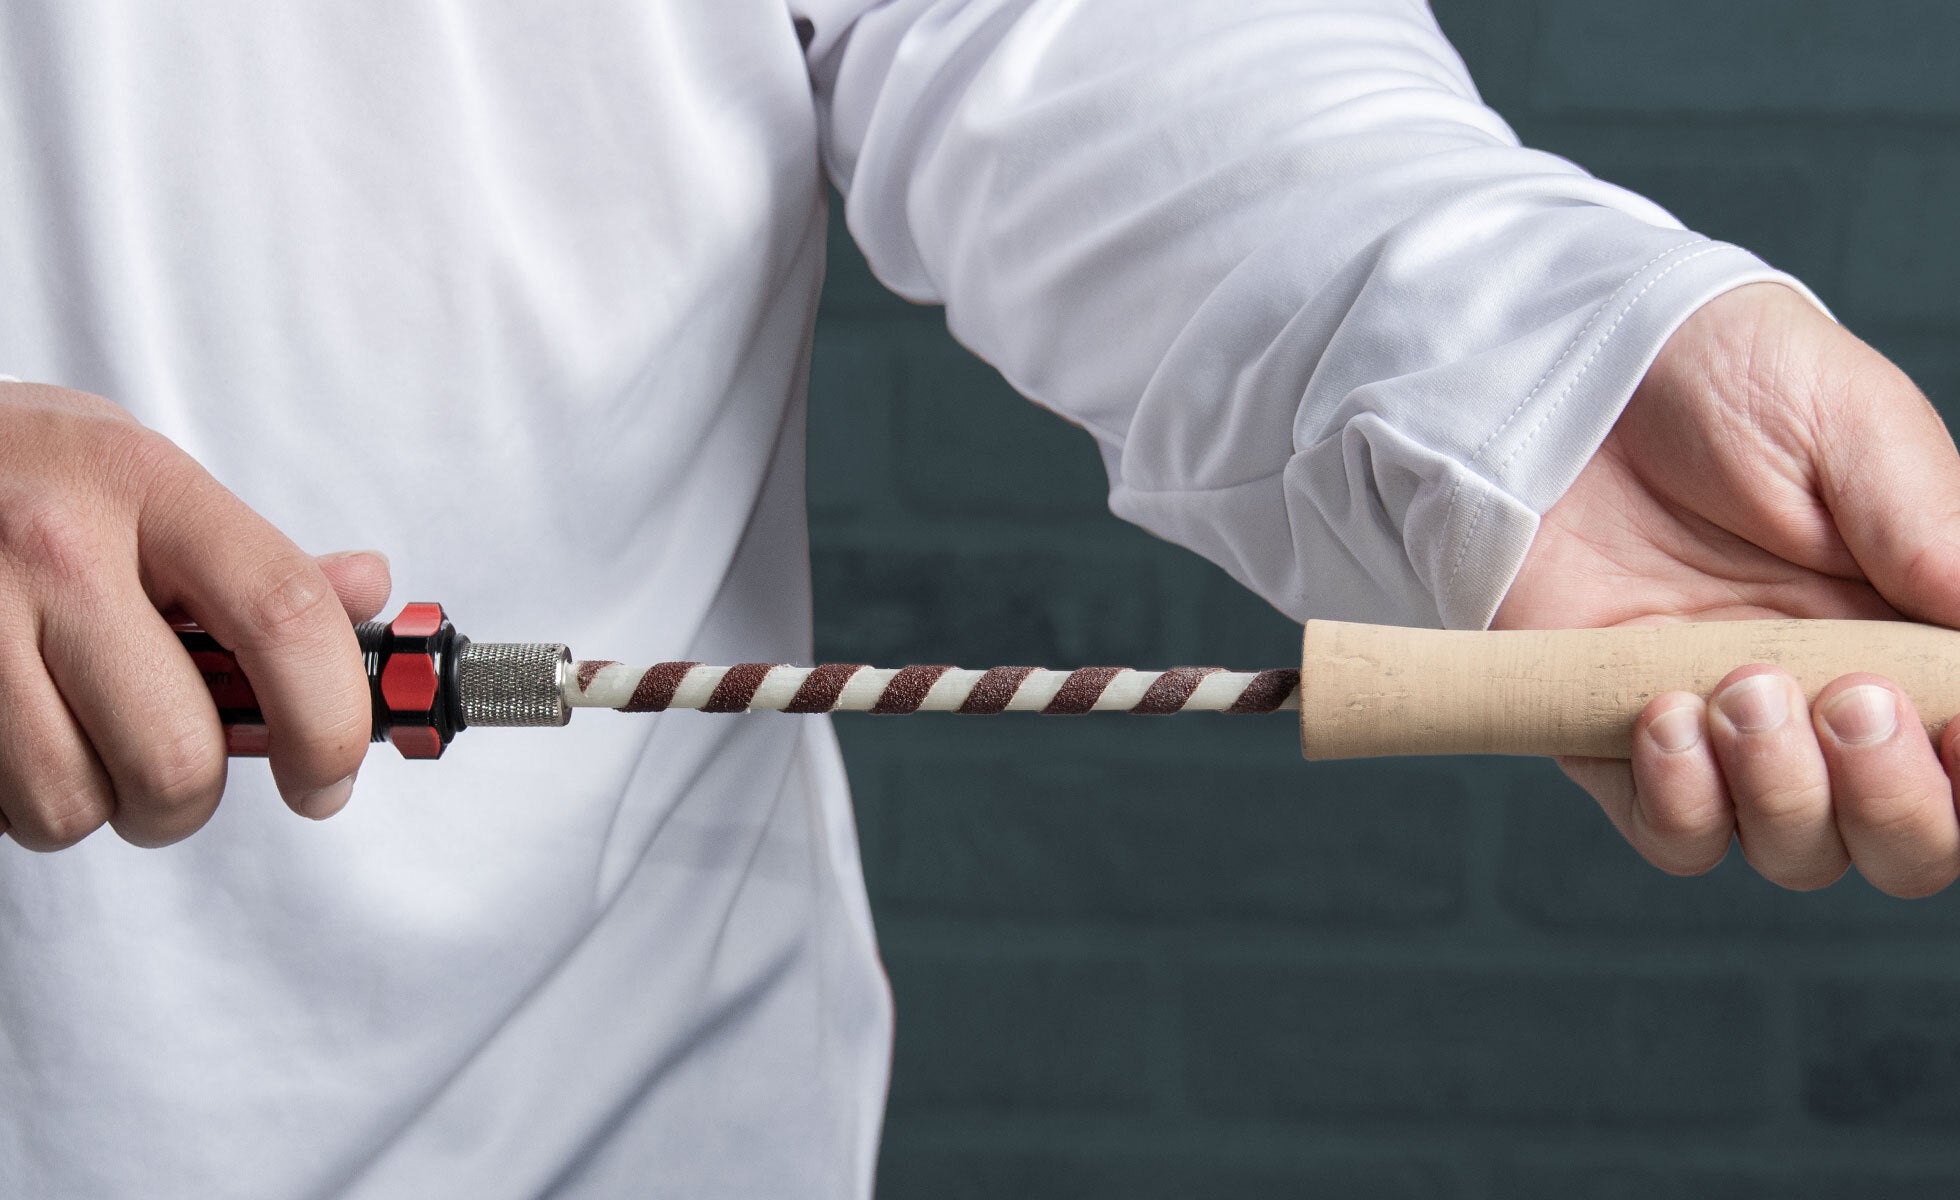
Remember, careful when reaming. Slow and steady will always produce a better fitting handle. As you ream, slide the grips onto the rod blank to check the fit before removing more material as needed to fit the grip perfectly in place.
Stock up on Reamers!
3. Use Paste Epoxy to Mount Grips
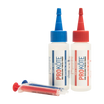
Mix up a 50/50 combination of ProPaste, apply a small amount along the butt section of the rod blank to install the cork. As with all grip assembly, apply the epoxy a few inches above where the grip will be because as you rotate the cork down the blank and into place, it will evenly coat the inside of the cork grip bonding to its final position.

Once you have seated the bottom half of the cork grip down onto the rod blank’s butt section, there will likely be some leftover epoxy emerging from the bottom. No worries, you can use this runoff to install the butt cap over the cork’s rear tenon.
Next, slide on the graphite slip rings over the bottom half of the cork grip.
TIP: DO NOT FORGET to add the slip rings before mounting the top half of the cork grip.
When installing the slip rings be sure the openings for the reel foot are facing each other.

Before wiping off any excess epoxy, if you have any left on the blank above the grip, use this epoxy to glue on the appropriate winding check.
4. Let Cure and Install Spinning Reel
Now that your handle and slip rings are mounted, set the Tennessee Handle aside to cure overnight.
For a modern look, you can also try a Carbon Fiber Tennessee Handle!
Once the epoxy has cured, take your spinning reel and insert the foot between the slip ring hoods. You will notice that as the slip rings fit over the reel foot, there isn’t any wiggle room for the reel.
The slip rings tighten over the reel foot while creating a solid friction hold against the cork as well as the reel foot to ensure you have a secure handle.
Did You Know CRB Offers Ultralights?
The ever popular CRB Color Series now features a 2-Piece Rod Blanks option for traveling convenience and incredible value.
More specifically, these options offer Ultralight Rod Blanks!
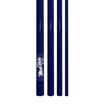
Two options 6’0″ UL Color Series and 6’6″ UL Color Series… in 6 awesome colors: Cool Gray, Forest Green, Gloss Black, Navy Blue, Teal, and White.
So many ultralight options to customize. Plus, it’s so easy to pack it up and take with you whether on vacation, or as a truck rod for your local pond.
Now time for the guides!
All About Ultralight Rod Guides
One of the hottest topics for any build is about the guide. Here are all the answers we have for ultralight guide trains!
Static Deflection for Guide Spacing
Besides checking and comparing the power and action of any rod blank, the Deflection Tool & Chart Combo also provides an excellent the perfect base for static deflections and guide spacing.
Regardless of the application, customizing your guide spacing is simple and efficient when you use the deflection tool.

Basically, the idea for static deflection is to keep the fishing line from touching or ever crossing over the rod blank. Use that path as a roadmap to layout your guides and build a better ultralight rod.
More information in the Mud Hole Live Episode at the bottom!
Guide Foot Preparation and Grinding
Be sure to being by prepping your guide foot before it comes to time to attach it permanently.
Properly prepping the new guide by grinding down the guide foot with a Guide File or a Dremel tool and the Guide Grinder Holder is important to the wrapping process. Take the time to file down the guide foot to a point before attaching it to the blank.
Double check the bottom of the guide foot for any burrs that could damage the rod blank. If you find some, it’s a simple fix!
We recommend using a fine grit sand paper and buff out any burrs or points created underneath the guide foot.
This ensures a smooth transition once you start wrapping thread from the blank up onto the guide foot, and that the guide foot doesn’t damage the integrity of the rod blank.
Micro Guide Bands for Thread Wrapping
Micro Guide Bands are designed to work specifically with the size of Micro Guides to facilitate an easier rod build.

The main purpose of the guide bands is to hold the micro guides in place for thread wraps. This a huge plus with these tiny guides.
After you have marked the guide spacing on the blank, you can start arranging the guides into place. Start with the guide closest to the reel seat and work your way to the tip.
Build the Fuji SK2 Ultralight Handle Assembly
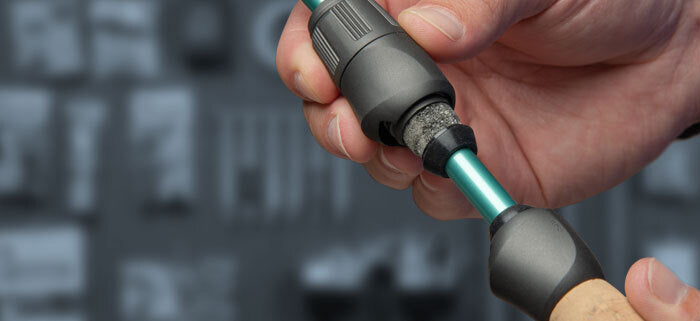
An ideal option for the minimalist fisherman, is the Fuji’s SK2 Reel Seat. It provides one of the most sensitive, lightweight, and versatile reel seats on the market.
The skeleton seat construction gives rod builders the ultimate freedom to customize and personalize their handle assembly.

The SK2 fulfills its design purpose by providing the bare feel of the rod blank while increasing both the angler’s casting control and sensitivity for bite detection.
Possibly the most popular skeleton seat, Fuji’s Sk2 Reel Seat brings a lightweight and organic feel to any rod build. A minimalist’s dream, the SK2 is 54 percent lighter than other conventional reel seats.
Check out the step-by-step tutorial to build your own Rod with the SK2 Seat on Mud Hole Live!
Watch Mud Hole Live: Ultralight Builds
From tips for classic handles and modern minimalist setups, to custom rod building tricks that anglers really love, it’s time we share all our advice on ultralight builds with you.
Mud Hole Live: Ultralight Builds from Mud Hole Custom Tackle™ on Vimeo.
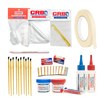
Now that you know the fun of fishing ultralights and how easy it is to assemble your own, choose the perfect setup for you with our Ultralight Rod Kits!


