


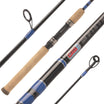


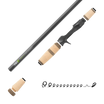


One of the most asked questions across the internet is related to aligning your rods guides during building. Some align one guide at a time before wrapping the next one, some wrap all the guides and then start the straightening process while others use tools to assist.
So, which is correct? Well, they are all proven methods worth trying out. You will find what works best.
Let’s walk through some of the tips and tricks we have learned and use to get consistent results.
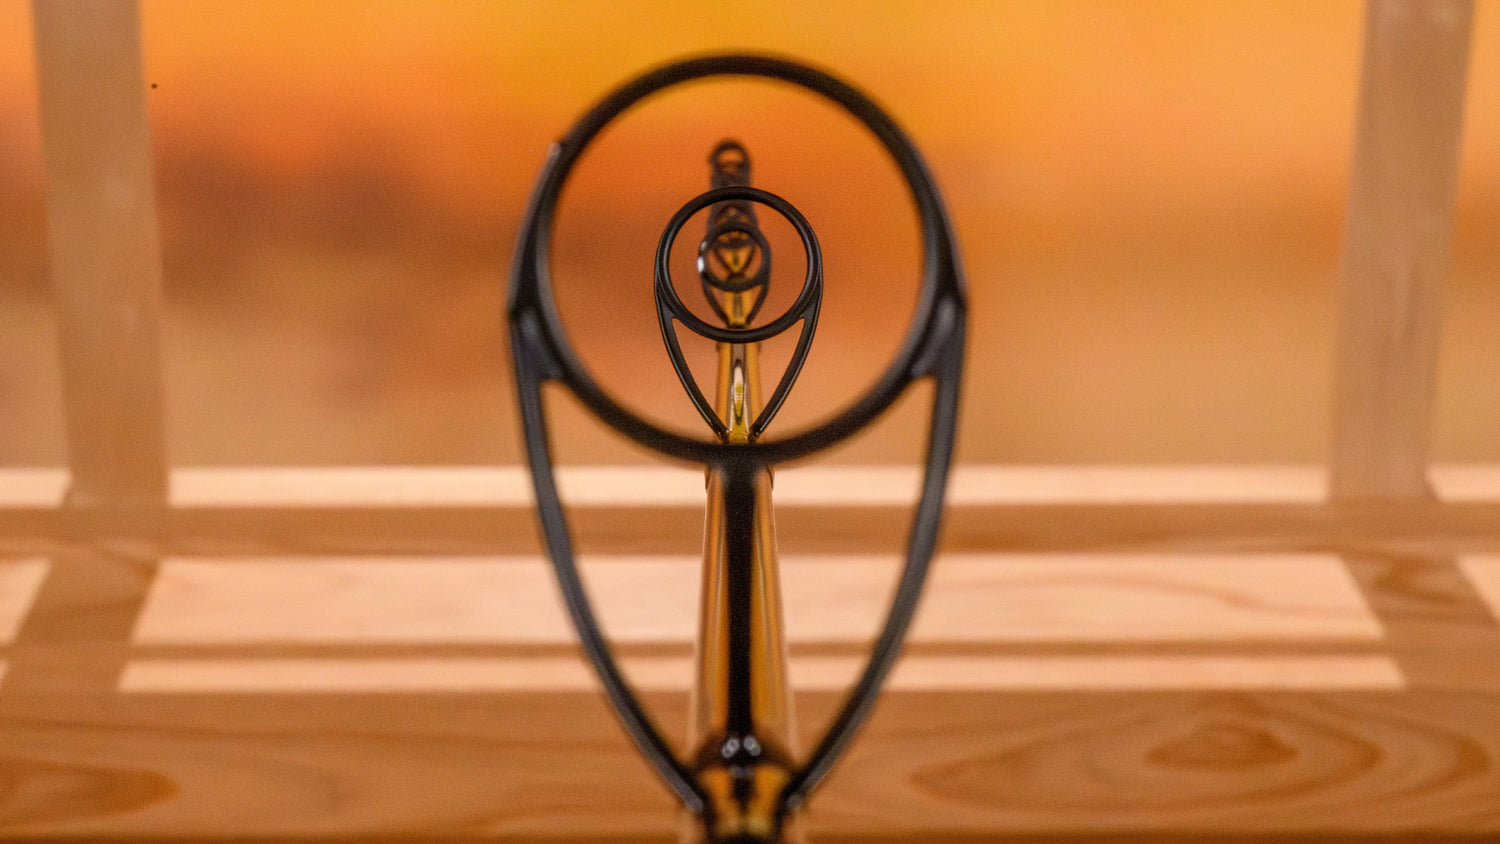
Sight Down the Rod
For me, I simply look down the rod to align my guides one at a time. Let me add a little background to why I do this. As I am going through my build I check the spine as well as the straightness of the blank. There are times when I build on the spine and there are times I build on the straightest axis. If the rod is fished under a heavier load like a trolling rod or flipping stick it will always get built on the spine. For some of my lighter stuff I might build on the straightest axis although I will always check the spine. The also serves as a time to deflect the blank to ensure no quality issues arise before spending time on a custom build.

Whether I build on the spine or straightest axis I will make longitudinal marks on the rod blank as a guide to align my reel seat which will also assist later in my guide alignment. A little bit of mapping can go a long way when placing marks with your china marker. Too far up the blank and it will be tough to see when making sure your reel seat is aligned and too far down the blank you might accidentally erase the marks when sliding your grips down the blank. I do not typically find one color china marker easier to see than the other but keep a white and red one on hand. Some workshop lighting and blank color will not agree at times and the red can help differentiate between glare and marker.
Another tip I use is to check alignment after each guide. I know that might be a pain of you are wrapping on a power wrapper but as I mention often, I still build more of my rods on a hand wrapper. I love my power wrapper but I have very little workshop space so it is a production to set it up. I always use the power wrapper for my offshore rods, especially when doing under wraps. Luckily, the guides on most big game rods you can get almost perfect without the rod ever leaving the power wrapper. Size 5 single foot runners on a light spinning rod are another story.

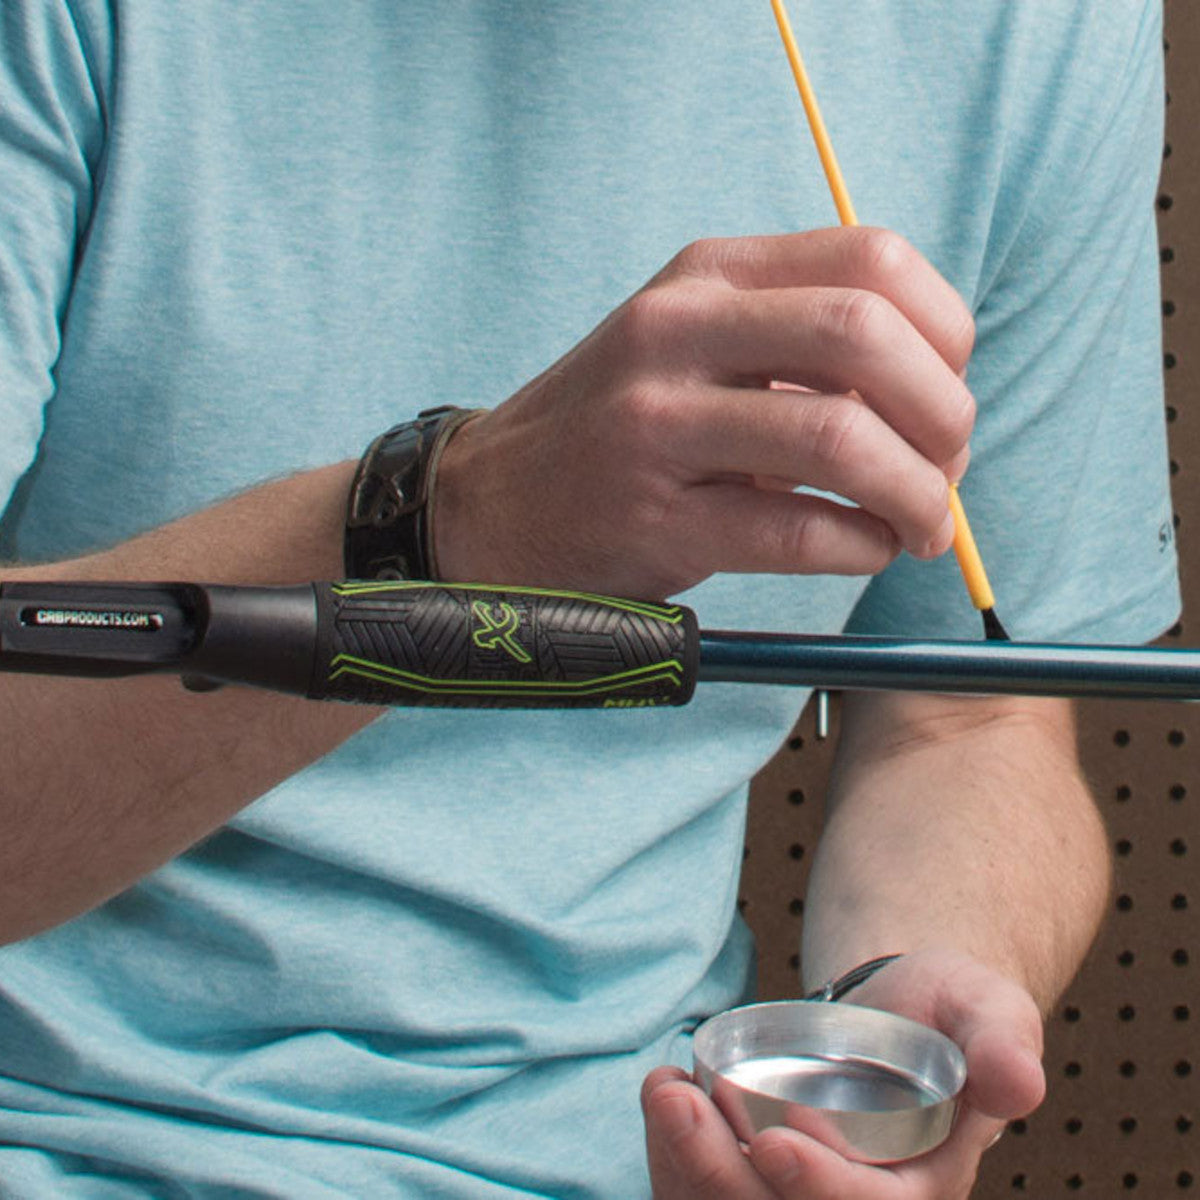
As you work your way out to a full guide train you might find your blank starts to flex under the weight of the guides. Obviously this tend to happen with ultra lights or if you have a 4pc fly rod put together but even if it doesn't flex away from you, resting the tip ever so slightly on the floor or your work bench can show errors in your spacing. When using this method, it is not "flexing" your rod. It is lightly touching the rod tip so you can see the ring of each guide. Take great care when doing this as you can flex the rod off plane and cause a curve to the left or the right making it appear the guides are out of alignment.
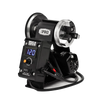
Guide Alignment in Power Wrapper
Since we have discussed how I do it with a hand wrapper, I wanted to talk about one of the best methods I have found when using the power wrapper. This is where I had do call in some reinforcements. If I could setup my workshop at home or in the Mud Hole Live studio to facilitate better wrapping and guide alignment, I would be sure to mount florescent lighting directly above my workstation. Top tier builders like Rik Hall and Lance Dupre have their rod building benches set up this exact way. Rik was kind enough to send a few photo to use in the blog and we greatly appreciate it.

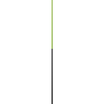
The reasoning behind the old school florescent stick lights is they will throw a glare line right down the top of your rod blank as long as the lights and power wrapper are aligned under each other. That glare line will act as a guide to seat each foot on and wrap. Then, once you have completed wrapping, you can take the rod in hand and check the spacing as we discussed.
Background Matters
This might seem very elementary but the background when sighting down your rod and guide train matters. I find having a light colored wall is an excellent option. You might think a perfect white background might be the best but I find the white is almost too bright to my eye to give a comfortable contrast between the background and the guides. I have also found when building in my living room we have light colored fabric lampshades that are translucent, they offer a great background with soft light coming through and make the perfect backdrop for guide alignment. I know it might sound silly but try it.

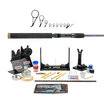
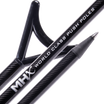
Tools to Make Alignments Easier
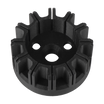
You know with all the great tools in the CRB line-up, they would have something to assist with guide alignment. Not only does the CRB Alignment Tool work great for getting your guides straight but it comes in two sizes and also helps space out those multi-piece reels seats like the Fuji SK2. 
Try these few tricks and hopefully these will help get your guide alignment on point! Don't forget to add in you hook keeper and align it accordingly. For casting rods, I add my hook keeper a thumb width in front of my foregrip or tapered winding cone on top of the blank. For my spinning rods, I do the same but if I have a thread cover foregrip I have to allow a little extra room for when taking reels in and out of the VSS style seat I use.
Good luck on your next custom rod build!
