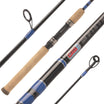
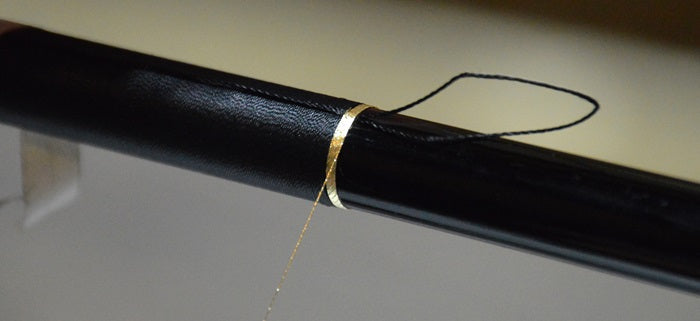
Learn a quick and easy way to hide the thread tags of trim bands within the guide wraps.
Rod Building’s Simple Trim Band Tricks
Rod building is obviously about assembling the best fishing rod for the demands of a fishing application, but customizing the rod’s appearance plays a large part in rod building too.
If you want to build a custom fishing rod with the professional appeal that customers and fellow rod builders are looking for, trim bands are a great thread decoration to start with.
Although butt wraps like chevrons and other decorative designs are certainly impressive, they also take a considerable amount of time to complete. While some rod builders have the experience to finish incredible butt wraps quickly, let’s just say some novice builders would rather meet in the middle on threadwork.
Thus, trim bands provide the perfect decorations to start with because they not only look great and they also only add a few seconds to the actual guide wrapping time.

Trim bands are a great way to touch up a custom rod build, especially when wrapped tightly with no visible gaps or tag ends.
Learning to wrap trim bands while hiding gaps and thread tags actually creates the expert appearance that rod builders want and this is the blog to help you perfect the process.
4 Steps to Hiding Trim Band Thread Tags
Four steps?!
Well don’t let the number of steps stump you just yet, this is a very easy trim band method championed by speed and quality for a reason.
Simply use the tutorial below step by step and you’ll have excellent trim bands in no time!
1. Measure out the Guide Wrap
After marking the guide spacing, the next step to getting crisp, clean thread wraps, is to mark where the thread wraps end and where the trim bands will begin.

This example is a heavier offshore rod, so the trim bands will be done with the underwraps rather than the guide wraps.
By measuring out each trim band and then following this guideline going forward, you can build a more precise and professional looking custom rod.
2. Tape Down Trim Band Thread
Next, take your trim band thread and unspool enough thread to wrap the trim band size that you want. If it’s your first trim band, leave yourself some extra thread to work with just in case.
Since the demonstration is a double foot guide, you will actually use two trim band threads in this procedure. Just cut two equal sized segments in order to end up with a trim band on either side of the guide.
TIP: This method works great with ProWrap ColorFast winding thread as the primary or also any dark nylon thread. Lighter nylon colors will show the thread underneath, so it’s best to avoid this method under those circumstances.
With the threads sized and cut from the spool, tape your trim band threads down separately on the rod blank.

Next, tape the two trim band threads down on each side of the double foot guide. For single foot guides, you will only need one thread to complete the trim band on the side of the guide foot rather than the ring.
3. Wrap Guide and Cut 1st Trim Tags
Once the trim band thread is taped down, start the guide wrap like you normally would and ignore the trim band thread for now.

Continue wrapping the guide until you have half an inch or so covering the trim band threads and keeping them secure in place.

Then, trim the tag end as shown in the pictures below:

Again for single foot guides, there should only be one thread tag to trim at this point.
TIP: Pay close attention to the thread you’re trimming, so that you don’t cut the wrong thread off too soon.
With the guide wrap about half an inch from the second trim band, repeat step two and tape down your second trim band thread. Taping the two trim band threads down separately will keep you from having a thread line all the way across the finished guide wrap.
Next, finish wrapping thread up to the location of the other side’s trim band and cut the second trim band’s tag end flush to the guide wrap.
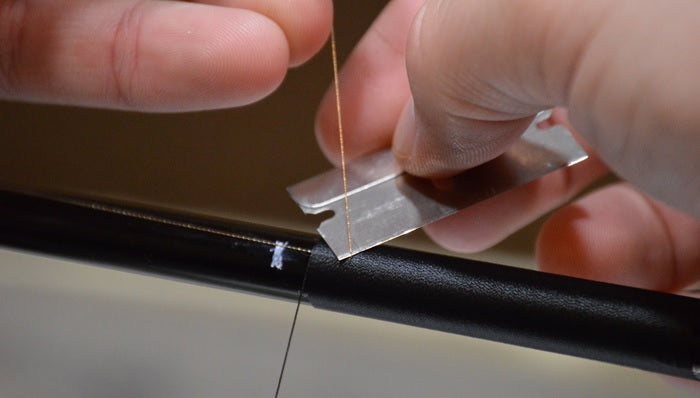
After both thread tags are trimmed flush to the guide wrap, pack the thread together tightly with the burnishing tool. This helps close any gaps and hide the first two tag ends extremely well.
4. Add Trim Bands and Trim Off Tags
Next, create a pull through loop just like you would for a guide wrap. Lay this loop down where the trim band will go and begin wrapping the trim band over the loop.

Wrap the trim thread your desired number of times in order to get the right band thickness. Once you have achieved the desired thickness, keep the trim band thread secure and slide the trim band’s running thread through the loop.

While maintaining tension on the trim band thread, grab the pull through loop and pull it back underneath the trim band.


This locks down the trim band, but make sure you tighten it down further to keep the trim band in place.
Then, just repeat this process to add the trim band on the other side.
Finally, burnish the trim bands and guide wraps as needed for a nice and tight finished look.

Pro Tip: Keep Your Burnishing Tool Handy
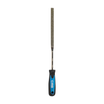
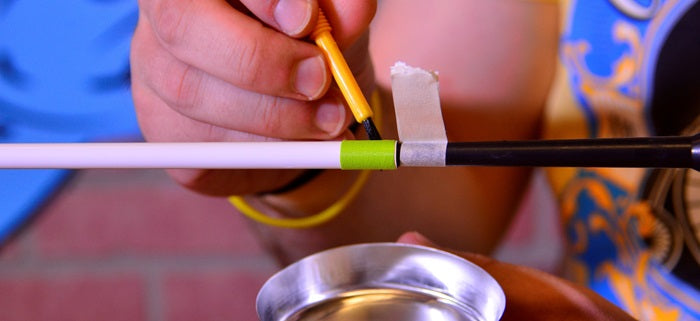
The Burnishing Tool is essential to wrapping tight thread wraps in rod building.
Using the flat-edge, you can compress thread together to remove gaps in thread and better hide thread tags.

But that’s not all.
The round side of the burnishing tool is designed to run over thread wraps and flatten them to create one solid looking wrap.
The burnishing tool is definitely a rod building tool you need to keep nearby!
The Best Threads for Trim Bands
Most trim bands use metallic thread to add the subtle pop of professional decoration, but what you add is up to you!
Custom rod building is all about crafting your dream rod and the only limit is your own imagination.
Browse our selection of ProWrap Thread to find the perfect combination for your wraps.


