


There are times when even the highest-grade cork fishing grips can have problematic voids, but the good news is… it’s an easy fix and this blog will show you how.
5 Easy Steps to Fix Custom Cork Handles
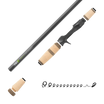
Custom cork grips are extremely popular with rod builders as it allows them to shape a grip to fit perfect in hand while also being strikingly beautiful.
One characteristic of cork that makes it popular yet can also be problematic, is the semi-porous nature of its construction. This porous construction gives cork its incredible lightweight feel and desirable texture, but that also means it can lead to voids and cracks after years of repeated use.
Sometimes, lower grade cork grips come with voids showing from the factory. These voids as well as those caused from wear and tear should be addressed the rod building way.
Voids can expose themselves in several different ways. Whether it’s a puncture from your finger placement, an enlarged gap from repeated use, or a void that’s deeper than expected, all of these cork issues can be solved with the steps below!
1. Identify the Voids to Fill
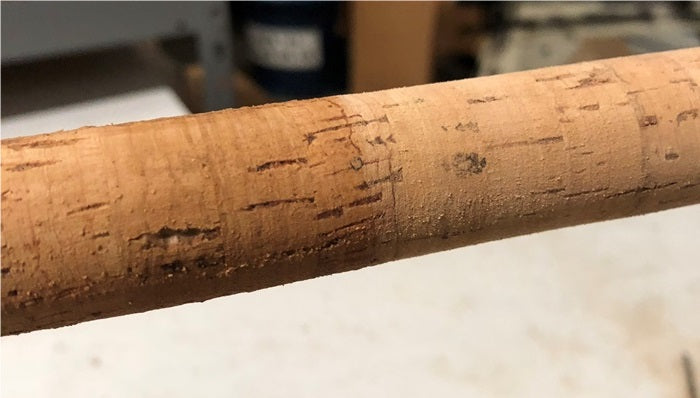
To start, take a good look at your cork grip and spot any blemishes you want to fix.

There can be other voids not seen initially. Hold the cork and give it a squeeze as you would when fishing. Use your thumb and index finger to manipulate the grip to feel for soft spots and voids.
Once you have identified the voids you want to fix, we can move on and begin the filling process.
2. Sand Cork Fishing Grip
Depending on the number and size of each void, you will need to make a filler that looks like the cork itself. To get the most realistic filler, sand the cork down just a tad to create cork dust that you will turn into filler.
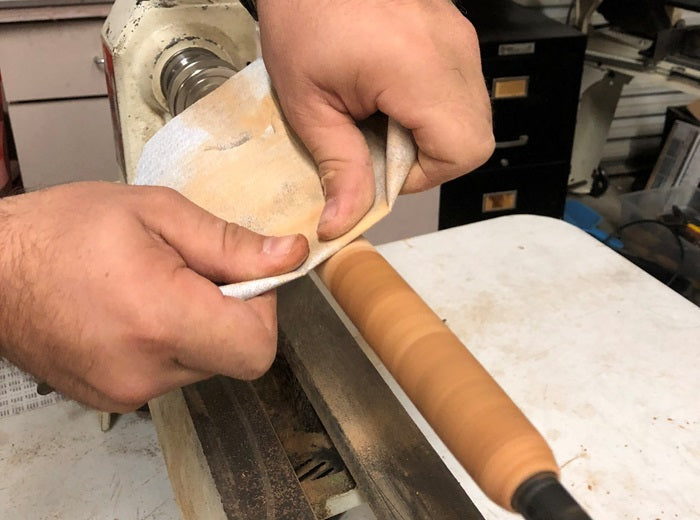
Lightly sand the cork until you have enough cork dust material to put back into the cork’s voids.
TIP: If you are starting a new build, use the cork dust from reaming the cork grip to fit over the rod blank.
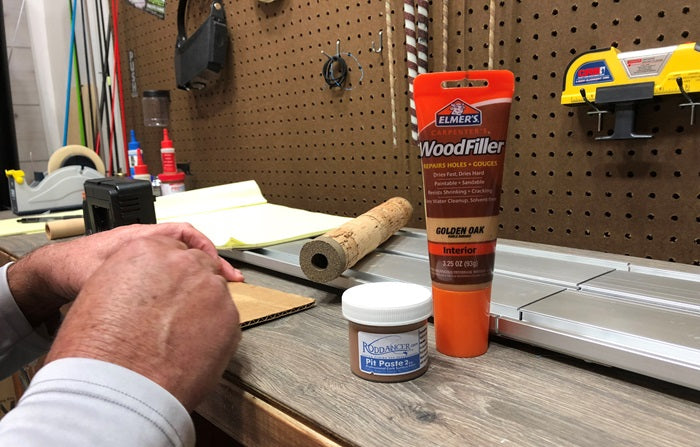
3. Mix Epoxy and Add Cork Dust
Next, you will need to use a glue or adhesive to ensure the void is filled for good.
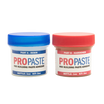
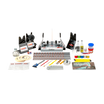
At Mud Hole, we offer multiple products designed to work with cork grips and fix any blemishes in its structure:
Based on your preference, each of these adhesives will work great to fill in the void. With your glue selected, follow the instructions to activate the substance’s adhesive properties.

For example, ProGlü, it is a two-part epoxy glue that you will have to mix at a 50/50 ratio. It mixes easily, cures to a durable yet flexible finish. On the other hand, wood filler, pit paste, and wood glue can be used straight from the container.
Once your glue is prepped, mix in some of the cork dust from your grip. This cork dust will fill the voids and maintain the same tone and texture of the cork grip.

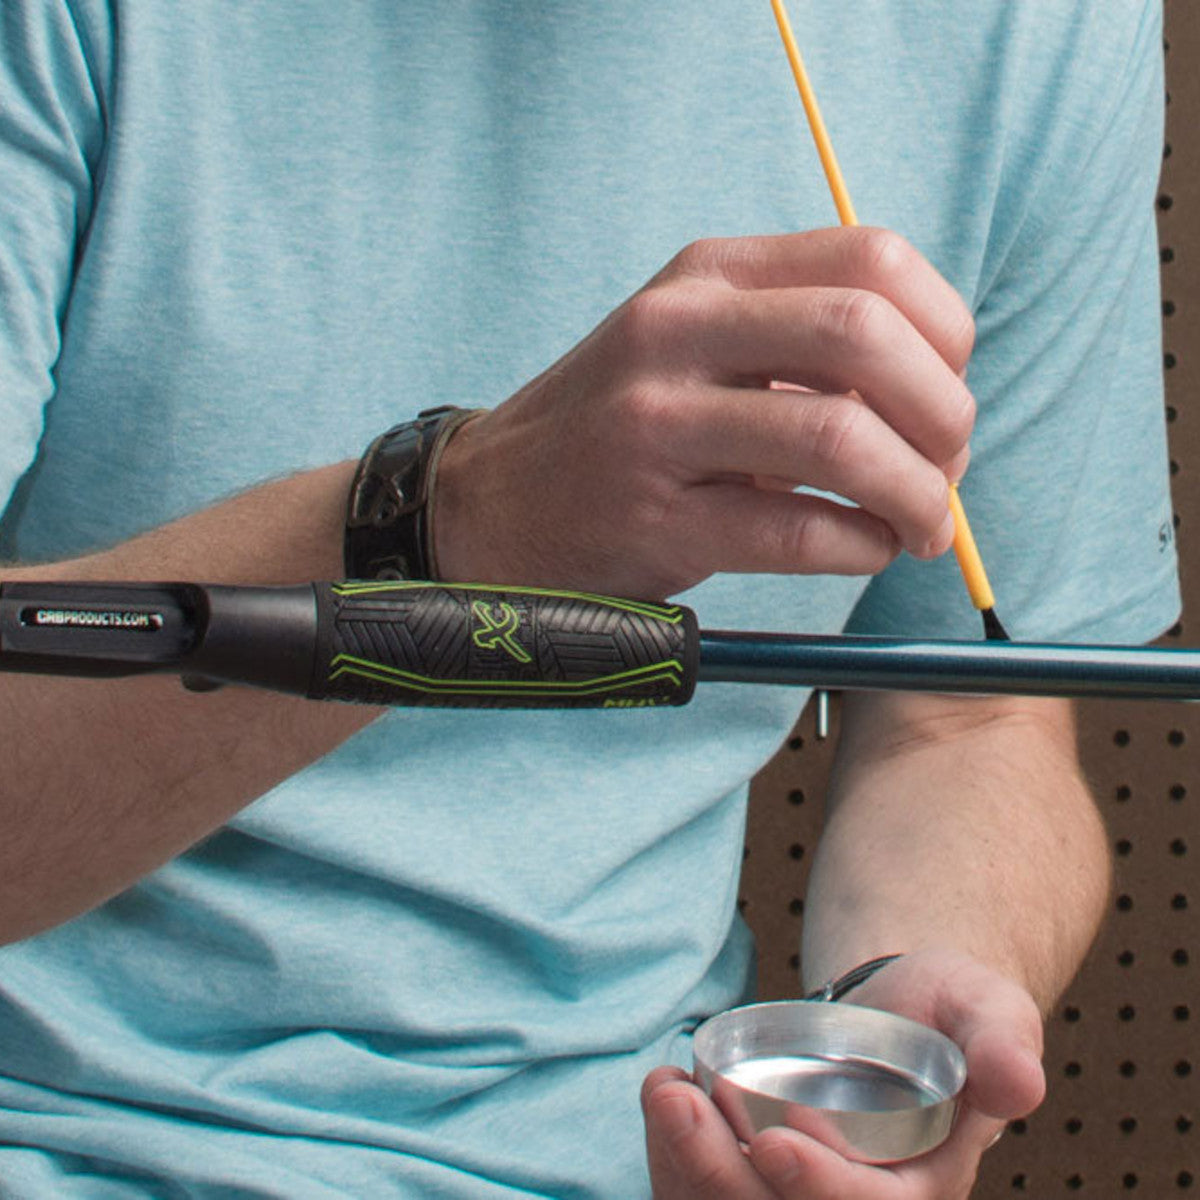
4. Pack Mixture into the Cork’s Void
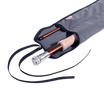
When adding the cork filler, do not just glob it on. We suggest using a thread pick to add small amounts to each void and pack it tightly down into the void. This will ensure it bonds completely with the cork and is like likely to chip out.
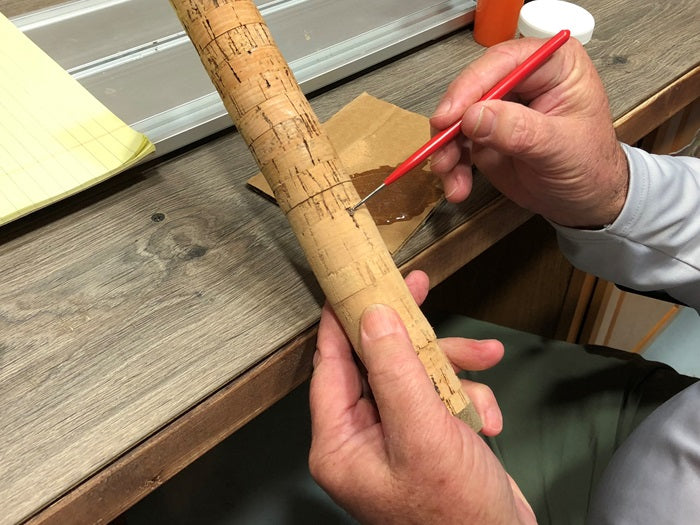
Pack the glue down by lightly pressing the glue down into the cork. This will help fill all of the cork’s porous channels that run within the material and slowly soak up more glue.

Keep adding and packing glue mixture until you have a small hump emerging from the void. You will sand this hump later.
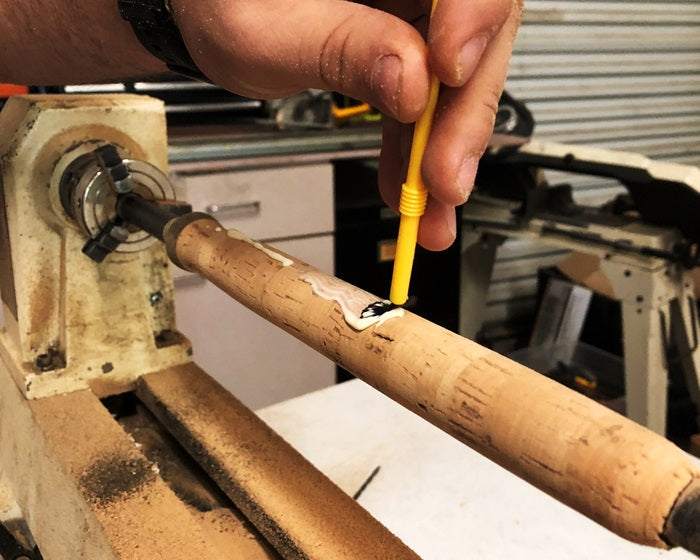
TIP: If you choose wood glue, use a brush to spread the glue over and into the voids of the cork.
5. Sand the New Cork Surface Even
Now, let the glue mixture cure so that the void is filled and the surface is hard.
Suggested Curing Times:
- ProGlü—needs 40 minutes to cure
- Wood Filler—shallow repairs take15 minutes, but deeper repairs require 2-8 hours to cure
- Wood Glue—for the best bond and curing results, leave to dry overnight
When allowing for cure time, do not rush it. If the voids in the cork are deep, it can take some time to be fully cured.
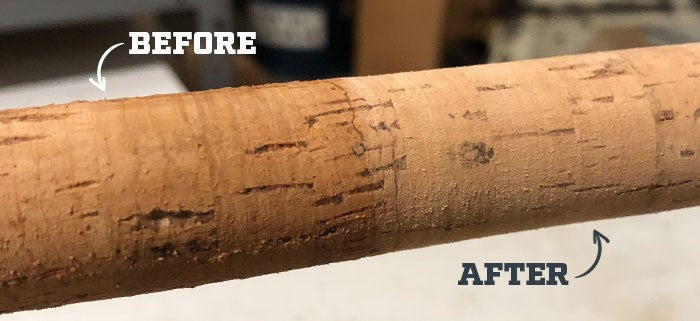
After the filling has hardened and cured, use some fine grit sand paper and lightly sand down the glue hump until it is even with the surface of the cork. You just want to smooth out the small humps you created and not remove too much from the surface of the cork.
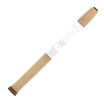
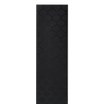
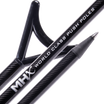
In the photo below, the left side shows the original condition of the cork and the right side shows the same cork with the voids filled.
It’s as easy as that… now you have a cork grip that is fixed up and ready to work on the water!

Protect a Cork Grip’s Look and Feel
Now that you put the work into the cork handle, you might as well go the extra mile in protecting and preserving it for its future performance and appearance. Whether you just turned a custom grip or you repaired voids in an existing grip, protect that new grip!
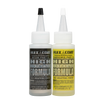
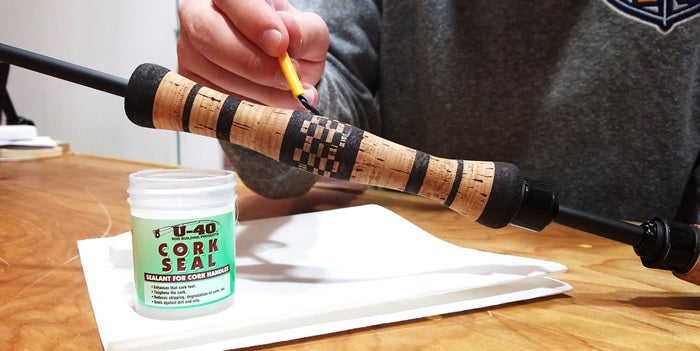
The easiest way to protect your cork grips before hitting the water is U-40 Cork Seal.
Why Use U-40 Cork Seal?
When it comes to handle assemblies, cork has long been a popular grip material known to bring a traditional look and feel to any fishing rod. The biggest knock on cork is its tendency to erode, slough, and chip over time however, all these factors can be deterred with the application of U-40 Cork Seal.

The Benefits of U-40 Cork Seal:
- Seal the cork’s surface from contaminants
- Maintain the classic cork look and outlast the environment
- Enhance the feel of the cork and preserve it’s organic grip
For more on cork seal and how to apply it, read our blog: Protect Your Cork Grips with U-40 Cork Seal
Pick Up Your Cork Fishing Grips
Mud Hole is your one stop shop for everything rod building, especially cork!
From cork rings and casting swells to full wells, half wells, fighting butts, and everything you need to make your own cork grip, follow the link below to see all the cork Mud Hole has to offer.
