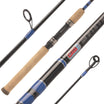
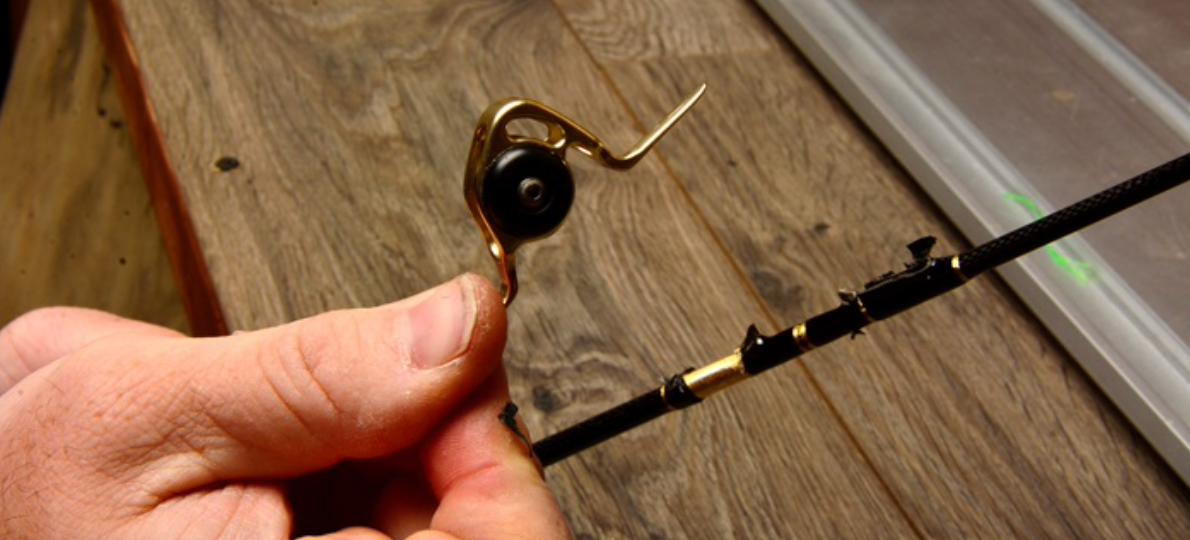
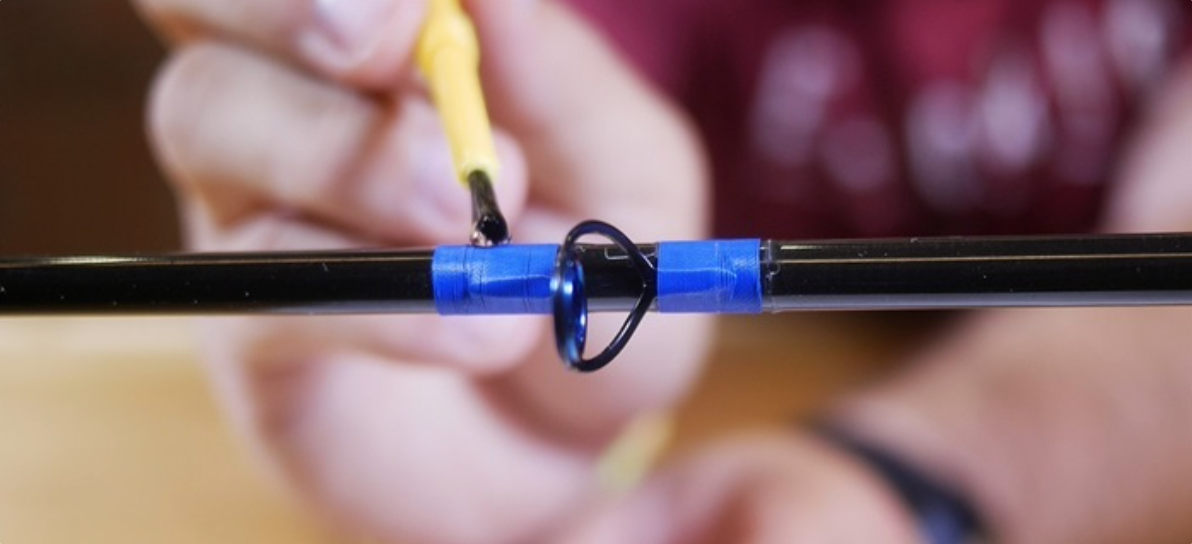
Learn how to remove and preserve heavy saltwater rod guides to use for another rod build.
Watch Mud Hole Live: Offshore Rod Recipes
Watch the replay of our Offshore Rod Recipes show to learn all about customizing saltwater builds for the ocean’s most exciting sportfish!
Featured Demos:
– How to Install a Slick Butt & Gimbal
– Tips for Reaming Large OD Grips
– Guide Spacing for Turbo Guides
– Tricks for Underwraps with the RBS-Pro
– Comparing FP937-MHX Offshore vs. Bass Build
How to Remove Heavy Offshore Roller Guides
Sometimes a fishing rod has to give it’s life in order to land that lunging monster, especially in heavy saltwater fishing applications.
Unfortunately, this is just a fact of fishing and if it happens, it’s nice to know how to keep the rod components in good condition to use on another rod.
And this is particularly true with a good set of rod guides.
Whether you want to save the pricey guides for the next rod build or you HAVE to since the last blank is now a two-piece, just use the following steps to easily remove those heavy duty guides without any damage.
List of Guide Removal Tools

- Lighter
- Razor Blades
- Pliers (if necessary)
Step 1: Heat the Rod Guide’s Epoxy
To start the removal process, begin by waving a lighter over the epoxy that covers the guide foot.

TIP: Make sure you wave the lighter over the epoxy rather than holding the lighter in place and melting more than the epoxy.
 Introducing this subtle heat to the epoxy will loosen up the bond, making it much easier to cut through.

Step 2: Cut Through the Epoxy and Thread Wrap
Next, you will have to cut through the epoxy with a sharp razor blade in order to remove the guide.
There are two ways to accomplish this:
1. For the first method, place the razor blade perpendicular to bottom of the guide foot and then shave up the epoxy to begin removing it.
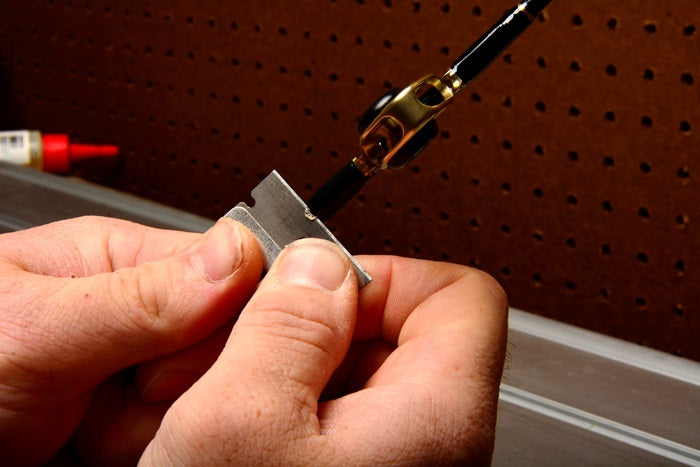

This method allows you to remove larger amounts of epoxy from the start without damaging the rod blank itself.
2. For the second technique, run the razor blade vertically over the guide foot.
Simply use the razor blade’s corner to slice up the epoxy, but over the guide foot to avoid scratching the surface of the rod blank.
Use this technique if the guide foot is slimmer and requires a more precise cut.
Learn more about this second method in our blog: How to Remove & Replace Casting Rod Guides.
Either way, the purpose is to cut through the soft, heated epoxy in order to remove the thread and the finish, while strategically leaving the guide foot and rod blank intact.
Step 3: Peel Epoxy and Thread Away from Guide Foot
Then, using either your hands or pliers if necessary, grab one side of the epoxy and peel it off around the rod blank.


The epoxy should come off in large sections, leaving only the guide foot exposed.
Step 4: Remove the Rod Guides
Once the guide foot is completely exposed, it should be removed with little to no effort at all.


Make sure you grasp the guide firmly to make pulling the guide free from the rod blank that much easier.

Step 5: Clean Up the Remaining Rod Blank
If you started this process for a reason other than a broken rod blank, then you can actually clean up the rod blank to be used again.
After the guide is removed, what’s left is usually just an underwrap as well as some bits of epoxy.
To remove the underwrap, lightly cut into the wrap’s epoxy and lift up the epoxy with the corner of the razor blade.
More often than not, lifting up the epoxy will send a thread or two popping out from underneath. Then, you can grab one of these threads to unwind both the underwrap and epoxy finish over it.
As far as the bits of epoxy, you can use the razor blade, but make sure you scrap the epoxy off with a low angle in order to avoid cutting into the material of the rod blank.
What If Removing the Guide Goes Wrong?
If this sounds more than surgery than rod repair, don’t worry because we have you covered when it comes to rod building resources.
From replacement guides and rod blanks to the tools and supplies you need for repairs, Mud Hole is your one stop shop for everything rod building!


