


In this article, we discuss 9 easy steps to create your own custom trim bands, including step-by-step photo illustrations.
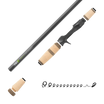
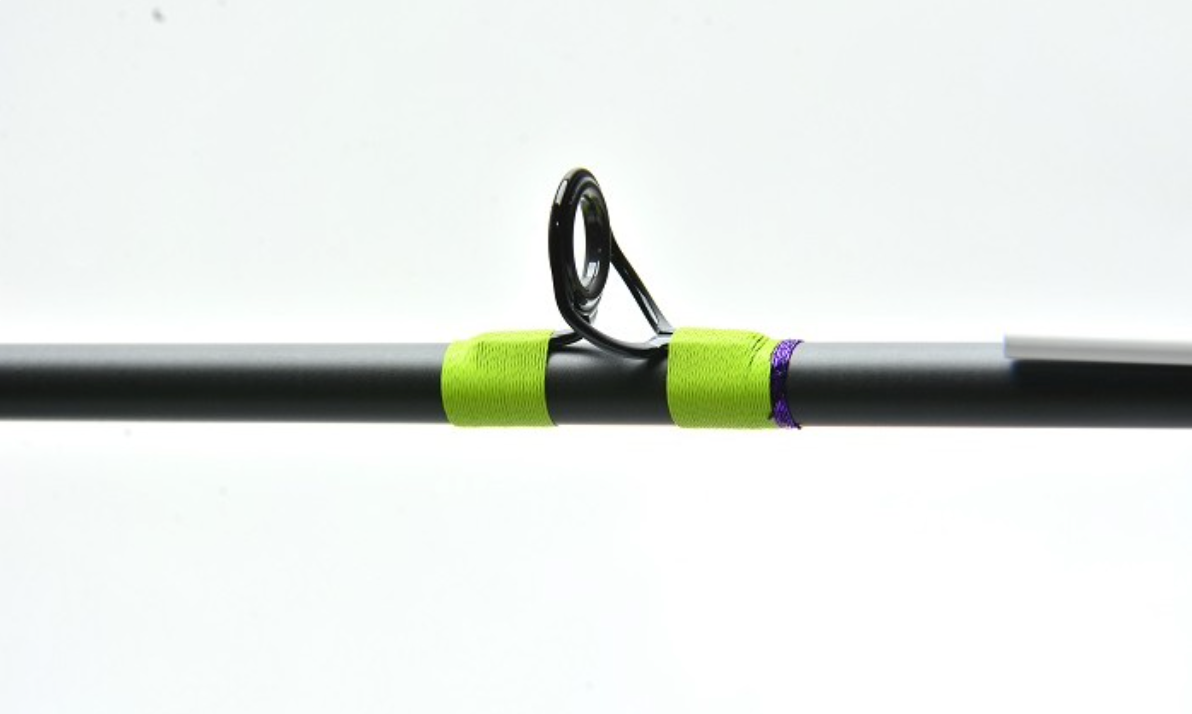
Trim bands are a creative way to add a little flash or a custom look to any rod build. Your trim bands typically consist of a few wraps of either a contrasting nylon thread or a metallic thread. These decorative bands can be placed at the ends of the main guide wraps, create measurement marks on a blank or even take the place of a winding check at the end of the grips.
Just follow these 9 simple steps to create your own custom trim band!
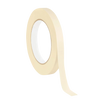
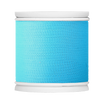
Step 1: Choose your Thread

Your thread can be either a nylon or metallic as it is purely decorative and does not maintain any load or force on the blank. A builder can go from mild to wild based on the theme of the rod, there really are no right or wrong choices here.
Step 2: Cut a piece of Thread

The thread length will be determined by the diameter of the blank and how many wraps will be in the trim band. We recommend going a little longer so you do not get half way through the wrap and find out you do not have enough thread. Somewhere between 10 and 20 inches would do most of the trim bands on most rod builds. Once the length is cut you can do a quick test run to see if you have cut correctly.
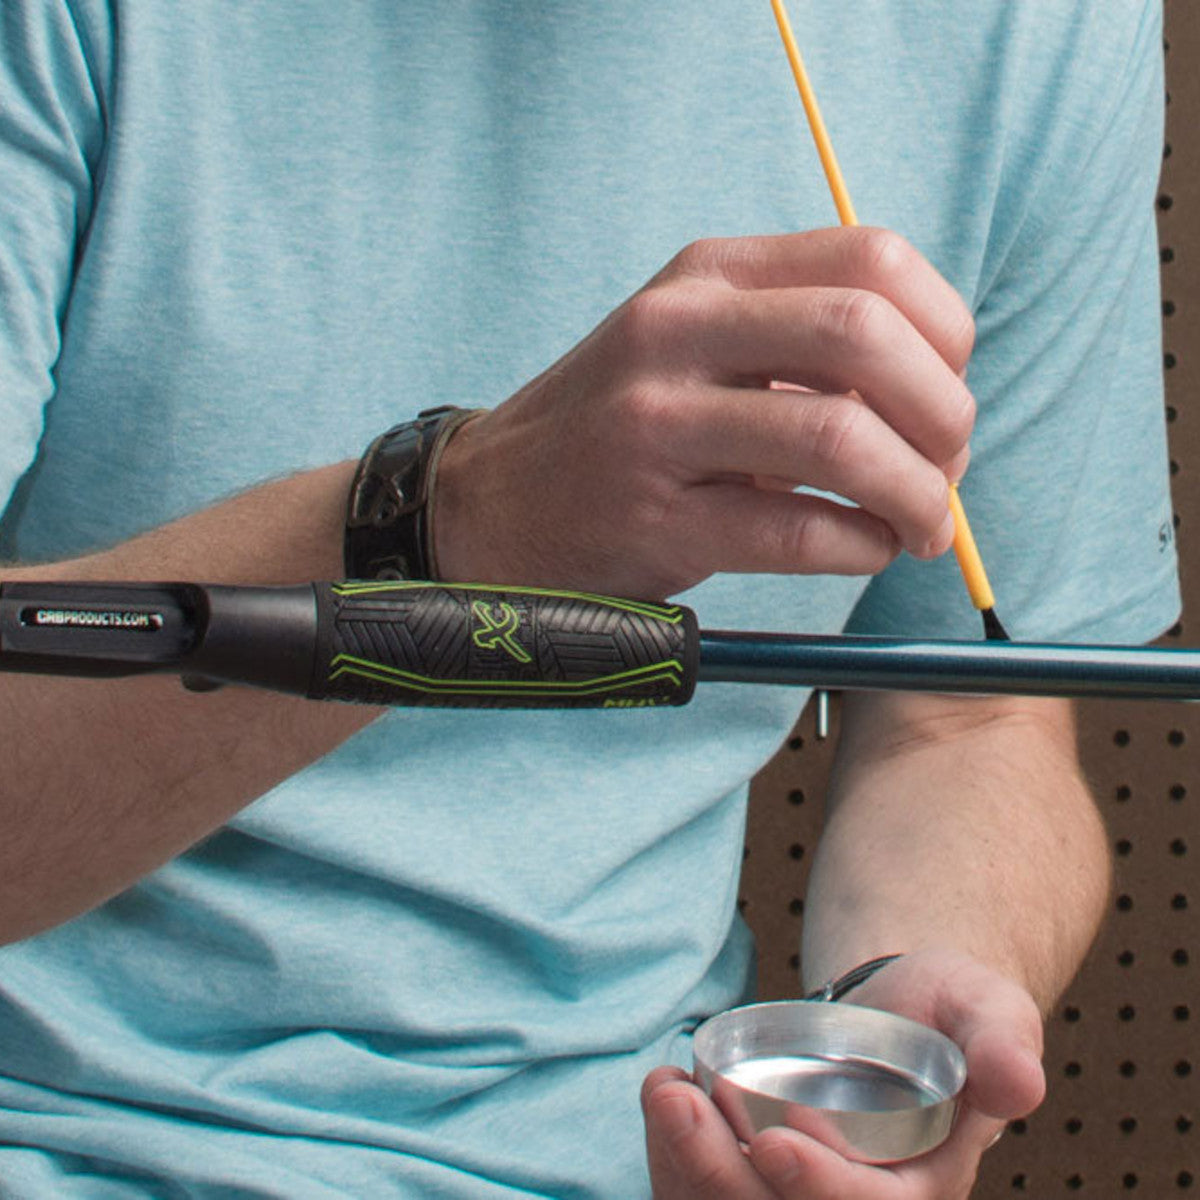
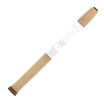
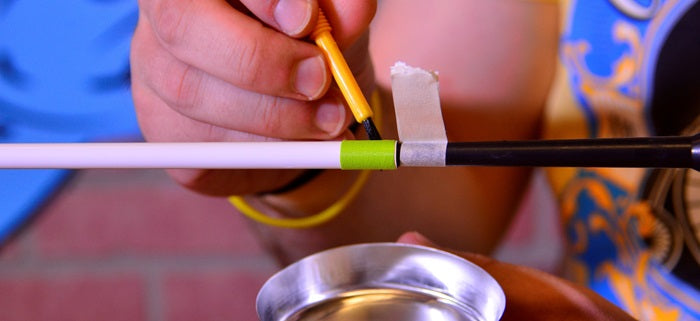
 Very little prep goes into setting up for a trim band but we like to use a small stir straw or round mixing stick. The straw will be taped down to the blank about an inch from where the trim band will be placed. You can use the masking tape you have to tape down the stir straw, if the straw is too long you can cut it to fit in between grips, reel seat or any other component on the rod.
Step 4: Wrapping the Trim Band

Once the straw is in place you can begin to wrap your thread around the blank as well as over the straw. You will need to figure out where direction you are comfortable wrapping as one hand need to hold one tag end of the thread to the blank as the other completes the wraps.
Step 5: Securing the Wrap

As you have completed the amount of desired thread wraps you will need to secure the wraps so they do not unravel. To secure, take one tag end and thread it underneath the thread wraps through the cavity created by wrapping over the straw.
 Once you have one end threaded underneath, do the same with the other end going the opposite direction as the first.
Step 6: Placing the Trim Band
 Grasp both tag ends of the trim band together with one hand, keeping tension upward.
 You will then be able to slide the trim band off of the stir straw and into place next to a guide wrap or against a grip.
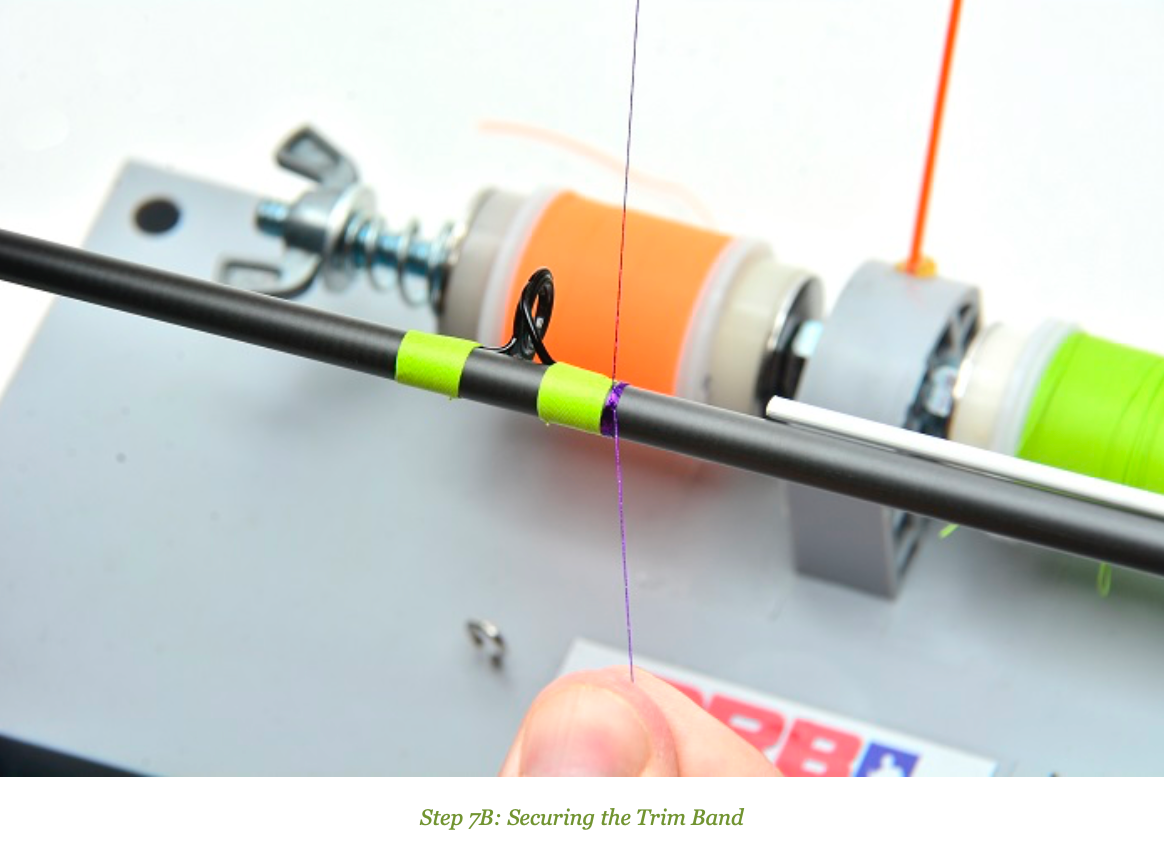
Step 7: Securing the Trim Band

Once your trim band has been moved into place, you use each tag end to pull and tighten the band around the blank. Be sure to not pull too hard to break one of the tag ends or your band will unravel.
Step 8: Finish the Trim Band

Once the band is tightened around the blank you can use the thread burnishing tool to smooth the band and make sure it is pushed snugly against the thread wrap or grip.
Step 9: Trim the Tag Ends

Once the trim band is secure and in place, take your razor blade or cutters and trim the tag ends as close to the band as possible.
Ready To Give It A try?
Click here to get your Trim Band Creation Kit!
