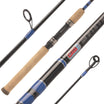
Accurately space out micro, concept, and other guide styles on virtually any rod blank in just 4 simple steps with the Guide Locating Chart.
4 Steps for Using the Guide Locating Chart
This graph has been designed to aid you in proper placement of Micro & Concept Guides, but it will also work well with virtually any guide setup.
It utilizes the angle to the tangent of the blank curve to achieve this. Unlike other guide placement tools this will take into consideration the action of your blank to properly place guides in the range that your blank flexes the most and requires more support.
While this tool was designed for placement of Micros and Concept-type guides, it distributes the guides on virtually any blank to achieve higher performance and greater protection.
The Morton Micro Guide Graph
This graph has been designed to aid you in proper placement of Micro and Concept guides.
Unlike other guide placement tools this will take into consideration the action of your blank to properly place guides in the range that your blank flexes the most and requires more support.
Features of the Guide Locating Chart
While this tool was designed for the placement of Micros and Concept-style guides, the graph will accurately space guides on virtually any blank for higher performance potential and increased protection from the equal distribution of stress between rod guides.
The guide locating chart features step by step instructions with full color photographs to make following along easy and efficient. The drawstring also comes fastened with two swivels and hook so that you can operate the chart as soon as it’s hung up.
Plus, the chart is color coded in blue and red to quickly distinguish between the appropriate arcs for micro guides and those for concept guides.
The chart includes several handy rod building utilities:
- Micro guide resource charts for Fuji & American Tackle
- 72″ ruler
- linear conversion chart
- 1/64″ to decimal inch to mm conversion chart
- weight conversion chart
- Tip-Top sizing charts
- Guide-ring sizing charts
- Volume conversion chart
- Common mathematical conversion formulas
- Temperature conversions and more
Guide Locating Chart Key
The blue intersecting lines are used for placement of Micro Guides.
The red intersecting lines are used for placement of Concept Guides.
1. Load Up the Rod Blank
The first step is to load your blank at a 90-degree angle to the axis it was built on.
This is achieved by attaching the draw string and using it to pull the tip towards the butt until the tip of the blank is at a 90-degree angle to the butt. The drawstring is made with two different size swivels attached through the loop area with a hook on the opposite end.
First, you use ¼” masking tape and make a small buildup (usually 4 or 5 times) about ½” from the tip of the blank. Then, slide the swivel that most closely fits the tip diameter over the tip, and make another buildup at the tip to keep the swivel from coming off.
You can also use Guide Tubing to help hold the swivel head in place on the tip instead of rod building tape.

Next, with the opposite end place the hook in the butt section of the blank and slide the knot holding the loop down until it pulls the tip to a 90-degree angle to the butt.

TIP: You can use a “T” square or some type of angle to check this.
2. Locate the Matching Arc on the Chart
The second step is to locate the arc on the guide graph that most closely matches the arc created by loading your blank.
When you have located this arc (sometimes you will find that this arc is in between two others) place the tip on the vertical line on the right side of the graph at the position where the arc intersects it.

Then, while holding the tip in place there, slide the butt over until it aligns with a vertical line below the arc.
3. Mark Intersection Points for Guides
The third step will be to follow the blank down from the tip and mark each spot where a blue line intersects (if for Micro Guides) or where a Red line intersects (if for concept spacing).
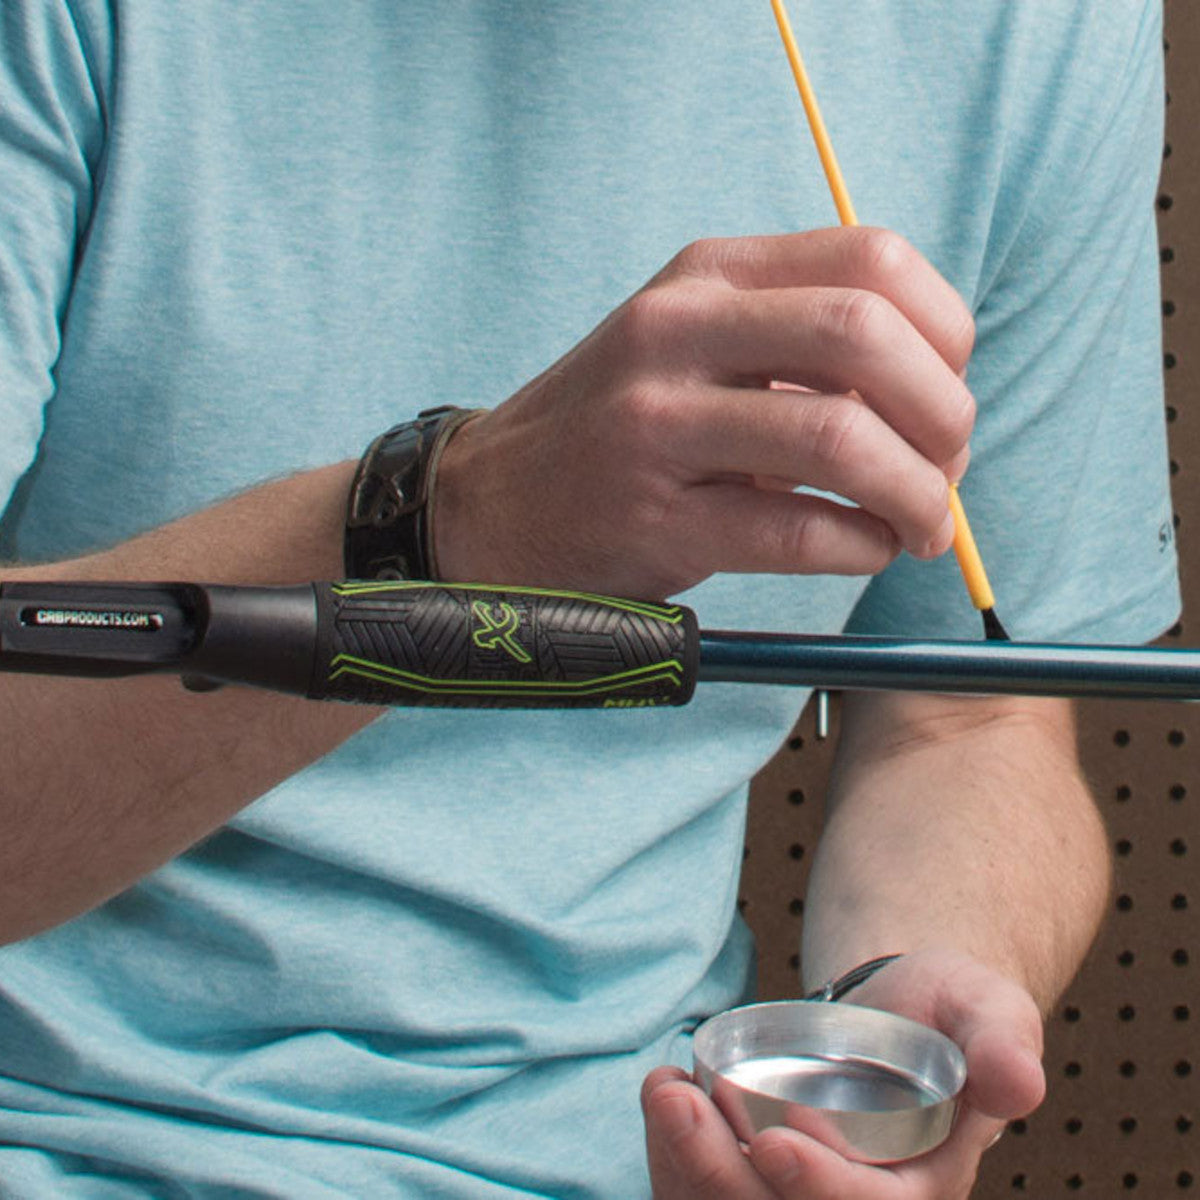
China markers are a great resource for rod builders, especially when marking guide spacing because it stays in place well until you wipe it away.
4. Finish Marking Guides Past the Chart Spacing
The final step will be placing any remaining guides on the blank depending upon length.
This means that you will need to measure the distance between the last two guides and then multiply that distance by “1.2” to get the placement of the next guide. You continue to do this until you have the butt guide close to the place that you intend for it to be placed.
TIP: As a general rule on a micro guide rod—the butt guide is going to be placed 15”- 17” from the face of the spool.
Easily Space Micro and Concept Rod Guides
Make guide spacing for micros, concept style guides, and more, easier and more accurate than ever with this helpful Guide Locating Chart!


